You can easily tackle scratches with a few simple steps mechanics often overlook. Start by cleaning the area and using 220 grit sandpaper to smooth the scratch edges. If it's deep, fill with body filler using a plastic spreader and let it dry. Next, apply multiple coats of primer, followed by the base coat, ensuring each layer dries before adding the next. Finish with a clear coat for protection. This DIY approach not only improves your car's appearance but also helps maintain its value. Want to discover more tips for achieving a professional finish? Keep going!
Key Takeaways
- Use 220 grit sandpaper to feather edges around scratches for a smoother transition between damaged and undamaged paint.
- Apply a high-quality body filler for deeper scratches, leveling it with a plastic spreader before sanding.
- Utilize a heat gun to speed up the drying process of both body filler and primer, ensuring a quicker repair time.
- Layer multiple light coats of primer and base coat, allowing each to dry thoroughly for optimal adhesion and finish.
- Regularly apply wax or sealant to protect the repaired area, enhancing durability and appearance over time.

Carfidant Scratch Repair and Swirl Remover – Car Paint Scratch Remover & Restorer Kit with Buffer Pad – Polishing & Waxing Kits – Compound for Vehicles Paint Repair – 8.4 fl. Oz.
EASY SCRATCH and SWIRL REPAIR – If your car has light scratches, swirls, or other marks – you…
As an affiliate, we earn on qualifying purchases.
As an affiliate, we earn on qualifying purchases.
Importance of Scratch Repair
When it comes to your vehicle, you can't overlook the importance of scratch repair. Addressing scratches promptly not only enhances your car's aesthetic appeal but also plays a vital role in maintaining its resale value.
Vehicles with visible damage often sell for less, so taking action can save you money in the long run. Ignoring minor scratches can lead to deeper issues, as exposure to moisture and contaminants may cause rust formation.
By performing timely scratch repair, you prevent further damage and guarantee that your vehicle's protective coatings remain intact. This helps maintain the integrity of the paint job, providing a consistent finish while protecting the underlying metal from environmental elements.
A well-maintained exterior reflects your care and attention to detail as a vehicle owner, which can greatly improve your overall driving experience. Plus, it sends a positive message to potential buyers about how you've cared for your vehicle.

Bondo Body Filler, Original Formula for Fast, Easy Repair & Restoration of your Vehicle, 00261, Filler 14 oz and 0.5 oz Hardener, 1 Can
Original formula for repairing dents, dings, holes, large rusted areas and scratches in vehicles
As an affiliate, we earn on qualifying purchases.
As an affiliate, we earn on qualifying purchases.
Tools and Materials Needed

To tackle scratch repair effectively, you'll need a few essential tools and materials at your disposal. Start with 220 grit sandpaper, perfect for sanding scratches down to a smooth surface. A plastic spreader is critical for applying body filler evenly, guaranteeing a seamless finish. To speed up the drying process, consider using a heat gun; it's a real time-saver.
Don't forget masking tape! Use it to outline the repair area and protect the surrounding paint from overspray during primer and paint applications. A high-quality primer is necessary for achieving a uniform base before you apply the color coat that matches your vehicle. This step is crucial for making your repair nearly invisible.
You'll also need a clear coat to protect the painted area and provide that glossy finish we all love. Remember to apply it in light coats to avoid drips.
Finally, keep soapy water or glass cleaner handy to clean surfaces before starting your repair. This guarantees proper adhesion of all products, setting you up for a successful scratch repair.
With these tools and materials lined up, you're ready to get to work!

White Car Paint Touch Up Pen, Color Accurate Touch Up Paint for Cars, Professional Automotive Scratch Repair, Lasting Auto Scratch Remover, Fast Dry, Easy to Use, Safe and Washable, Versatile Use
Effective Car Scratch Remover – Our white car paint touch up pen, made with premium materials and advanced…
As an affiliate, we earn on qualifying purchases.
As an affiliate, we earn on qualifying purchases.
Preparing the Surface

To start, you'll want to clean the scratched surface thoroughly with soapy water or glass cleaner to remove any dirt.
After that, use 220 grit sandpaper to smooth out the area, feathering the edges for a seamless blend.
This preparation is essential for achieving a successful repair.
Cleaning the Surface
Cleaning the surface is vital for a successful repair, so start by using soapy water or glass cleaner to eliminate dirt and debris that could interfere with the process.
Make certain you thoroughly wipe down the area, as any leftover grime can compromise your repair efforts.
Once you've cleaned the surface, apply a wax and grease remover to make sure it's free from contaminants.
For best adhesion, scuff a 24-inch area around the scratches. This extra step helps prepare the surrounding area for the repair.
Next, use masking tape to outline the repair zone. This prevents overspray, making certain you maintain a clean edge that'll make your work look professional.
It's important not to skip this step, as it keeps everything neat and tidy.
After masking, take a moment to assess any deeper cuts. You might need body filler for those, so identifying them early is key.
Cleaning the surface effectively sets the foundation for your repair, and while you're going to wait for the next steps, you'll have a solid groundwork to build upon.
Sanding Techniques
Sanding is an essential step in preparing the surface for repair. Before you start, make certain to clean the area thoroughly with soapy water or glass cleaner. This removes dirt and grease, guaranteeing a smooth sanding process.
Once the surface is clean, grab some 220 grit sandpaper to tackle those scratches. Apply even pressure while sanding to prevent creating uneven surfaces or causing additional damage.
Focus on a 24-inch area around the scratch. This helps blend the repair with the surrounding paint, resulting in a seamless finish. If you notice deeper cuts, identify any areas that need body filler before you sand. It's critical to have a level surface for the best results.
As you finish sanding, ease up on the pressure to create a smooth surface. Afterward, clean the area again to remove any dust particles. This prep work is essential before applying primer, as it sets the stage for an effective repair.

Rust-Oleum 2X Automotive Enamel Custom Spray 5-in-1 Spray Paint, 12 oz, Gloss Clear
DURABLE, FAST DRYING ACRYLIC FORMULA: Delivers a long-lasting, attractive finish on indoor and outdoor surfaces including metal, wood,…
As an affiliate, we earn on qualifying purchases.
As an affiliate, we earn on qualifying purchases.
Applying Body Filler

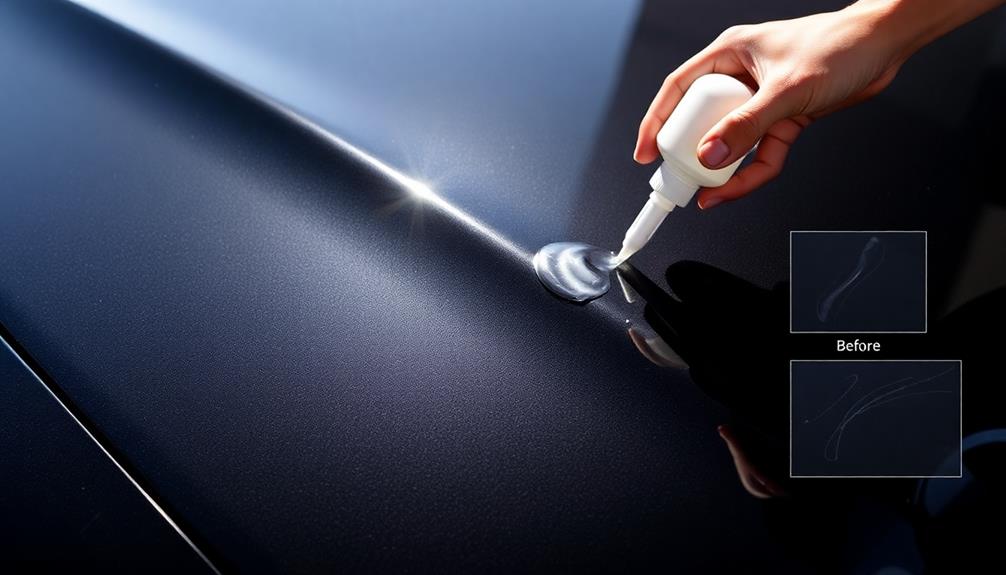
When you're ready to apply body filler, choosing the right product is essential for a successful repair.
Next, you'll want to master your application techniques to guarantee the filler fills the scratch completely.
Choosing the Right Filler
Choosing the right filler is essential for achieving a seamless repair on scratched surfaces. Selecting a filler that matches the depth and size of the scratch guarantees it adheres effectively to the surface material. Here's a quick guide to help you choose the best option:
| Scratch Depth | Recommended Filler | Drying Time |
|---|---|---|
| Shallow (less than 1/16") | Lightweight filler | 5-10 minutes |
| Medium (1/16" – 1/8") | Standard body filler | 5-10 minutes |
| Deep (over 1/8") | Heavy-duty filler | 10-15 minutes |
| Large Area Repair | Fiberglass filler | 10-15 minutes |
| Flexible Surfaces | Flexible filler | 5-10 minutes |
After you've chosen your filler, you'll need to apply it using a plastic spreader. Fill the scratch completely and level it with the surrounding area for a smooth finish. Allow it to dry thoroughly, and then lightly sand with 220 grit sandpaper to remove any hard edges. Always clean the area again before applying primer, guaranteeing ideal adhesion for the next layers.
Application Techniques Explained
Applying body filler requires careful technique to guarantee a smooth and seamless repair. Start by using a plastic spreader to apply the body filler evenly over the scratched area. Make sure to fill in the scratch completely, confirming there are no gaps.
Once you've applied it, allow the body filler to dry for about 5-10 minutes. If you're in a hurry, a heat gun can considerably speed up the drying process.
After the filler has dried, grab some 220 grit sandpaper. Lightly sand the dried body filler until the surface feels smooth and blends seamlessly with the surrounding area. It's essential to confirm there are no hard edges remaining on the filled area.
This step is crucial for achieving a flawless shift between the filler and the original surface. Once you're satisfied with the smoothness, clean the area again with wax and grease remover.
This guarantees ideal adhesion when you apply primer later. Following these techniques will set a solid foundation for the next steps in your repair process, making it easier to achieve a professional-looking finish.
Sanding for Smooth Finish
Sanding the body filler is a vital step in achieving a smooth finish that seamlessly blends with the surrounding paint. Start by applying the filler with a plastic spreader, pressing it firmly into the scratched area for even coverage. Allow it to dry for 5-10 minutes; using a heat gun can speed up this process if it's cooler outside.
Once the filler is dry, grab your 220 grit sandpaper and begin sanding. Focus on making the surface smooth and level with the surrounding area. Pay special attention to the edges, where hard shifts can be noticeable. The goal here is to eliminate any rough spots and create a seamless blend with the original paint.
Before moving on to primer application, clean the area with a cloth to remove any dust and debris. This step is essential for ensuring a flawless finish.
| Step | Action | Tools |
|---|---|---|
| 1 | Apply body filler | Plastic spreader |
| 2 | Allow to dry (5-10 mins) | Heat gun (optional) |
| 3 | Sand with 220 grit sandpaper | Sandpaper |
| 4 | Clean area | Cloth |
Priming the Scratch
To effectively prime a scratch, start by ensuring the damaged area is spotless and free of debris. Use soapy water or glass cleaner, followed by a wax and grease remover to prep the surface.
Once clean, it's essential to mask off the surrounding areas to prevent primer overspray. This keeps your application neat and protects the unaffected paint.
Here's a quick checklist to follow for priming:
- Shake the Primer: Shake the primer can for at least 30 seconds to get an even mixture before you apply it to the repair area.
- Apply Four Coats: Apply four light coats of primer, allowing each coat to dry for 15-20 minutes. If the temperature's below 50 degrees, use a heat gun to speed up the drying process.
- Sand Smoothly: After the primer's dried, lightly sand it with 600 grit sandpaper to smooth out any roughness.
Base Coat Application
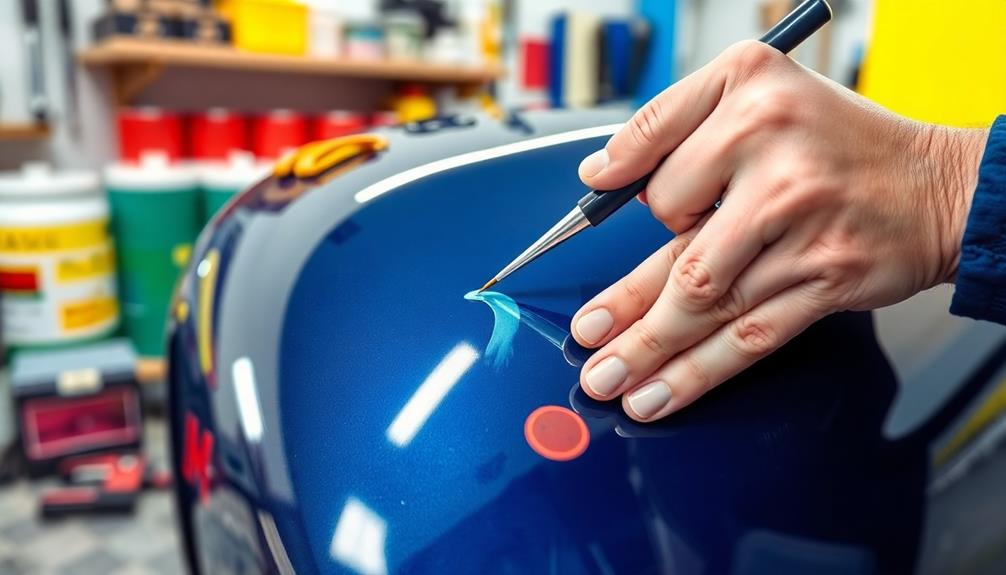
Once the primer has thoroughly dried, you're ready to move on to the base coat application.
First, make certain the masking paper is securely in place to protect adjacent areas from any overspray. Shake the base coat can for at least 30 seconds to guarantee an even mixture of paint before you apply it. It's a good idea to test the spray on a piece of cardboard to check for consistency and avoid unexpected issues on the actual surface.
When applying the base coat, use light coats. This technique helps blend the new paint with the old paint seamlessly. Allow each coat to dry for about 5-10 minutes before checking the coverage. This patience is key to achieving a smooth finish.
Remember to avoid placing masking tape directly on the panel during application; doing so can lead to peeling or uneven edges in your paint finish.
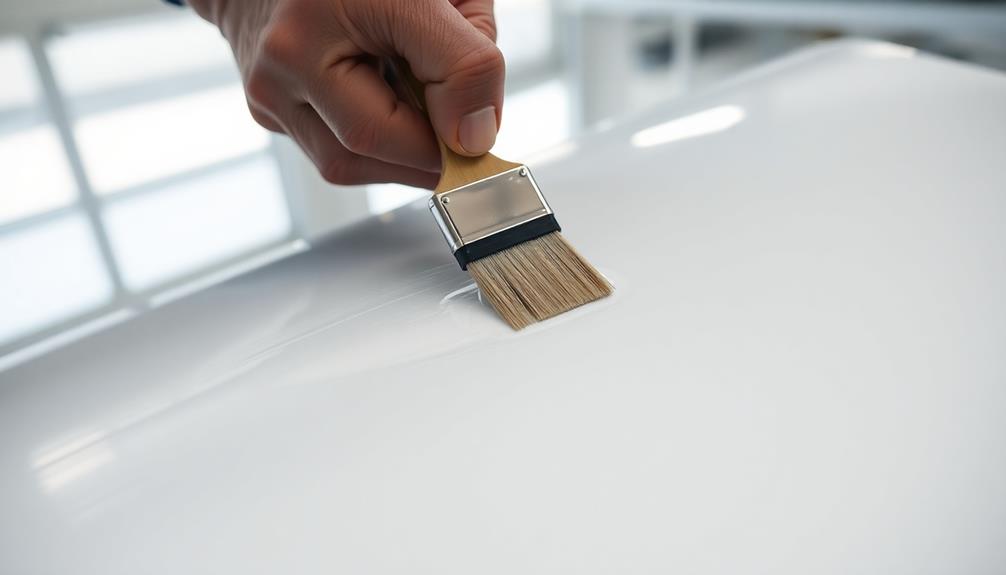
Clear Coat Process

Before diving into the clear coat process, make certain your base coat is completely dry and free from any imperfections. This step is vital for achieving a smooth finish.
Here's how to effectively apply your clear coat:
- Shake the can: Give your clear coat can a good shake for at least 30 seconds to guarantee proper mixing. This will help you achieve an even application.
- Start light: Begin by applying a light coat over the scuffed areas. Allow this first coat to settle before you add a heavier coat. This method enhances adhesion and gives you that glossy shine you're after.
- Maintain distance: Keep a consistent distance of 6-12 inches from the surface while spraying. Move at a steady speed to avoid runs and uneven coverage.
After you've applied the clear coat, let it dry for around 20 minutes. This waiting period is essential for inspecting any issues and determining if additional coats are necessary.
Tips for a Professional Finish

Achieving a professional finish requires attention to detail and careful preparation. Start by thoroughly cleaning the surface with soapy water or glass cleaner to eliminate any dirt and grease. This step is essential for guaranteeing a smooth application.
Next, use 220 grit sandpaper to gently sand the scratched area, creating a seamless shift between the damaged and undamaged surfaces. Afterward, apply multiple light coats of primer, allowing 15-20 minutes of drying time between each coat. This builds a solid foundation for the base coat.
When applying the base coat, use light coats to ascertain even blending with the existing paint. Wait 5-10 minutes for it to dry before checking the coverage. Finally, finish with a clear coat, applying it in overlapping horizontal stripes for consistent coverage. Allow at least 20 minutes for it to dry before inspecting your work.
Here's a summary of the steps:
| Step | Action | Timing |
|---|---|---|
| Cleaning | Wash with soapy water or cleaner | Before sanding |
| Sanding | Use 220 grit sandpaper | Until smooth |
| Primer | Apply multiple light coats | 15-20 mins drying each coat |
| Base Coat | Apply light coats and check coverage | 5-10 mins drying each coat |
| Clear Coat | Apply in horizontal stripes | 20 mins drying before inspection |
Maintenance After Repair
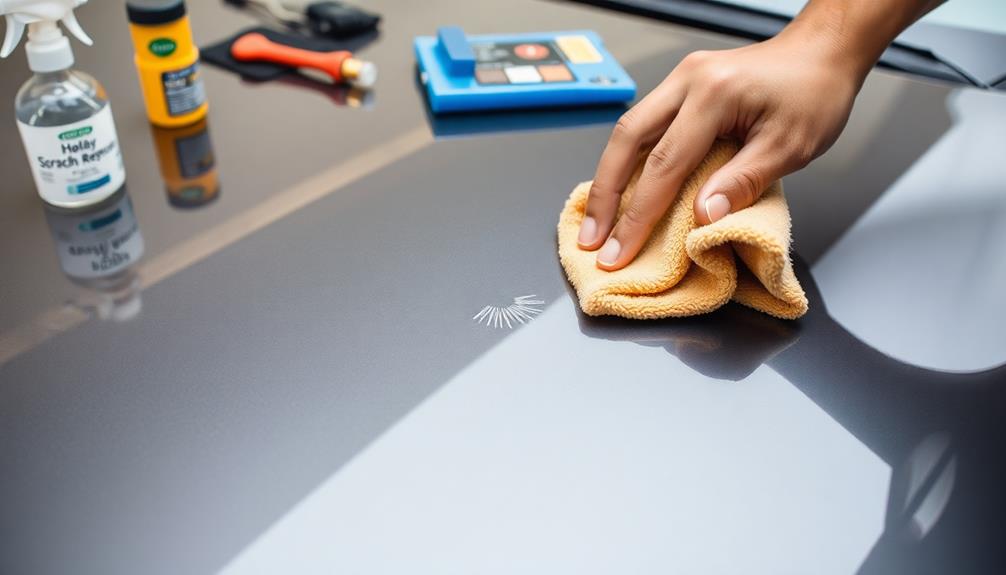
Proper maintenance after a repair is essential to preserving the integrity of your vehicle's finish. By following these simple steps, you can keep your repairs looking fresh and protected:
- Wash the area regularly with mild soap. This helps remove dirt and contaminants that could affect the finish. Avoid using abrasive cleaners or sponges, as they can scratch the new paint.
- Wax or apply a high-quality sealant to the repaired area every three months. This not only protects the paint but also maintains that shiny look you love.
- Monitor the repair for any signs of peeling or fading. If you notice any issues, address them promptly to prolong the repair's integrity.
Additionally, consider parking your vehicle in shaded areas or using a car cover. This minimizes sun exposure, which can degrade the clear coat over time.
Frequently Asked Questions
How Do Mechanics Get Rid of Scratches?
Mechanics get rid of scratches by cleaning the area, filling deeper ones with body filler, applying primer, then blending the base coat. Finally, they add a clear coat for protection and a polished finish.
How to Repair a Deep Scratch on a Car at Home?
To repair a deep scratch on your car, clean the area, sand it down, apply body filler, prime, and then paint. Finish with a clear coat for a smooth, professional-looking result that blends seamlessly.
Does Vaseline Get Rid of Scratches?
Vaseline won't get rid of scratches permanently. It can temporarily mask minor ones, but it won't restore your car's paint. For deeper scratches, consider professional repair methods for lasting results instead of relying on Vaseline.
Why Does Toothpaste Fix Scratches?
Think of toothpaste as a gentle artist, smoothing out imperfections on a canvas. It fills tiny scratches, thanks to mild abrasives, making them less visible. Just remember, it works best on minor scratches, not deeper ones.
Conclusion
Now that you've mastered the art of scratch repair, think of your vehicle as a blank canvas ready for a fresh masterpiece. With each step, you're not just fixing a flaw; you're breathing new life into your ride. Remember, a little patience and practice can turn those unsightly scratches into distant memories. So grab your tools, embrace your inner artist, and transform those blemishes into a smooth, gleaming finish that's sure to turn heads on the road!