
Performing a DIY oil change is simple and cost-effective if you follow safety precautions and proper steps. Gather your supplies, work on a flat, cooled surface, and wear gloves to protect yourself from hot oil. Drain the old oil, replace the filter carefully, and refill with fresh oil to the proper level. Double-check everything for leaks and disposal compliance. If you keep the process in mind, you’ll gain confidence, and there’s more to learn for an efficient, safe oil change.
Key Takeaways
- Gather necessary supplies, including oil, filter, wrench, and gloves, and ensure the vehicle is on a stable, cooled surface.
- Drain old oil completely, then carefully remove the old filter, catching residual oil in a drain pan.
- Lubricate the new filter’s gasket with oil, install it properly, and tighten by hand plus a slight turn with a wrench.
- Fill the engine with recommended oil, check the level with a dipstick, and start the engine to inspect for leaks.
- Properly dispose of used oil and filter, confirm all components are secure, and follow safety precautions throughout the process.

Thinking about saving money and gaining more control over your vehicle maintenance? Doing your own oil change is a great way to achieve both. It might seem intimidating at first, but with the right tools and knowledge, you can handle it confidently. The process starts with understanding the importance of replacing the oil filter, which plays an essential role in maintaining your engine’s health. The oil filter keeps debris and contaminants out of the engine oil, ensuring clean lubrication and preventing premature engine wear. When you change the oil filter during your DIY oil change, you help maintain ideal engine lubrication, which is critical for smooth performance and longevity.
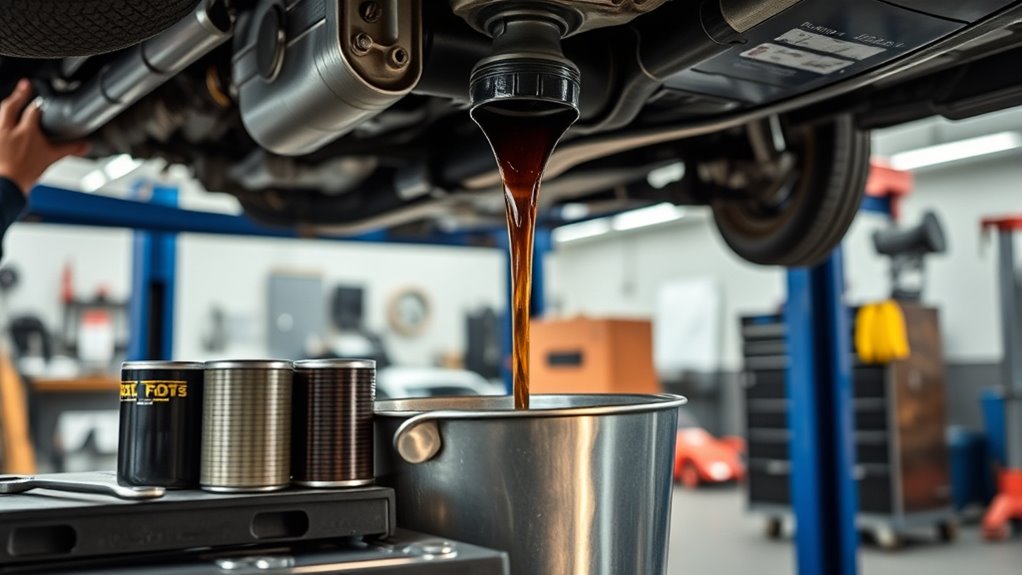
Before you begin, gather all necessary supplies: fresh oil, a new oil filter, a wrench, a drain pan, and gloves. Make sure your vehicle is parked on a flat surface and has cooled down for safety. Starting with the drain plug, place your drain pan underneath and carefully loosen the bolt to let the old oil drain out. Once the oil has fully drained, tighten the drain plug securely to prevent leaks. This step is essential because improper sealing can lead to oil leaks and potential engine damage.
Gather supplies, ensure vehicle is cool, and place drain pan before loosening the drain plug.
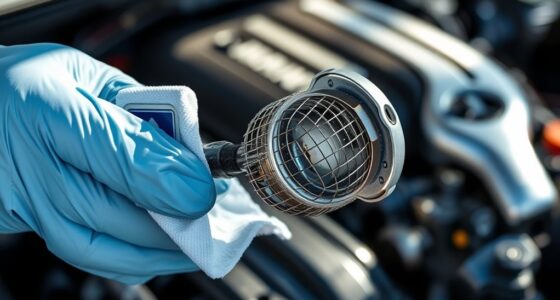
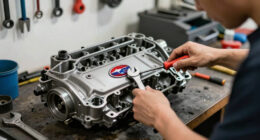
Next, locate your oil filter, which is usually accessible from underneath or the engine bay. Use your wrench to carefully remove the old filter, making sure to have the drain pan positioned to catch any residual oil. When installing the new oil filter, apply a bit of fresh oil to the rubber gasket to ensure a good seal, then screw it in by hand before tightening with the wrench. This prevents leaks and ensures proper engine lubrication. Remember, a secure seal on the oil filter helps keep contaminants out and maintains consistent oil flow.
After replacing the filter, fill your engine with the recommended amount and type of new oil. Use a funnel to avoid spills. Check the oil level with the dipstick, adding more if necessary, until it reaches the proper mark. Start your engine and let it run for a few minutes, then turn it off and check for leaks around the filter and drain plug. Inspect the oil level again, topping up if needed. Proper engine lubrication relies on clean, well-filtered oil circulating efficiently, which is why this step is so important. Additionally, understanding how high-quality projectors optimize image clarity can be useful for future home upgrades.
Finally, dispose of the used oil and filter responsibly by taking them to a recycling center or authorized disposal site. Performing your own oil change not only saves money but also gives you insight into your vehicle’s condition. Just remember to prioritize safety at every step—wear gloves, work on a stable surface, and follow the manufacturer’s instructions carefully. With practice, you’ll find that a DIY oil change becomes a straightforward, rewarding part of vehicle maintenance.

DEWALT 20V MAX Cordless Drill Driver Set, Electric Drill, Brushless 1/2 In 2 Speed, 2.0 Ah Battery and Charger Included, LED Light (DCD777D1)
DEWALT Power drill brushless motor delivers more run time over brushed
As an affiliate, we earn on qualifying purchases.
Frequently Asked Questions
Can I Reuse My Old Oil Filter Safely?
You shouldn’t reuse your old oil filter because it’s not safe and can cause engine damage. Oil filter lifespan is limited, and reusing filters risks contaminating the new oil with debris or sludge. When you change your oil, always replace the filter with a new one to guarantee proper filtration and engine health. Reusing filters compromises safety, so it’s better to invest in a fresh filter during each oil change.
What Are Signs I Need an Oil Change Sooner?
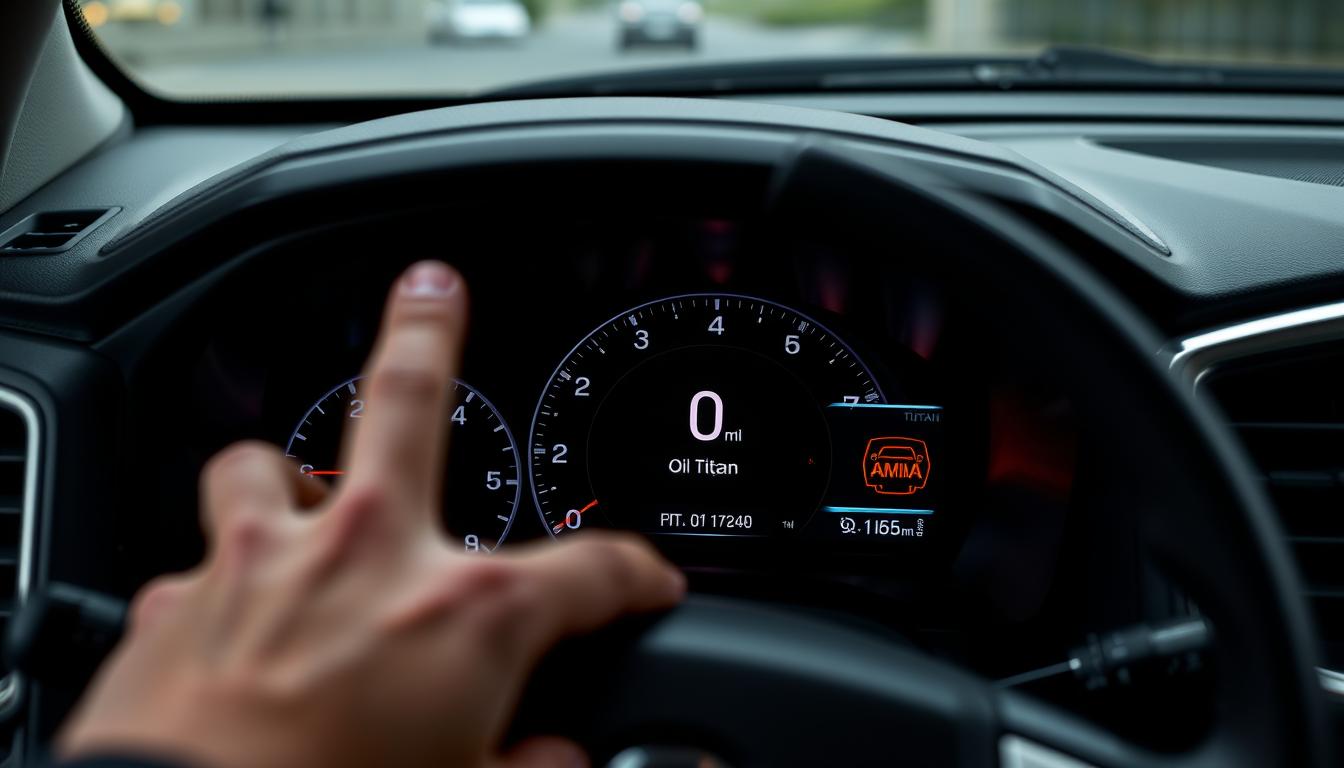
You need an oil change sooner if you notice your engine making more noise than usual or if the oil viscosity feels thinner or dirtier on the dipstick. Increased engine noise can indicate the oil isn’t lubricating properly, while changes in viscosity suggest the oil has broken down. Check your oil regularly, and don’t ignore these signs—they’re your clues to maintaining engine health and preventing costly repairs.
How Do I Dispose of Used Engine Oil Properly?
Did you know that improper disposal of used engine oil can contaminate up to a million gallons of water annually? To dispose of it properly, take your used oil to recycling centers or designated hazardous waste facilities. Never pour it down drains, onto the ground, or into storm drains. Proper disposal helps protect our environment, and recycling centers ensure the oil is safely processed and reused.
Is It Necessary to Change the Oil Filter With Every Oil Change?
You should change the oil filter with every oil change to guarantee proper oil filter maintenance and maximize its lifespan. A new filter prevents dirt, debris, and contaminants from circulating through your engine, which can cause damage over time. Relying on the oil filter lifespan alone isn’t enough; regular replacement helps maintain engine health and performance, making every oil change more effective and reliable.
What Tools Are Essential for a DIY Oil Change?
Think of your toolbox as Thor’s hammer—powerful and essential. For a DIY oil change, you’ll need a wrench or socket set compatible with your oil drain plug and oil filter. An oil filter wrench guarantees easy removal, while a funnel helps prevent spills. Don’t forget a clean rag for tool maintenance and safety. Always check oil filter compatibility beforehand to avoid surprises, making your task smoother and more efficient.

DEWALT 20V MAX Cordless Drill and Impact Driver, Power Drill Brushless 2-Tool Power Tool Combo Kit, Includes 2 Batteries, Charger and Bag (DCK277D2)
The compact 7.6-inch front-to-back, lightweight design fits into tight areas, making it an ideal choice for a power...
As an affiliate, we earn on qualifying purchases.
Conclusion
Changing your oil yourself saves money, builds confidence, and gives you a sense of accomplishment. It’s about taking control, understanding your vehicle, and caring for it with pride. It’s about being prepared, staying safe, and doing it right. When you embrace the DIY approach, you’re not just changing oil—you’re empowering yourself, gaining independence, and fostering a deeper connection with your car. So get hands-on, stay safe, and enjoy the rewarding feeling of doing it yourself.

DEWALT 20V Max Cordless Drill Driver Set, 2 Speed, High Performance Motor, Includes 2 XR 1.3Ah Li-Ion Batteries, Charger and Contractor Bag (DCD771C2)
Compact, lightweight design fits into tight areas
As an affiliate, we earn on qualifying purchases.