
When replacing your alternator, expect to disconnect the battery, remove the serpentine belt, and unbolt the old unit from its mount. You’ll then install the new alternator, reconnect electrical wires, and reapply the belt with proper tension. Afterward, you’ll need to verify the charging voltage with a multimeter to guarantee everything works correctly. If you keep going, you’ll learn every step in detail to guarantee a smooth replacement process.
Key Takeaways
- The process involves disconnecting the battery, removing the serpentine belt, and unbolting the old alternator.
- Proper electrical and mechanical connections must be carefully reattached to ensure system functionality.
- Belt tension and alignment are critical to prevent slipping or premature wear of the new alternator.
- Final testing includes verifying voltage output with a multimeter and checking dashboard warning lights.
- The entire replacement typically takes 1-3 hours depending on vehicle make and mechanic experience.

If your vehicle’s electrical system is acting up or your battery keeps dying unexpectedly, it might be time to replace the alternator. This component is essential because it charges your battery and powers your electrical accessories while you drive. Before jumping into replacement, you’ll want to perform some basic checks. Battery testing is a good starting point—it helps determine whether your battery is the issue or if the alternator isn’t charging it properly. If your battery tests fine, but your vehicle’s electrical issues persist, then the alternator is likely the culprit. During this process, inspecting the pulley is also important. The pulley spins the alternator’s belt, and if it’s worn or damaged, it can cause the alternator to malfunction or fail prematurely. A pulley inspection involves checking for cracks, corrosion, or wobbling that might indicate it needs replacement or repair.
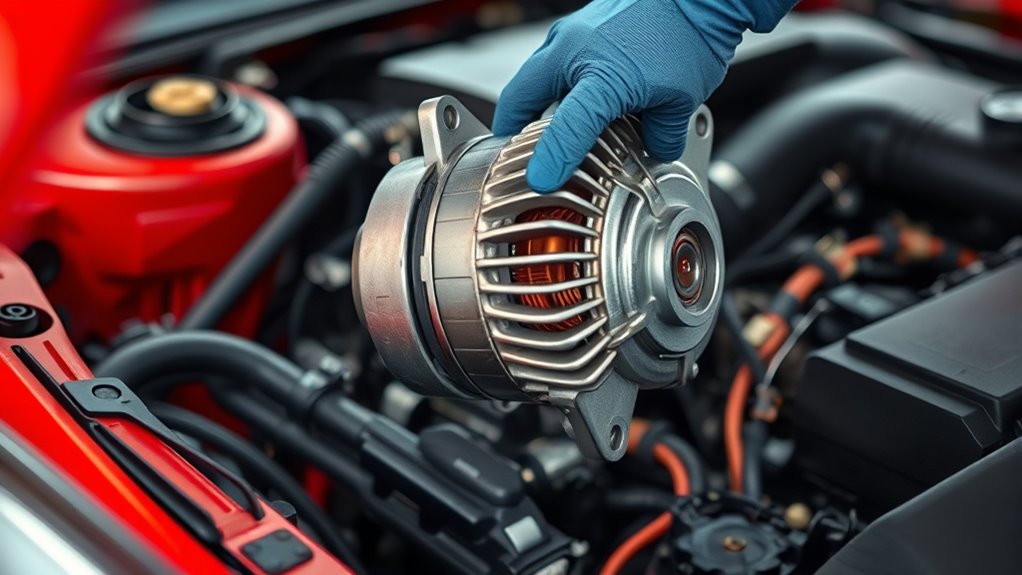
Once you confirm that the alternator is the problem, expect the replacement process to involve some straightforward, but precise steps. First, you’ll need to disconnect the battery to avoid electrical shorts or shocks. Then, you’ll locate the alternator—usually mounted on the engine with a belt running over the pulley. Removing the belt requires releasing tension from the serpentine belt system, often with a tensioner tool. Carefully slide the belt off the pulley, noting the routing for reassembly. Next, detach the electrical connections—these include the main power cable and possibly a few smaller wiring harnesses. Be gentle to prevent damaging connectors or terminals.
With everything disconnected, you can unbolt the alternator from its mounting bracket. Sometimes, the alternator is held in place with multiple bolts that require a socket wrench. Once removed, compare the old unit with the new one to ensure compatibility. Installing the new alternator involves reversing the removal process: position it in the bracket, tighten the mounting bolts securely, reconnect all electrical connectors, and then reapply tension to the serpentine belt. Make sure the belt is properly aligned on the pulley and has the correct tension to avoid slipping or premature wear. After everything is reassembled, reconnect the battery and start your vehicle. Monitor the dashboard for warning lights and use a multimeter to check that the alternator is charging the battery properly—typically between 13.8 and 14.8 volts. This final check confirms your replacement was successful and your vehicle is ready to hit the road with a reliable electrical system.

New Alternator Kit Regulator Slip Ring Bearings Brush Holder in6301rk6 Replacement For Lex ES330 RX350 LX570 Ponti Vibe Sci tC xD xB Toyot Camry Corolla Highlander Land Cruiser
100% NEW REPLACEMENT Regulator/Slip Ring For Lex Ponti Sci Toyot and more.
As an affiliate, we earn on qualifying purchases.
As an affiliate, we earn on qualifying purchases.
Frequently Asked Questions
How Long Does an Alternator Replacement Typically Take?
Replacing your alternator typically takes about 1 to 2 hours. You’ll start with alternator testing to confirm the issue, then gather the right replacement tools. During the process, you’ll disconnect the battery, remove belts and mounting bolts, and install the new alternator. Having the proper tools on hand speeds things up, but be prepared for some minor delays if parts are hard to reach or if your vehicle requires extra steps.
Can I Drive My Car With a Failing Alternator?
You shouldn’t drive your car with a failing alternator because it can harm your battery’s health and compromise your electrical system. As the alternator weakens, your battery might not get enough charge, leading to dimming headlights, electrical issues, or sudden shutdowns. If you notice signs of alternator trouble, it’s best to get it checked and replaced promptly to avoid unexpected breakdowns or further damage to your vehicle’s electrical components.
What Are the Signs of a Failing Alternator?
A failing alternator is like a dimming lighthouse; it sends faint signals before going out. You’ll notice warning lights flicker on your dashboard, especially the battery warning or check engine light. Battery problems may cause slow starts or dim headlights, and you might feel electrical accessories acting up. Keep an eye on these signs, as they indicate your alternator isn’t charging the battery properly, risking further breakdowns.
Is It Safe to Replace an Alternator Myself?
Replacing an alternator yourself can be safe if you follow proper DIY safety precautions, like disconnecting the battery and wearing protective gear. However, if you’re unsure about your skills or the process, it’s wise to seek professional assistance. Working with electrical components can be risky, so don’t hesitate to consult a mechanic to avoid potential injuries or damage. Prioritize safety and know when to call in a professional.
How Much Does an Alternator Replacement Usually Cost?
You’ll typically spend between $300 and $600 for an alternator replacement. Interestingly, labor charges usually make up about half of that cost, averaging $100 to $200 depending on your vehicle. Cost estimates vary based on the alternator’s brand and your location. If you do it yourself, you can save on labor, but make sure you’re comfortable with the process. Otherwise, plan for a professional to handle it efficiently.

Feikenee 15PCS Serpentine Belt Tool Set, Professional Ratcheting Serpentine Belt Tensioner Tool for Removing and Installing Automotive Serpentine Belts
WIDE APPLICATIONS: This serpentine belt tool kit is used to adjust, remove and install serpentine belts on vehicles…
As an affiliate, we earn on qualifying purchases.
As an affiliate, we earn on qualifying purchases.
Conclusion
Replacing your alternator might seem intimidating, but with the right guidance, it’s a manageable task. Think of it as tuning a finely crafted instrument—you’ll restore your vehicle’s harmony and reliability. Expect a bit of sweat and effort, but remember, every wrench turn brings your car back to life. Soon, you’ll be cruising smoothly again, the heart of your engine beating strong, ready to carry you wherever you need to go.

AstroAI Digital Multimeter Tester 2000 Counts with DC AC Voltmeter and Ohm Volt Amp Meter; Measures Voltage, Current, Resistance, Continuity and Diode, Blue
Additional Tips – The following incorrect operations may cause the multimeter not to show results: Firstly, the plugs…
As an affiliate, we earn on qualifying purchases.
As an affiliate, we earn on qualifying purchases.

ANCEL BA101 Car Battery Tester, 12V Digital Automotive Alternator Meter Diagnostic Tool,100-2000 CCA Load Capacity, Charging & Cranking Analyzer for Truck, Boat, RV, Marine Vehicle, and More
Catch Battery Problems Early: Featured in two videos by Project Farm, a popular YouTube channel with millions of…
As an affiliate, we earn on qualifying purchases.
As an affiliate, we earn on qualifying purchases.