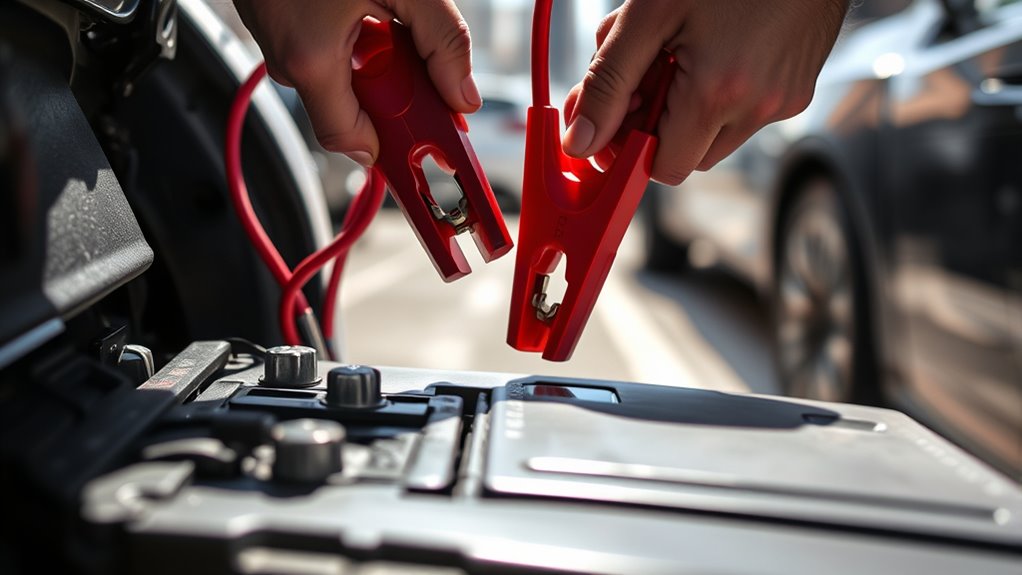

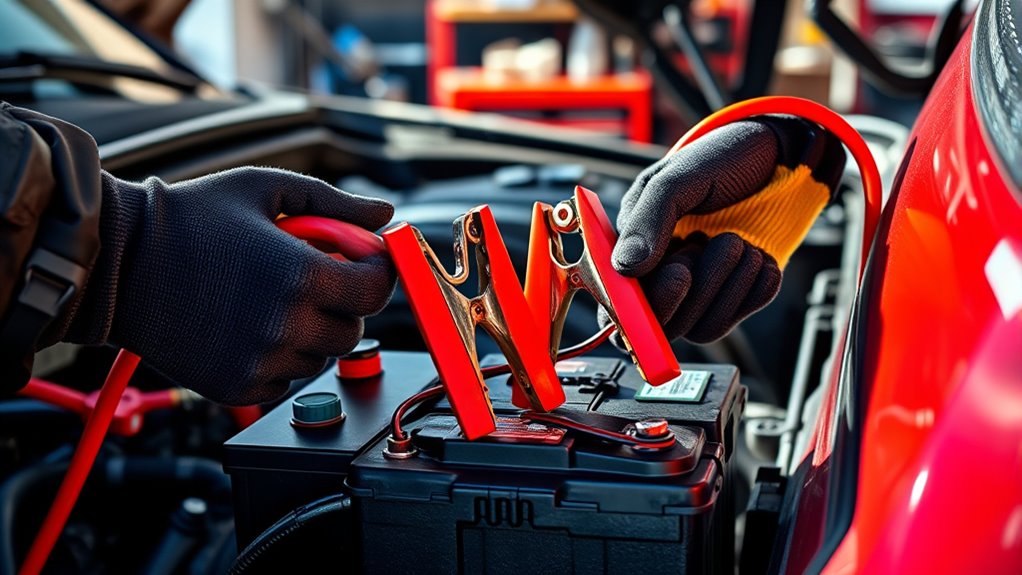
To jump-start a vehicle safely, first connect one red clamp to the dead battery’s positive terminal, then attach the other red clamp to the donor vehicle’s positive terminal. Next, connect a black clamp to the donor vehicle’s negative terminal, and finally, attach the remaining black clamp to an unpainted metal surface on the dead vehicle away from the battery. Following this sequence diminishes risks and guarantees a safe start; keep going to learn more essential tips and precautions.
Key Takeaways
- Connect the red clamp to the dead battery’s positive terminal first, then to the donor vehicle’s positive terminal.
- Attach the black clamp to the donor vehicle’s negative terminal next.
- Connect the remaining black clamp to an unpainted metal surface on the vehicle with the dead battery, away from the battery.
- Start the donor vehicle and let it run for a few minutes before attempting to start the dead vehicle.
- Disconnect the cables in reverse order: black from the metal surface, black from the donor, then red from both batteries.
When your car’s battery dies unexpectedly, jump starting is the quickest way to get it back on the road. However, it’s imperative to prioritize battery safety to prevent accidents or damage. Before you begin, make sure both cars are turned off, and remove any jewelry or loose clothing that could accidentally contact the battery terminals. Handling the jumper cables carefully and correctly is critical because sparking or incorrect connections can lead to battery explosions or fires. Using high-quality jumper cables with proper insulation also helps ensure a safe and effective connection.
Prioritize safety when jump starting to prevent sparks, explosions, or fires. Disconnect cables carefully and follow proper procedures.
Start by identifying the positive (+) and negative (–) terminals on both batteries. Most batteries have clearly marked terminals, but if you’re unsure, consult your vehicle’s manual. When choosing jumper cable types, opt for heavy-duty cables with good insulation and sturdy clamps, which help guarantee a secure connection and reduce the risk of sparks or shorts. Avoid cheap or thin cables that might melt or fail during the process.
Next, connect the jumper cables in the proper sequence. First, attach one red clamp to the positive terminal of the dead battery. Then, connect the other red clamp to the positive terminal of the donor vehicle’s battery. Afterward, attach one black clamp to the negative terminal of the donor vehicle’s battery. Finally, connect the remaining black clamp to an unpainted metal surface on your vehicle’s engine block or chassis, away from the battery itself. This grounding step helps prevent sparks near the battery, considerably enhancing safety.
Once the cables are securely connected, start the donor vehicle and let it run for a few minutes. This allows the dead battery to receive some charge. After that, attempt to start your vehicle. If it doesn’t start immediately, wait a few more minutes and try again. If your car starts, disconnect the cables in the reverse order: first, remove the black clamp from your vehicle’s chassis, then from the donor, followed by the red clamps from both batteries. Make sure to keep the clamps from touching each other or other metal surfaces during removal.
Throughout the process, maintaining battery safety is imperative. Never lean directly over the batteries, and avoid smoking or creating open flames nearby. Using the correct jumper cable types and following the proper sequence guarantees a safe, effective jump start. Remember, if your vehicle doesn’t start after several attempts, or if you notice any swelling or leaking from the battery, it’s best to seek professional assistance. Properly handling jumper cables and understanding the correct sequence can save you time, money, and potential hazards.
A thorough understanding of battery safety and proper procedures is essential for a safe jump start.
Frequently Asked Questions
Can Jump Starting Damage My Car’s Electronics?
Jump starting your car can potentially damage your vehicle’s electronics if you don’t follow proper battery safety procedures. Incorrect connections or a sudden surge can harm your electrical system. To protect your car, always make certain the cables are connected in the right order and avoid crossing wires. Proper jump starting minimizes risks and helps preserve your car’s electrical components, keeping your vehicle safe and reliable after the process.
What Should I Do if the Jumper Cables Spark?
If your jumper cables spark, immediately stop the process and disconnect them carefully. Sparks can indicate a short or improper connection, risking battery safety. To prevent sparks, verify both cars are off, connect the positive cable first, then the negative, and double-check your connections. Once secure, start the donor vehicle first before attempting to start your car. Always prioritize safety and proper procedures to avoid electrical damage or injury.
How Long Should I Let the Booster Car Run?
You should let the booster car run for about 5 to 10 minutes, giving the battery enough time to recharge and improve its maintenance. During this period, keep an eye on the engine temperature to make certain it doesn’t overheat. Running the booster car longer won’t necessarily help and could cause issues. Afterward, disconnect the cables in the correct order and check your battery’s condition before driving.
Is It Safe to Jump Start a Hybrid or Electric Vehicle?
Imagine a delicate circuit awakening; that’s how it feels when you consider jump starting a hybrid or electric vehicle. It’s generally safe if you follow proper hybrid safety procedures, but avoid doing it if you’re unsure. Electric vehicles have sensitive systems, so consult your owner’s manual or a professional. Ensuring correct connections and precautions minimizes risks, letting you power up confidently without harming your vehicle or yourself.
What Signs Indicate a Failed Jump Start Attempt?
You’ll know a jump start failed if you see a battery warning light or hear unusual engine hesitation. If the engine doesn’t turn over, or if it struggles to start despite the jump, that’s a clear sign. Additionally, persistent clicking sounds or electrical issues may indicate a problem. Always double-check connections and avoid repeated attempts to prevent further damage. If problems continue, seek professional help promptly.
Conclusion
As you connect the jumper cables, it’s like reigniting a forgotten spark between two old friends. The sudden burst of energy feels almost like a coincidence—your car’s heartbeat returning just when you needed it most. With a simple sequence, you’ve turned frustration into relief, witnessing how small steps can lead to big moments. Sometimes, it’s these unexpected connections that remind us how a little help can bring things back to life when we least expect it.