
Replacing your heater core involves diagnosing symptoms like poor heat, coolant smells, or foggy windows, then safely draining coolant and disconnecting hoses. You’ll need specific tools and a manual for your vehicle model. Carefully remove panels, disconnect the heater core, and install a new one with proper seals. Afterward, refill and bleed the system to eliminate air pockets, reassemble everything, and check for leaks. If you want detailed steps, continue exploring the entire process.
Key Takeaways
- Diagnose heater core issues by inspecting coolant leaks, odors, and foggy windows before replacement.
- Gather necessary tools such as screwdrivers, pliers, socket sets, and a coolant drain pan.
- Ensure safety by cooling the engine, disconnecting the battery, and draining coolant prior to work.
- Remove panels and disconnect heater hoses carefully to access and replace the heater core.
- Refill coolant, bleed air from the system, and verify proper operation after installation.
Have you noticed your vehicle’s interior isn’t warming up properly or there’s a persistent smell of coolant? If so, it might be time to look into your heater core. The heater core functions like a small radiator inside your car, transferring heat from the engine coolant into the passenger compartment. When it fails, you’ll experience poor heating, foggy windows, or even a coolant leak inside the vehicle. To address this, you’ll need to understand the diagnostic procedures involved and gather the right replacement tools before starting the repair.
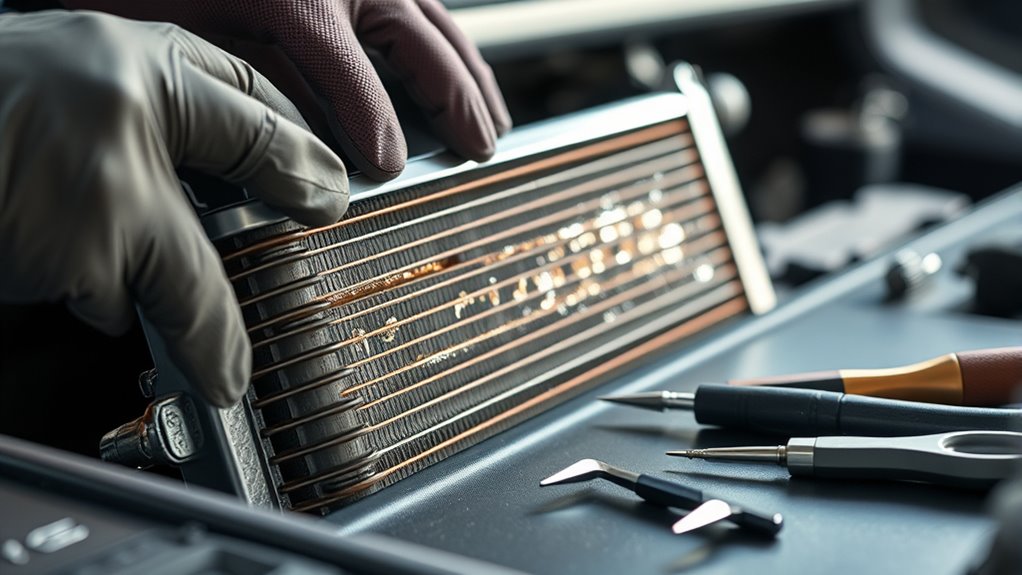
First, you should perform diagnostic procedures to confirm that the heater core is the problem. This involves inspecting for coolant leaks inside the vehicle, usually on the passenger side floor, and checking for a sweet smell of coolant. You might also notice foggy or misted windows and reduced heat from your vents. Using a pressure tester to evaluate the coolant system can help identify leaks or blockages. Additionally, inspecting the heater hoses for cracks or leaks can reveal if the problem originates from the core itself or the hoses connected to it. Once you’ve confirmed the heater core is faulty, gathering the proper replacement tools becomes vital. You’ll typically need screwdrivers, pliers, socket sets, a coolant drain pan, and possibly a trim removal tool to access the heater core assembly. Some vehicles require removal of dashboard panels or glove boxes, so having a detailed repair manual specific to your make and model can save you time and frustration.
Perform diagnostics with pressure testers and inspect hoses to confirm heater core issues before replacement.
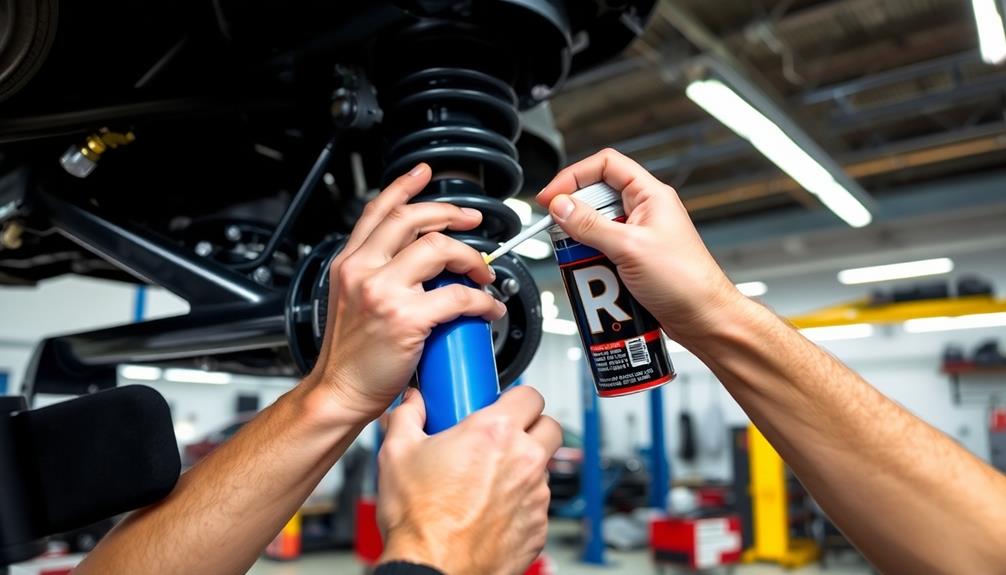
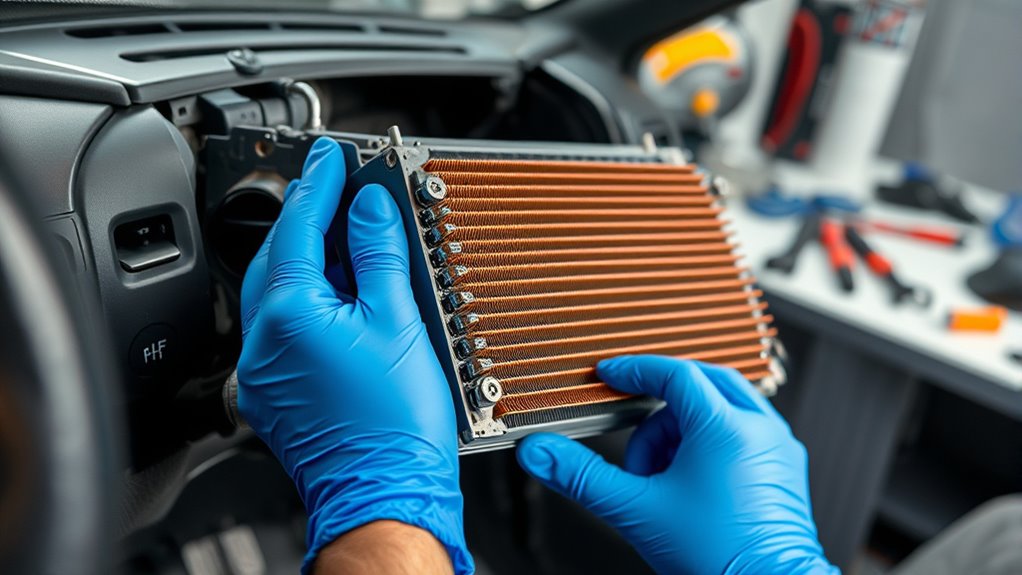
When replacing the heater core, safety precautions are essential. Make sure the engine is cool, drain the coolant properly, and disconnect the battery to avoid electrical mishaps. Start by removing necessary panels or components blocking access to the heater core. Carefully disconnect the heater hoses from the core—be prepared for some coolant spillage. Using the appropriate replacement tools, extract the old heater core from its housing, taking care not to damage surrounding components. Before installing the new core, double-check that all seals and gaskets are in place to prevent future leaks. When fitting the new heater core, reconnect the hoses securely using clamps, refill the coolant, and bleed the system to remove air pockets. After reassembling the panels and components, start the engine and monitor for leaks, proper heat output, and any unusual smells. Testing the system thoroughly will help guarantee the repair was successful.
Replacing a heater core can be labor-intensive, but with careful diagnostics and the right tools, you can restore your vehicle’s comfort. Staying methodical through each step will help you avoid common pitfalls. Remember, thorough inspection and proper handling of coolant are vital to a successful repair. Properly diagnosing coolant leaks and ensuring all components are in good condition will help prevent future issues. Once completed, you’ll appreciate the warm, clear cabin environment again, free of leaks or odors.
Frequently Asked Questions
How Long Does a Typical Heater Core Replacement Take?
A typical heater core replacement takes about 3 to 8 hours, depending on your vehicle and experience. You’ll start with diagnostic procedures to confirm the issue, then gather the right replacement tools. During the process, you’ll disconnect the heater hoses, remove the dashboard or dashboard components, and replace the core carefully. If you’re skilled or have help, it can go faster, but expect some time for troubleshooting and reassembling.
Can I Replace the Heater Core Myself?
You can attempt a DIY repair to replace the heater core, but it’s often complex and time-consuming. If you’re experienced with auto repairs, you might handle it yourself, saving money and gaining satisfaction. However, for most, hiring a professional service is wiser, guaranteeing proper installation and avoiding potential damage. Consider your skill level and tools before deciding—sometimes, professional help ensures a safe, efficient heater core replacement.
What Are the Signs of a Failing Heater Core?
If your heater core is failing, you’ll notice coolant leakage under your vehicle or a sweet smell inside your car, indicating a leak. You might also experience poor heater performance, with insufficient warm air or fluctuating temperatures. Keep an eye out for foggy windows from vapor or a drop in coolant levels, both signs that your heater core could be compromised. Addressing these issues early can save you costly repairs later.
How Much Does Heater Core Replacement Usually Cost?
Heater core replacement usually costs between $500 and $1,000, depending on your vehicle and labor rates. For DIY tips, consider doing it yourself if you’re comfortable with automotive repairs, which can save you money on labor. To compare costs, get quotes from different mechanics and factor in parts and labor. A cost comparison helps you decide whether to tackle the job yourself or hire a professional for a safe, efficient repair.
Are There Alternative Methods to Repair a Leaking Heater Core?
Yes, you can try DIY repairs to fix a coolant leak from your heater core, but it’s often temporary. Some use stop-leak products designed to seal small leaks, though they may cause clogs or damage. Alternatively, patching or soldering minor cracks might work if you’re skilled. However, these methods aren’t permanent solutions, and replacing the heater core remains the most reliable fix for a persistent leak.
Conclusion
Replacing your heater core might seem like a formidable task, but it’s a manageable job with patience. Think of it as trading a small inconvenience for long-term comfort—like fixing a leak before it floods your home. While the process takes effort, the warmth and clarity it restores are worth it. Sometimes, giving up a little now means you’ll enjoy a cozy, trouble-free drive later. Embrace the challenge; a warm interior is a victory worth the work.