
To perform a DIY brake caliper service, start by safely lifting your vehicle and removing the wheel. Inspect the calipers for damage, corrosion, or sticking pistons. Handle brake fluid carefully and replace it if contaminated. Remove the old caliper, install a new or rebuilt one, and reconnect the brake hose securely. Bleed the system to remove air, top off brake fluid, and test the brakes at low speed. If you’re ready to learn more, you’ll find helpful tips to make the process smoother.
Key Takeaways
- Gather necessary tools, safety gear, and replacement parts before beginning the brake caliper service.
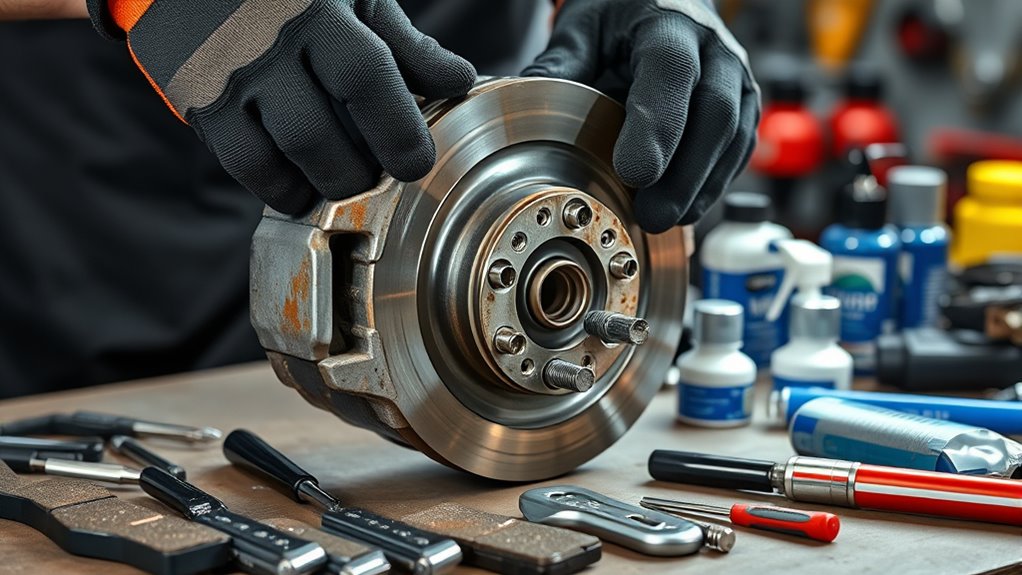
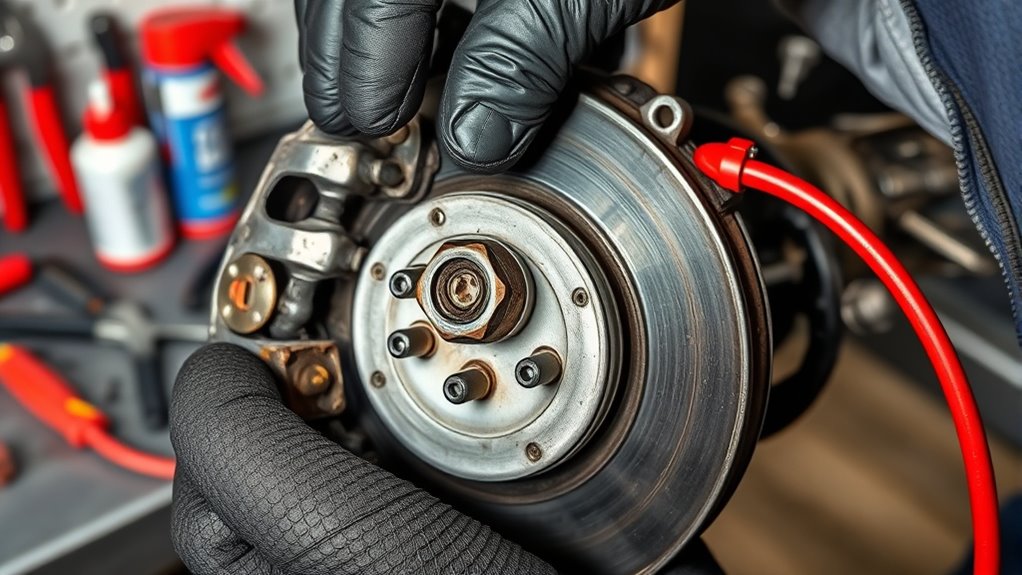
- Remove the wheel, inspect the caliper for damage, corrosion, or sticking pistons to determine repair needs.
- Carefully handle and replace brake fluid, flushing the system if contaminated or during caliper replacement.
- Disconnect the brake hose, remove the caliper, install the new unit, and bleed the system to remove air.
- Test the brakes at low speed, ensure proper installation, and use quality parts for safety and durability.
Are you considering a DIY brake caliper service to save money and gain a better understanding of your vehicle? If so, you’re taking a hands-on approach that can be rewarding and cost-effective. When working on your brakes, one of the key steps involves inspecting and possibly replacing your calipers. This process often requires understanding how to handle brake fluid properly and knowing when caliper replacement is necessary. Before diving in, make sure you’ve gathered the right tools and safety gear. You’ll need a jack, jack stands, wrenches, brake fluid, and possibly a brake caliper piston tool. Safety is paramount, so wear gloves and eye protection to avoid exposure to brake fluid, which is corrosive and can cause skin irritation.
Considering a DIY brake caliper service? Gather tools, safety gear, and handle brake fluid carefully to ensure a safe, effective repair.
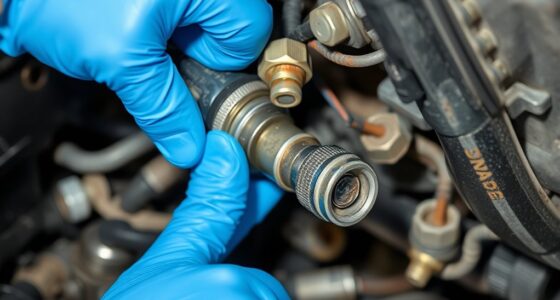
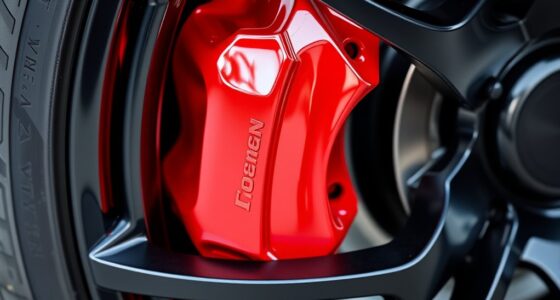
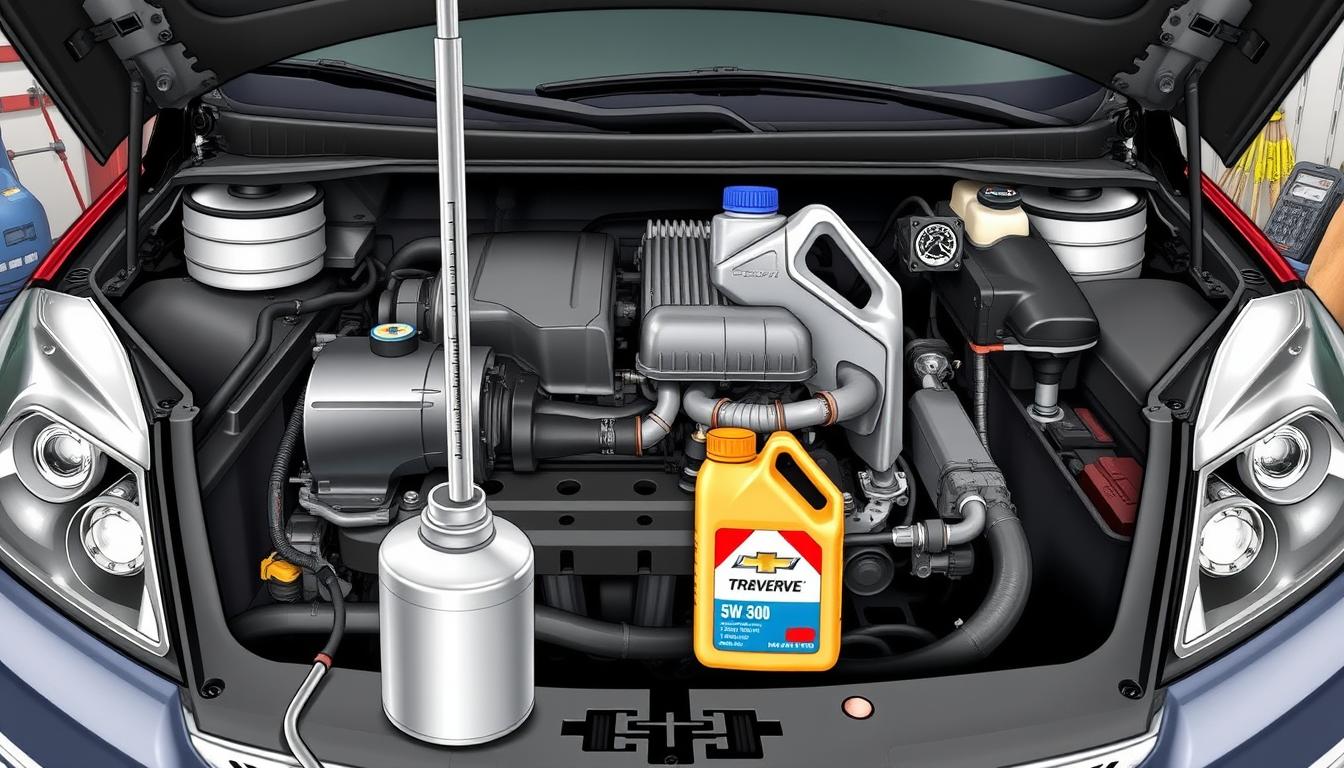
The first step in a brake caliper service is to lift your vehicle safely and remove the wheel. Once the wheel is off, you can inspect the caliper for signs of damage or corrosion. If the caliper is sticking or the piston is seized, caliper replacement might be in order. Often, a caliper rebuild is possible, but if it’s severely damaged or leaking, replacing it is the best choice. As you work, you’ll need to handle brake fluid carefully. Brake fluid not only lubricates the system but also transmits force from the brake pedal to the calipers. Over time, brake fluid can absorb moisture, which reduces braking performance and can cause corrosion inside the caliper. If you notice dark, dirty brake fluid, it’s a good idea to flush and replace it during your service.
To replace the caliper, you’ll disconnect the brake hose and remove the old caliper from its mounting bracket. Before installing the new caliper, make sure to bleed the brake system to remove air, which can cause spongy brakes. When bleeding, you’ll need fresh brake fluid; this step is essential for proper brake function. Proper brake fluid management is vital because contaminated or low brake fluid can compromise braking efficiency. After installing the new caliper, reconnect the brake hose, tighten all fittings securely, and bleed the brakes thoroughly. It’s recommended to check the brake fluid level in the master cylinder and top it off if needed. Once everything is reassembled, test your brakes at low speed to ensure they’re functioning correctly. Additionally, choosing the right caliper replacement parts can ensure longer-lasting repairs and better safety.
A DIY brake caliper service isn’t just about saving money; it’s about understanding your vehicle’s braking system better. With careful attention to detail, proper handling of brake fluid, and precise caliper replacement, you can maintain your brake system effectively. Just remember, if at any point you feel uncertain, consulting a professional is the safest choice. Properly maintaining your brakes ensures your safety and keeps your vehicle running smoothly.

Detroit Axle – 2pc Front Brake Calipers for 2007-2017 Jeep Wrangler 2018 Wrangler JK 2008-2012 Liberty 2007-2011 Dodge Nitro, Disc Brake Calipers w/Brackets Replacement
Brake Calipers Replacement for 2007-2008 Dodge Nitro – [2009-2010 Dodge Nitro (Without Heavy Duty Brakes)] – 2011 Dodge…
As an affiliate, we earn on qualifying purchases.
As an affiliate, we earn on qualifying purchases.
Frequently Asked Questions
Can I Use Regular Brake Fluid for Caliper Service?
You shouldn’t use regular brake fluid for caliper service because different brake fluid types, like DOT 3, DOT 4, or DOT 5, have specific properties and compatibility requirements. Always check your vehicle’s manual and opt for the correct brake fluid type. When doing caliper repairs, utilize quality caliper repair kits and fresh brake fluid to ensure proper function and safety. Mixing fluid types can cause brake failure, so choose wisely.
How Do I Identify Worn or Damaged Caliper Parts?
You can identify worn or damaged caliper parts by inspecting for caliper corrosion, which appears as rust or pitting, and checking for piston damage like dents or leaks. Look for uneven brake pad wear, sticking calipers, or fluid leaks around the piston area. If the piston moves sluggishly or there’s visible damage, it’s time to replace or service the caliper. Regular inspections help prevent brake failure and guarantee your vehicle’s safety.
What Safety Precautions Should I Take During Caliper Replacement?
Think of your workspace as a fortress of safety. You should wear personal protective equipment like gloves, goggles, and a dust mask to shield yourself from brake dust and sharp edges. Keep your workspace clean and well-lit, and guarantee the vehicle is securely supported with jack stands. Never rush, and double-check all tools and parts. By prioritizing workspace safety, you protect yourself and make the process smoother and more confident.
How Long Does a Typical Caliper Overhaul Take?
A typical caliper overhaul usually takes about 2 to 4 hours, depending on your experience and the vehicle model. You can expect the repair time to vary based on whether you’re doing it for the first time or have done similar jobs before. Be patient and stay organized to guarantee the job goes smoothly. Planning ahead and having all necessary tools ready will help you complete the caliper overhaul efficiently.
Are There Specific Tools Required for Caliper Disassembly?
You’ll need basic tools like a socket set, brake caliper piston tool, and a C-clamp for caliper disassembly. These help you safely remove the caliper, conduct caliper cleaning, and inspect the piston for any damage or corrosion. A brake caliper piston tool makes piston retraction easier, while a wire brush helps with cleaning. Having the right tools guarantees a smooth process and effective maintenance.

MAYESAR Brake Caliper Compression Tool, Caliper Piston Compressor Tool With Additional 2 pcs Large Steel Plate and 2 Hooks, 360°Adjustable Brake Caliper Tool for Single Twin Quad Piston Calipers (Red)
【Adding Tower to Your Brake Job!】Your professional brake caliper compression tool! This essential caliper piston compression tool is…
As an affiliate, we earn on qualifying purchases.
As an affiliate, we earn on qualifying purchases.
Conclusion
Taking on a brake caliper service yourself is like tuning a fine instrument—you gain confidence and save money. With the right tools and a little patience, you can keep your brakes performing at their best, ensuring safety on every drive. Remember, it’s not just about fixing a part; it’s about taking control of your vehicle’s performance. So, roll up your sleeves, and turn this task into a rewarding DIY victory—your car (and your wallet) will thank you.

Orion Motor Tech Brake Bleeder Kit with Hand Vacuum Pump and Adapters, Brake Bleeding Kit for Brake Fluid Power Steering Fluid More, Vacuum Brake Bleeder Pump with Pressure Gauge
YOUR TRIP COMPANION: With Orion Motor Tech's brake bleeder kit, say goodbye to the old days when it…
As an affiliate, we earn on qualifying purchases.
As an affiliate, we earn on qualifying purchases.

PAIYUE 4PCS Caliper Rebuild Kit,Car Accessories Brake Caliper Slide Pin Kit,Easy Installation Automotive Replacement Drive Shaft Assemblies Brake Bushings,Suitable for Most Compatible Vehicles
[High-Quality Materials]: Caliper pin dust covers are made of high-quality rubber, making them sturdy, durable, resistant to wear…
As an affiliate, we earn on qualifying purchases.
As an affiliate, we earn on qualifying purchases.