
To replace an O2 sensor yourself, first locate it on your exhaust manifold or pipe, then disconnect the vehicle battery for safety. Carefully remove the old sensor using the right tools, applying penetrating oil if necessary. Before installing the new sensor, check that it matches the old one and fits correctly. Secure the wiring properly and tighten everything per manufacturer specs. Once installed, start the engine and monitor for proper operation; continuing this process can help you master future fixes.
Key Takeaways
- Locate the oxygen sensor on the exhaust manifold or pipe and disconnect the vehicle battery before starting.
- Use the proper socket or wrench, apply penetrating oil if needed, and carefully remove the old sensor.
- Verify the new sensor matches the old one and understand whether your vehicle requires manual or automatic calibration.
- Reconnect and secure wiring connections, then follow manufacturer torque specs during installation.
- Test the system by starting the engine, checking for warning lights, and monitoring sensor readings for proper operation.
Ever wondered how to replace your vehicle’s oxygen sensor yourself? It’s a manageable task if you’re comfortable working with tools and vehicle components. Before diving in, it’s helpful to understand the basics of sensor calibration and wiring diagnostics, which can save you time and prevent future issues. Proper sensor calibration guarantees your new sensor provides accurate readings, so your engine runs efficiently and emissions stay within legal limits. Wiring diagnostics are equally essential; they help you identify any electrical problems like damaged wires or faulty connectors that could cause the sensor to malfunction or give false readings.
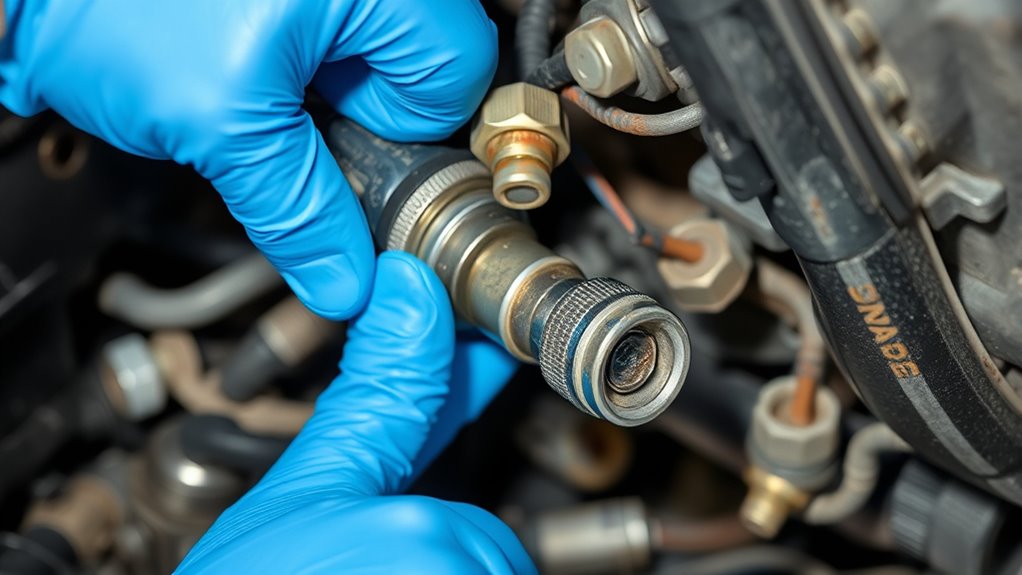
Start by locating the oxygen sensor, which is usually found on the exhaust manifold or exhaust pipe. Once you’ve identified it, turn off your vehicle and disconnect the battery to avoid any electrical shorts. Before removing the old sensor, inspect the wiring harness for signs of wear, corrosion, or broken connectors. Performing wiring diagnostics at this stage can reveal underlying electrical issues that might affect the new sensor’s performance. If you notice damaged wiring, replace or repair it before proceeding. This step helps ensure your replacement sensor operates correctly and prolongs its lifespan.
Locate the sensor on the exhaust pipe, turn off your vehicle, and disconnect the battery before inspecting wiring.
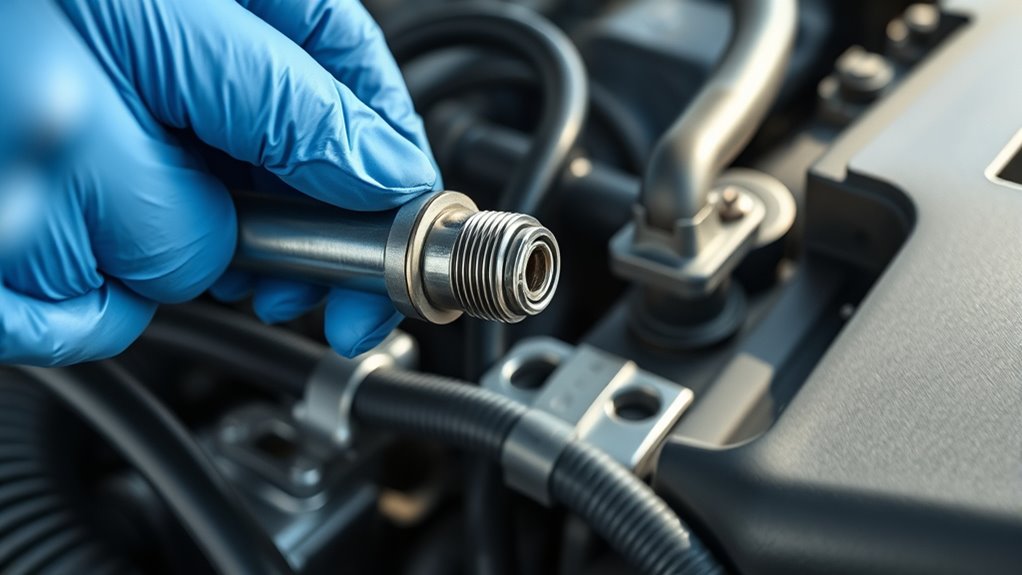
When you’re ready to remove the old sensor, use the appropriate socket or wrench to unscrew it. Keep in mind that oxygen sensors can sometimes be stubborn due to heat and corrosion, so applying penetrating oil beforehand can make removal easier. Once out, compare the new sensor with the old one to verify compatibility. Before installing the new sensor, it’s a good idea to perform sensor calibration if your vehicle’s system requires it. Many modern vehicles have onboard diagnostic systems that automatically calibrate the sensor once installed, but some may need manual calibration or adjustments. Consult your vehicle’s service manual to determine if calibration is necessary and follow the recommended procedures.
After installing the new sensor, reconnect all wiring and double-check your connections, making sure that the wiring is properly routed and secured. Clear any fault codes using an OBD-II scanner if needed, and start your vehicle to test the repair. Monitor the sensor’s readings and ensure there are no warning lights on your dashboard. If your car’s check engine light remains on or you notice irregular engine performance, revisit wiring diagnostics to confirm all connections are solid and functioning correctly. Performing these initial steps carefully can prevent future problems, optimize sensor calibration, and ensure your vehicle runs smoothly. With patience and attention to detail, replacing your oxygen sensor becomes a straightforward DIY project that saves you money and gives you confidence in maintaining your vehicle. Additionally, understanding the sensor technology involved can help you troubleshoot future issues more effectively.
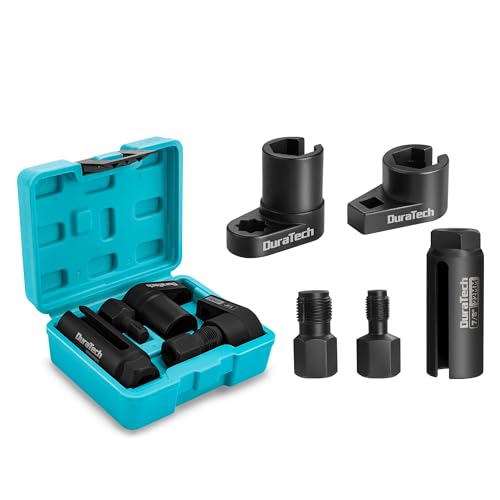
DURATECH 5PCS O2 Oxygen Sensor Socket Thread Chaser Set, 3/8" 1/2" Drive x 7/8" 22mm Oxygen Sensor Remover O2 Sensor Removal Tool Kit
O2 Sensor Socket Set: The package includes 1PC 1/2" Dr. x 7/8" (22mm) offset oxygen sensor socket, 1PC…
As an affiliate, we earn on qualifying purchases.
As an affiliate, we earn on qualifying purchases.
Frequently Asked Questions
How Do I Diagnose a Faulty O2 Sensor Accurately?
To diagnose a faulty O2 sensor accurately, you should start with sensor testing using a digital multimeter or an OBD-II scanner with diagnostic tools. Check for voltage fluctuations and compare readings to manufacturer specifications. If the sensor shows no change or out-of-range signals, it’s likely defective. Regularly inspecting data logs and performing a visual check can also help identify issues early and prevent unnecessary replacements.
Can I Replace the O2 Sensor Without Professional Tools?
Replacing an O2 sensor is like changing a tire—you can do it yourself with the right tools. You can remove the sensor without professional equipment, but it’s wise to have a wrench, gloves, and a socket set. After sensor removal, some vehicles require sensor calibration, which typically needs a scan tool. Without proper calibration, your car might not run smoothly, so consider whether you can handle these steps or need expert help.
What Are the Risks of Incorrect O2 Sensor Installation?
Incorrect O2 sensor installation risks sensor wiring mishaps, which can cause faulty readings or damage to the engine control unit. If you don’t apply proper installation torque, the sensor might leak or become loose, affecting performance and emissions. Always double-check the wiring connections and use the recommended torque specifications to guarantee a secure fit. Failing to do so may lead to costly repairs and decreased fuel efficiency.
How Long Does a Typical O2 Sensor Replacement Take?
Replacing an O2 sensor can take as little as 30 minutes or stretch to over an hour if you’re not careful. During this time, you’ll guarantee the sensor’s lifespan is maximized and avoid costly repairs, since a faulty sensor can dramatically increase your replacement cost. Rushing through might seem tempting, but taking your time ensures a proper fit and peak performance, saving you money and headaches in the long run.
Are There Differences Between OEM and Aftermarket O2 Sensors?
You’ll notice differences between OEM and aftermarket O2 sensors. Aftermarket sensors can offer good quality, but OEM parts usually guarantee perfect compatibility and longevity. OEM sensors are designed specifically for your vehicle, guaranteeing peak performance, while aftermarket options might vary in quality. If you want reliable, factory-level performance, OEM is the safer choice. However, if you’re budget-conscious, select aftermarket sensors with strong reviews to ensure decent quality and compatibility.

Offset Oxygen Sensor Socket, 3/8-Inch Drive, 7/8-Inch (22mm), Wire Gate Accesses Sensor from Side, Preventing Damage to Wires, Universal for Most Cars
PREMIUM QUALITY: Made of premium chrome molybdenum steel, this socket allows the user to apply maximum torque to…
As an affiliate, we earn on qualifying purchases.
As an affiliate, we earn on qualifying purchases.
Conclusion
Replacing your O2 sensor yourself might seem intimidating at first, but with a little patience and the right tools, you’ll be back on the road in no time. Remember, don’t bite off more than you can chew—take it step by step. Once you’ve completed the job, you’ll have saved money and gained confidence. It’s a small task that can make a big difference, proving that DIY solutions often turn out to be the best kind of medicine.

WINAMOO Automotive Test Light with 3-48V LED Digital Voltage Display, Auto Circuit Tester with Voltmeter & Dual Color Polarity Indicate, Electric Test Pen w/Stainless Probe for Car/Truck/SUV Checker
【PRECISE READOUTS & CLEAR DIGITAL DISPLAY】Bright LED display shows highly clear readings in any lighting condition, 0.1V resolution…
As an affiliate, we earn on qualifying purchases.
As an affiliate, we earn on qualifying purchases.
DURATECH 5PCS O2 Oxygen Sensor Socket Thread Chaser Set, 3/8" 1/2" Drive x 7/8" 22mm Oxygen Sensor Remover O2 Sensor Removal Tool Kit
O2 Sensor Socket Set: The package includes 1PC 1/2" Dr. x 7/8" (22mm) offset oxygen sensor socket, 1PC…
As an affiliate, we earn on qualifying purchases.
As an affiliate, we earn on qualifying purchases.