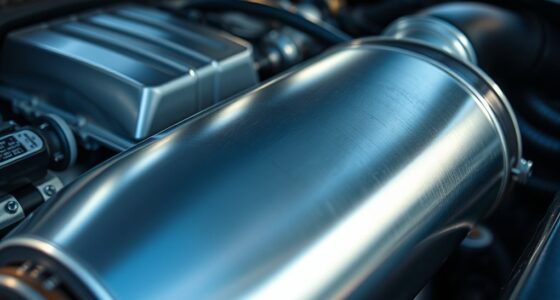
AC repair isn't as complicated as many mechanics want you to believe. With just a few basic tools—like a multimeter and socket set—you can tackle common issues like weak airflow or warm air from the vents. Simple tasks, such as replacing a capacitor or cleaning filters, can easily save you money. It's essential to check for refrigerant levels and inspect your outdoor unit before calling in professionals. By understanding and applying these DIY techniques, you can effectively maintain your system. Keep going, and you'll discover even more tips to enhance your skills and confidence in AC repairs.
Key Takeaways
- Regularly changing and cleaning air filters can significantly enhance airflow and efficiency, reducing the need for professional help.
- Simple DIY repairs, like replacing capacitors, can be completed in about two hours and save on service costs.
- Checking and recharging refrigerant levels using DIY kits can prevent costly breakdowns and improve system performance.
- Power supply checks and outdoor unit inspections are straightforward tasks that can identify common issues before they escalate.
- Utilizing online marketplaces for cost-effective replacement parts allows you to perform repairs without high mechanic fees.
Common AC Issues Explained

Understanding common AC issues can save you time and money on repairs. One of the most frequent problems you might encounter is weak airflow. This often points to clogged filters or a failing blower motor, both of which can be solved with routine maintenance.
If you're feeling warm air blowing from the vents, it typically means you're dealing with low refrigerant levels or a compressor malfunction. A refrigerant check and potential compressor repair can get your AC running efficiently again.
You should also be aware of unusual smells coming from your system. These odors often indicate mold or bacteria growth in the ducts, which can be tackled by cleaning the system or using specific cleaning solutions.
Listen for strange noises like grinding or squealing, too. These sounds can signal mechanical issues within the AC components, such as the compressor or fan, which may need inspection or replacement.
Lastly, if you notice leaking fluids beneath your vehicle, it might indicate refrigerant leaks or other system failures. Timely diagnostics are essential to prevent further damage and expensive AC repair costs down the line.
Stay proactive, and your AC will serve you well!
DIY Repair Techniques
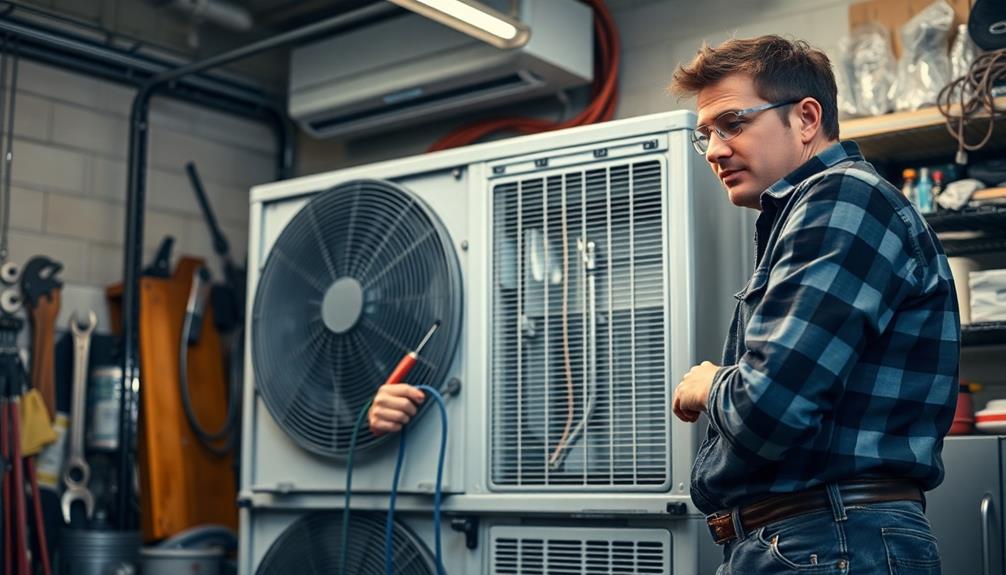
When it comes to DIY repair techniques for your car's AC system, having the right tools and knowledge can make all the difference. Start by investing in basic tools like a multimeter, insulated screwdrivers, and a socket set, which you can usually get for under $100.
Regularly cleaning and replacing air filters is essential; it greatly improves airflow and system efficiency, helping you avoid costly repairs later on.
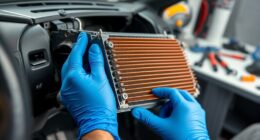
You can also check and refill refrigerant levels at home using DIY kits, which saves you money while ensuring your AC compressor functions properly. If you're noticing weak airflow or unusual noises, inspect components like the blower motor and condenser fan yourself. These issues often have straightforward fixes.
Many common repairs, such as replacing capacitors or contactors, can be accomplished in about two hours. By tackling these tasks, you not only extend the lifespan of your AC unit but also gain valuable experience.
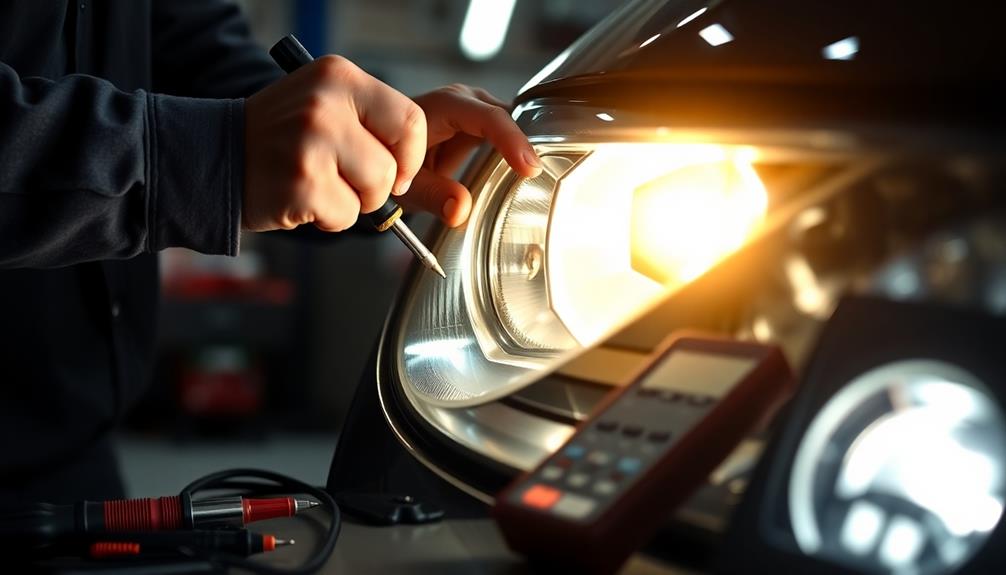
Essential Tools for Repairs
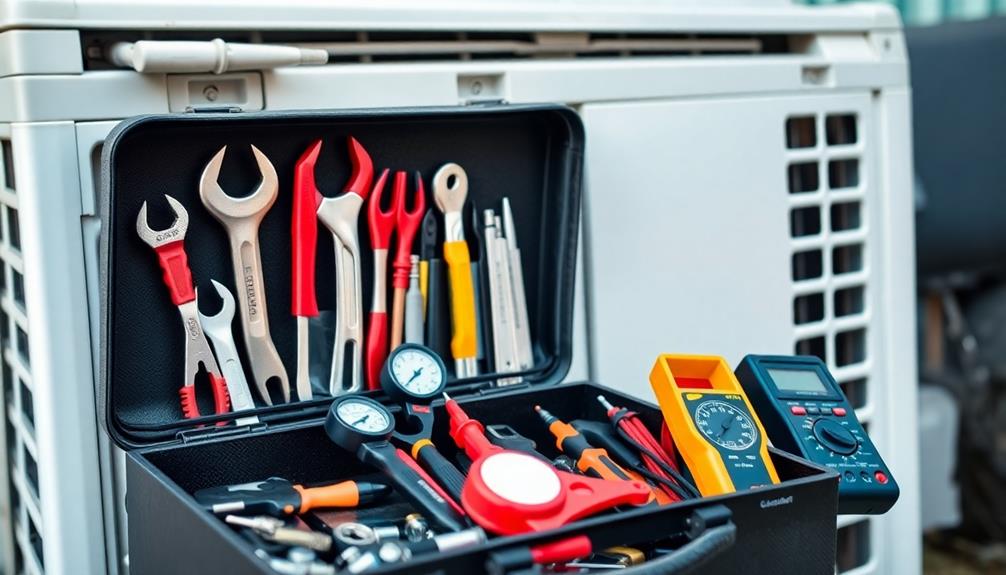
When tackling AC repairs, having the right tools is vital for both effectiveness and safety.
You'll need basic hand tools like pliers and wrenches, along with essential safety equipment to protect yourself while working.
Let's explore the must-have tools that can make your repair process smoother and more efficient.
Basic Tool Requirements
Having the right tools on hand is essential for successful AC repairs. With the appropriate basic tools, you can tackle most common issues with ease.
Here's a list of must-haves for your repair toolbox:
- Multimeter: This tool is vital for electrical testing, allowing you to check voltage and continuity.
- Socket Set: A versatile socket set helps you remove and install various parts efficiently, ensuring you've got the right sizes for bolts and nuts.
- Refrigerant Manifold Gauge Set: This set is key for diagnosing refrigerant levels and checking system pressures, helping you identify potential problems quickly.
- Torque Wrench: Use this tool to tighten bolts to the manufacturer's specifications, preventing damage or leaks from improper installation.
Essential Safety Equipment
Before tackling any AC repairs, prioritizing your safety is essential. Start by wearing safety goggles to protect your eyes from refrigerants and debris. This simple step guarantees you can see clearly and work safely throughout the repair process.
Next, insulated gloves are a must. They shield your hands from electrical shocks and sharp components, keeping you safe while you work.
A multimeter is another essential tool; it helps you test electrical circuits and diagnose issues accurately. This way, you can pinpoint faults without guesswork.
Before you access any electrical components, always use a voltage tester. This tool guarantees the power is off, greatly reducing your risk of injury during repairs.
Cost-Effective Replacement Parts

Finding cost-effective replacement parts for your car's air conditioning system can greatly reduce repair expenses and keep your vehicle cool during hot months.
By exploring various options, including understanding the implications of economic transactions, you can save money while ensuring your AC system runs smoothly.
Here are some tips to help you find the best deals:
- OEM Compressors: Look for OEM compressors priced between $150 and $200, which are often more affordable than dealership options.
- Salvage Yards: Consider sourcing used compressors from salvage yards, where prices can be remarkably lower, perfect for DIY enthusiasts.
- Regular Maintenance: Replace contactors and start/run capacitors every five years to prevent costly failures in your AC system.
- Online Marketplaces: Utilize online platforms and appliance stores to find competitive pricing on replacement parts, ensuring cost-effective repairs.
Testing and Troubleshooting Steps
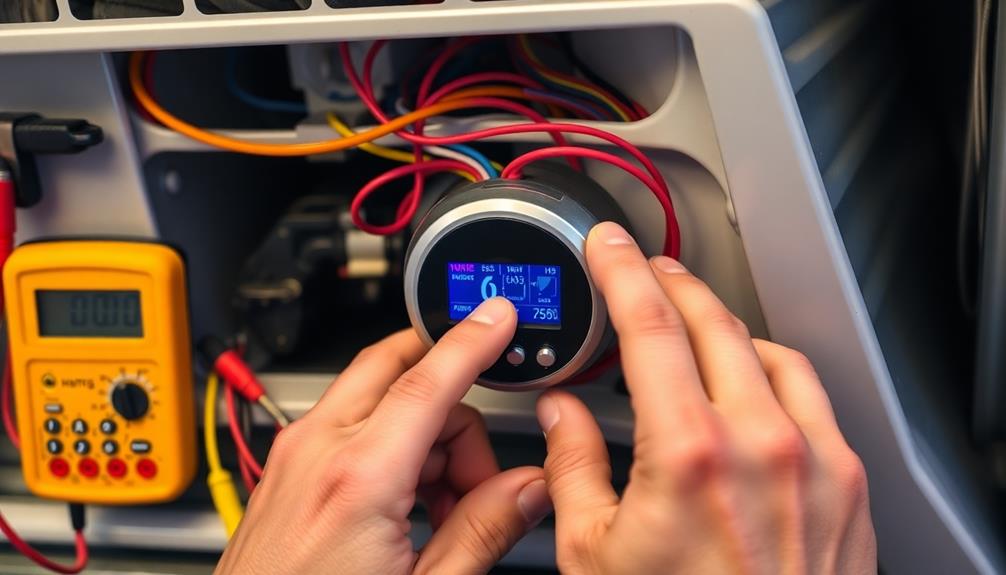
Once you've secured cost-effective replacement parts for your AC system, it's time to confirm everything's working properly. Begin by checking the power supply to verify the circuit breaker isn't tripped and that the thermostat is set to cooling mode with a temperature lower than the current room temperature. Then, inspect the outdoor condensing unit for any signs of compressor and fan activity.
Here's a simple troubleshooting checklist to guide your testing:
| Step | Action |
|---|---|
| 1. Power Supply | Check circuit breaker and thermostat settings |
| 2. Outdoor Unit | Inspect for compressor and fan movement |
| 3. Thermal Limit Switch | Test continuity to verify it's functioning |
| 4. Compressor Voltage | Use a multimeter to measure voltage |
| 5. Refrigerant Levels | Verify and recharge if low |
These steps are critical in diagnosing issues within your air conditioning system. If you find discrepancies in voltage or lack of refrigerant, you may need to take further action or replace faulty components. By methodically testing and troubleshooting, you can confirm your system operates efficiently.
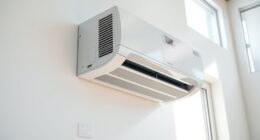
When to Seek Professional Help
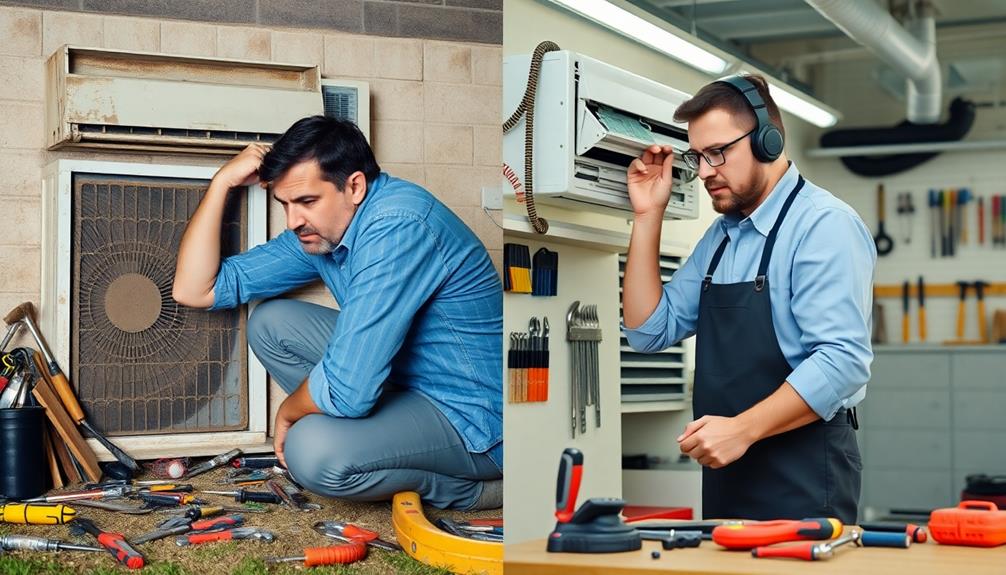
If you notice your AC frequently cycling on and off or hear unusual noises, it's time to call in a professional.
Signs like weak airflow or warm air from the vents can point to serious issues that need expert evaluation.
Don't hesitate to reach out for help, especially if DIY fixes haven't worked after a few tries.
Signs of Serious Issues
Sometimes, your air conditioning unit will show signs that something's seriously wrong, and ignoring these clues can lead to bigger problems down the road.
It's essential to recognize these signs to avoid costly repairs. Here are four key indicators that you should seek professional help for your A/C system:
- Frequent Breakdowns: If your A/C unit keeps breaking down despite recent repairs, it's likely time for a professional evaluation rather than more band-aid fixes.
- Inefficient Cooling: When you notice that your unit isn't cooling as efficiently as it used to or the temperatures are inconsistent, this points to deeper issues that need expert diagnosis.
- Unusual Noises: Strange sounds or vibrations during operation often indicate mechanical failures. Addressing these issues with a qualified technician can prevent further damage.
- Rising Energy Bills: If your energy bills have skyrocketed without any changes in usage, this could signal underlying problems with your A/C unit's efficiency, warranting a professional assessment.
Don't wait until it's too late—recognizing these signs early can save you headaches and money in the long run.
Complex System Diagnostics
When your air conditioning system exhibits persistent issues, it's crucial to recognize when to call in the experts. Complex system diagnostics often require specialized tools and knowledge, especially for problems like compressor cycling or electrical failures that basic troubleshooting might miss.
If your AC continues to blow warm air after replacing components like the Climate Control Module or checking refrigerant levels, it's time to consult a professional. A certified technician can accurately assess the high and low side pressures of your AC system, helping to diagnose potential refrigerant leaks or compressor issues that DIY methods might overlook.
Here's a quick guide to help you decide when to seek professional help:
| Signs You Need Help | Actions to Take |
|---|---|
| Persistent warm air | Call a certified technician |
| Unusual noises from the unit | Get a thorough evaluation |
| Frequent cycling or system failure | Consult an AC specialist |
Frequently Asked Questions
Why Does AC Repair Cost so Much?
AC repair costs so much mainly due to high labor fees, expensive parts, and additional charges for refrigerant services. Frequent breakdowns can lead to costly diagnostics and unnecessary replacements, driving your expenses even higher.
What Is the First Thing to Check When the AC Stops Working?
When your AC stops working, start by checking the thermostat settings. Make sure it's on "cool" and the temperature is lower than the room's. This simple step often resolves the issue quickly.
How Long Does It Take to Learn How Do You Fix AC?
Learning to fix AC takes dedication, patience, and practice. You'll grasp the basics in 3-6 months, gain hands-on experience over 1-2 years, and develop proficiency through regular DIY projects or working alongside experienced technicians.
What Is the Most Common Problem That Can Occur in a Car's AC System?
The most common problem you'll encounter in a car's AC system is low refrigerant levels, often due to leaks. This leads to insufficient cooling, emphasizing the need for regular maintenance and inspection to prevent issues.
Conclusion
Now that you know the ropes, tackling common AC issues can be a breeze. By using the DIY techniques and essential tools we've discussed, you can save both time and money. Just remember, if you hit a brick wall and the problem seems beyond your reach, don't hesitate to call in the pros. With a little effort and know-how, you can keep your cool without breaking the bank!