
You can fix your squeaky suspension in just five minutes using a quick lubrication trick. Start by lifting your front wheels to access the suspension components. Locate the rubber bushings, and carefully create a small slit in one. Use silicone spray, which won't degrade the rubber, and apply it with a straw for full coverage inside. Seal the slit with a rubber-compatible super glue, ensuring protection from dirt and moisture. Allow the glue to dry, then test drive your vehicle. If you still hear squeaks, there's more you can do to keep your suspension in top shape.
Key Takeaways
- Lift the front wheels to access suspension components for a thorough inspection of potential squeak sources.
- Identify and apply pressure to upper control arm bushings, tie rods, and knuckle joints to isolate the noise.
- Create a small slit in rubber bushings, then use silicone spray for lubrication to eliminate squeaks.
- Seal the slit with rubber-compatible super glue to prevent contamination and maintain bushing function.
- Test drive the vehicle to ensure the squeaks are gone, monitoring for any unusual sounds afterward.
Top picks for "squeaky suspension minut"
Open Amazon search results for this keyword.
As an affiliate, we earn on qualifying purchases.
Suspension Squeak Identification
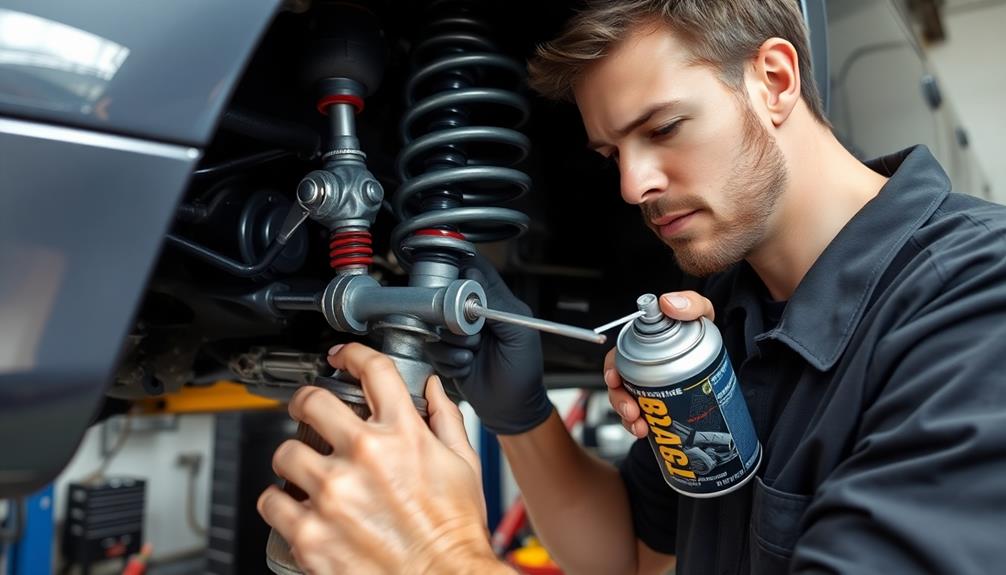
When you hear a squeak coming from your vehicle's suspension, it's vital to pinpoint the source to avoid further issues. To take care of the problem, start by lifting both front wheels off the ground for better access. This allows you to inspect significant suspension components more effectively.
Your focus should be on the upper control arm bushings, steering tie rods, and the bottom knuckle joint, as these are common culprits of squeaking noises. Squeaks may not be audible when your vehicle's on a lift, so you need to test each component individually by applying pressure. This can help you isolate the issue more accurately.
Also, don't forget about a visual inspection. Look for signs of wear, cracks, or deterioration in the bushings and joints. These visual cues can give you important insight into potential suspension problems.
Inspection Process
A thorough inspection process is essential for effectively diagnosing squeaky suspension issues. Start by raising both front wheels off the ground to get a good look at the suspension components. This little bit of preparation makes a huge difference in your evaluation.
Focus on key areas where squeaks commonly originate:
- Upper control arm bushings
- Steering tie rod
- Bottom knuckle joint
- Strut mounts
- Coil springs
Once you've got everything elevated, remember that squeaks mightn't be audible without the vehicle's weight on the wheels. So, while you're inspecting, apply some weight to each component to see if the noise surfaces.
Isolate the issue by testing each part one at a time; this method helps you accurately pinpoint the source of the squeak.
Don't skip a visual inspection for wear and tear, too. Damaged components are more likely to produce annoying noises while you're driving.
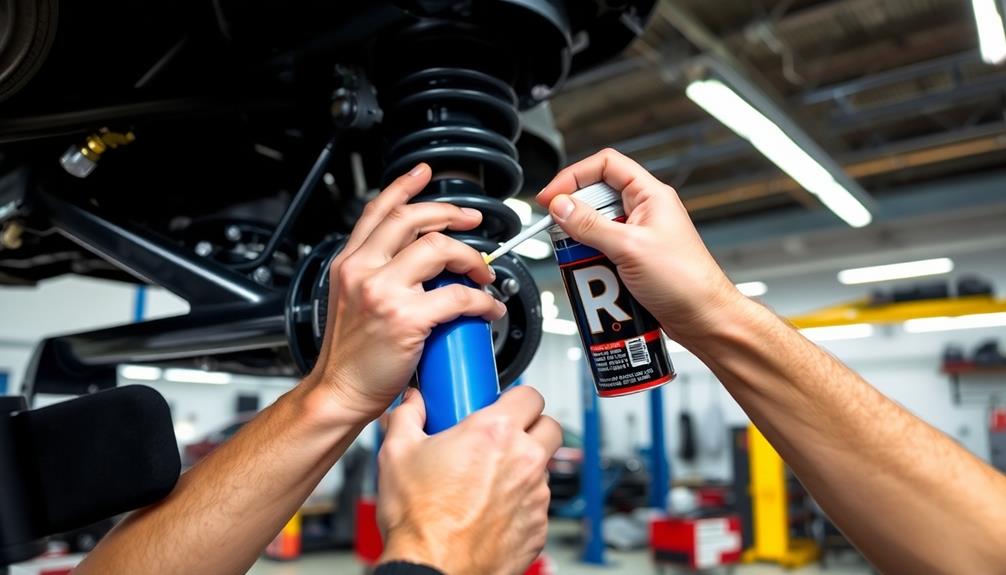
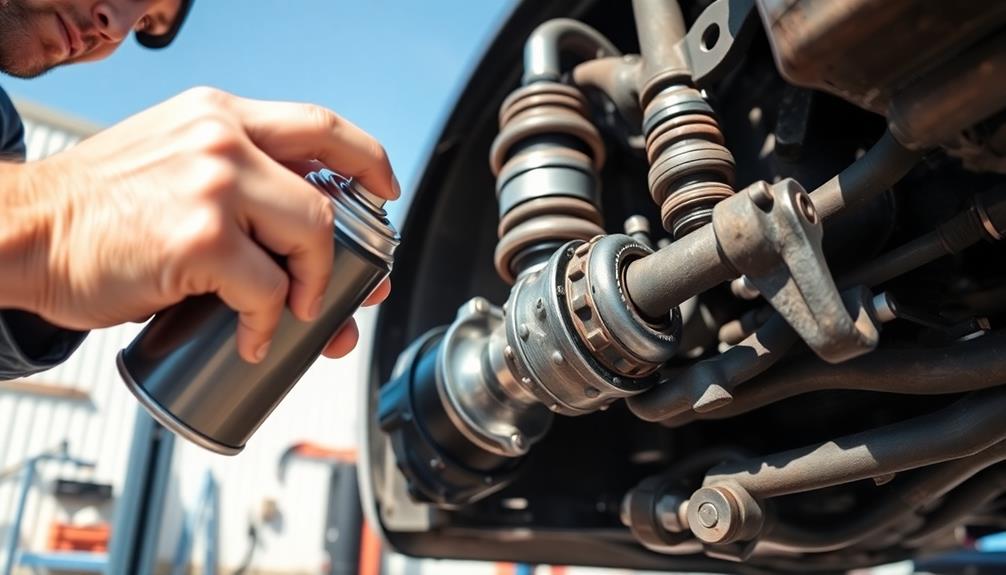
Lubrication Technique
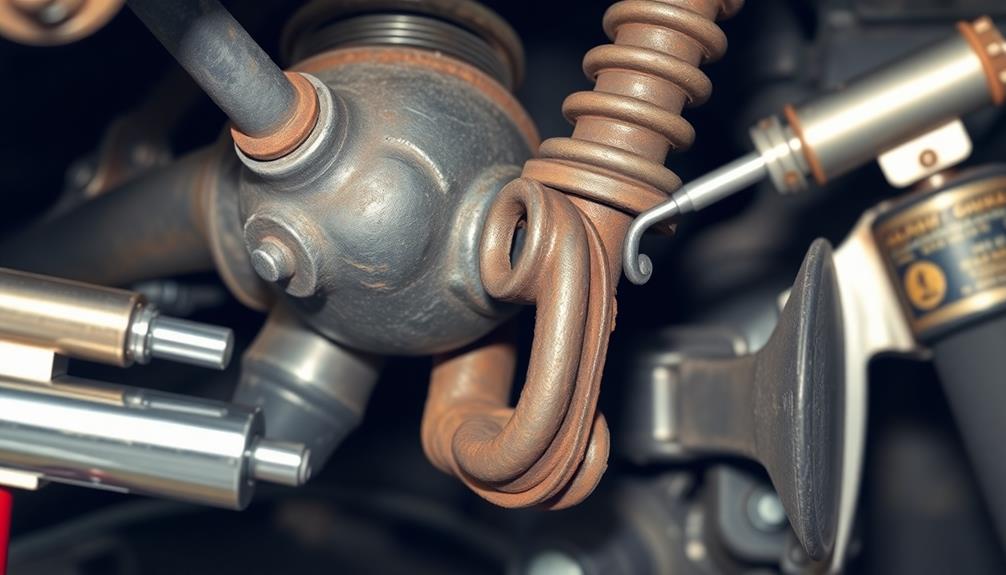
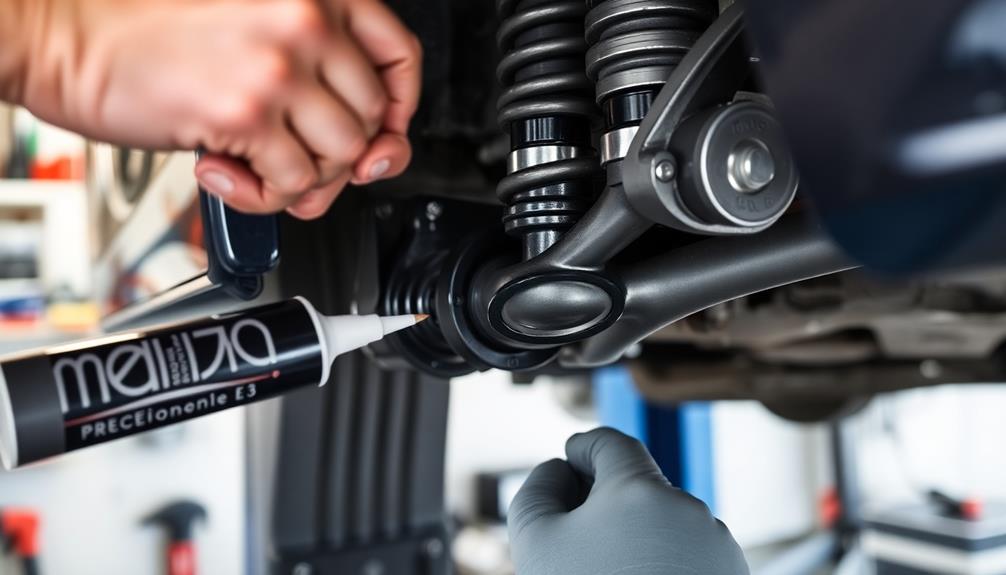
Lubricating your squeaky suspension can be a game changer in restoring a smooth ride. To effectively apply this lubrication technique, start by creating a small slit in the rubber bushing. This allows you to access the interior without needing to remove the bushing entirely.
Use silicone spray, as it's rubber compatible and won't degrade the bushing material over time. Next, insert the straw from the silicone spray into the slit. Apply a small amount of lubricant, making sure the bushing swells slightly; this enhances effectiveness and guarantees full coverage.
After you've lubricated the bushing, seal the slit with a dot of rubber-compatible super glue. This step is vital as it prevents contamination and keeps the lubrication inside the bushing.
Give the super glue a few minutes to dry before reassembling the wheel. Once everything is back in place, take the time to test your suspension. With luck, the squeak should be gone, and you'll enjoy a smoother ride.
Sealing the Repair
After you've successfully lubricated the rubber bushing, sealing the repair is the next vital step. This process guarantees your hard work doesn't go to waste and keeps your suspension quiet and efficient.
Here's how to effectively seal that slit you created for lubrication:
- Create a small slit in the rubber bushing to reach the interior.
- Use rubber-compatible super glue to seal the slit, applying just a small dot.
- Avoid using too much glue, as excess can interfere with the bushing's function.
- Allow the super glue to dry for a few minutes; this is essential for a strong bond.
- Proper sealing prevents contamination from dirt and moisture.
Testing and Follow-Up
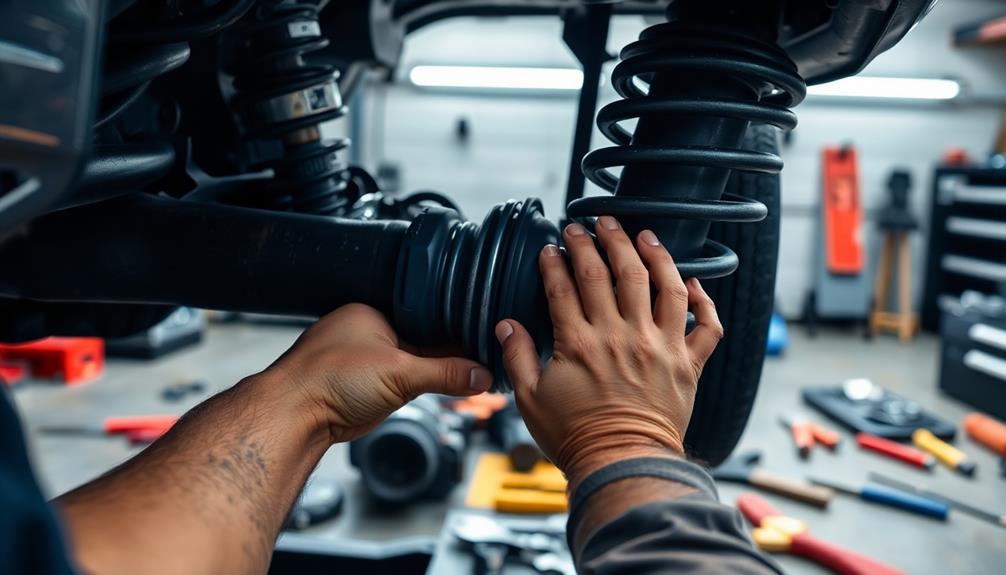
Once you've completed the lubrication and sealing of your suspension components, it's crucial to put your repairs to the test. Take your vehicle for a test drive to see if those annoying squeaks have disappeared. As you drive, pay close attention to any unusual sounds, especially when going over bumps or making turns. This will help you determine if your repair was successful.
| Action | Observation | Next Steps |
|---|---|---|
| Test Drive | Listen for squeaks | If squeaks persist, re-evaluate the components. |
| Over Bumps | Notice any abnormal sounds | Document your findings for reference. |
| Monitor Over Time | Check for returning noises | Engage with forums for additional tips. |
After your test drive, keep an eye on the suspension system over the next few days and weeks. If squeaking reoccurs, it might indicate additional wear or damage that lubrication alone couldn't fix. Engaging with knowledgeable communities can provide insights and solutions from others who've faced similar issues.
Frequently Asked Questions
How Do I Get My Suspension to Stop Squeaking?
To stop your suspension from squeaking, inspect key components like ball joints and bushings. Apply silicone spray to lubricate them, then seal any slits with super glue and monitor for any returning noises after driving.
What Is the Best Lubricant for Squeaky Suspension?
So, you've got a squeaky suspension, huh? You're not alone! Try silicone spray—it's like magic for rubber bushings. It penetrates tight spots, doesn't ruin rubber, and keeps your ride smooth. Who needs more noise?
Is It OK to Drive With a Squeaky Suspension?
It's not ideal to drive with a squeaky suspension. While it may seem harmless initially, ignoring those sounds can lead to more serious issues, increasing repair costs and compromising your vehicle's safety and performance.
How to Stop Ball Joints From Squeaking?
You hear that annoying squeak? It could be your ball joints. Inspect them closely for wear, then lubricate with silicone spray. Don't forget to seal any openings to keep contaminants out and maintain effectiveness.
Conclusion
So, there you have it! In just five minutes, you can silence that squeaky suspension and feel like a car whisperer. Who needs a mechanic when you've got a can of grease and a few minutes to spare? Sure, your friends might think you're a DIY genius, but let's be honest: they'll just be envious of your newfound ability to take corners without sounding like a rusty gate. Happy greasing, and may your rides be squeak-free!