
Replacing your oxygen sensor is essential for maintaining your vehicle’s emissions system and ensuring smooth engine performance. You’ll need to identify which sensor needs new wiring or removal, disconnect it, and install a new one with the right tools and torque specifications. Afterward, clearing trouble codes helps calibrate the system properly. Proper installation is key to avoiding issues like poor fuel economy or emissions problems. Keep going to discover detailed steps and tips for a smooth replacement.
Key Takeaways
- Oxygen sensors monitor exhaust gases and send data to the ECU to optimize engine performance and emissions.
- Symptoms of a faulty sensor include check engine light, poor fuel economy, and rough idling.
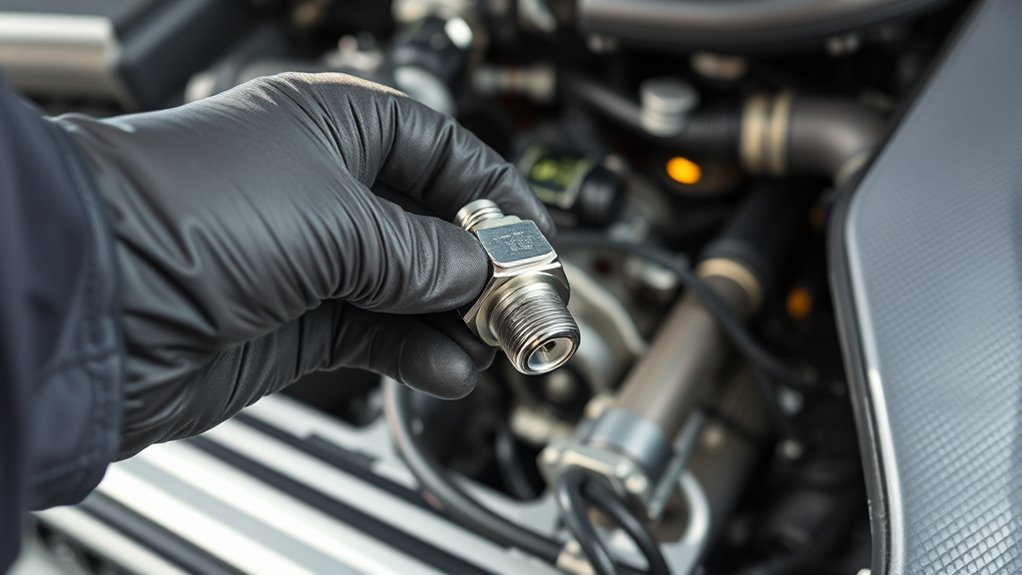
- Replacing the sensor involves disconnecting wiring, removing the old sensor, and installing a new one to manufacturer specifications.
- Proper calibration after replacement is essential for accurate readings and optimal emission control.
- Post-replacement, clearing error codes and ensuring correct installation help maintain engine efficiency and environmental compliance.
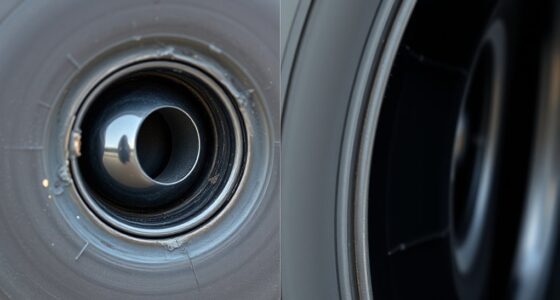
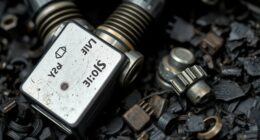
Have you noticed your vehicle’s check engine light coming on or experienced a drop in fuel efficiency? If so, it might be time to consider the role of your oxygen sensor. This small but essential component plays a significant role in your vehicle’s emission control system. When functioning properly, the oxygen sensor monitors the level of oxygen in the exhaust gases, providing data to your engine control unit (ECU). This information helps your vehicle optimize the air-fuel mixture for better performance and lower emissions. Over time, however, sensors can become dirty, worn out, or faulty, leading to inaccurate readings that affect your engine’s efficiency and increase harmful emissions.
Replacing your oxygen sensor isn’t just about fixing a warning light; it’s about restoring proper sensor calibration. When the sensor isn’t working correctly, it sends incorrect signals to the ECU, causing your engine to run either too rich or too lean. This imbalance can lead to decreased fuel economy, rough idling, or even engine misfires. A faulty sensor also hampers your vehicle’s emission control capabilities, making it harder to meet environmental standards and possibly leading to failed emissions tests. Making sure your sensor is calibrated correctly after replacement guarantees the ECU receives accurate data, which helps maintain ideal engine performance and minimizes pollutants.
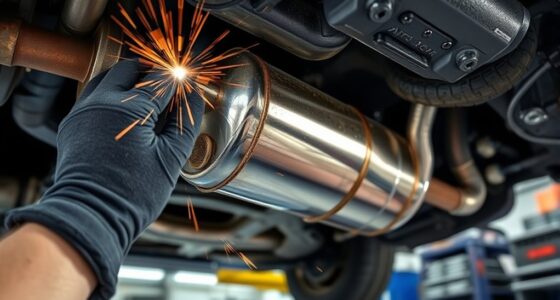
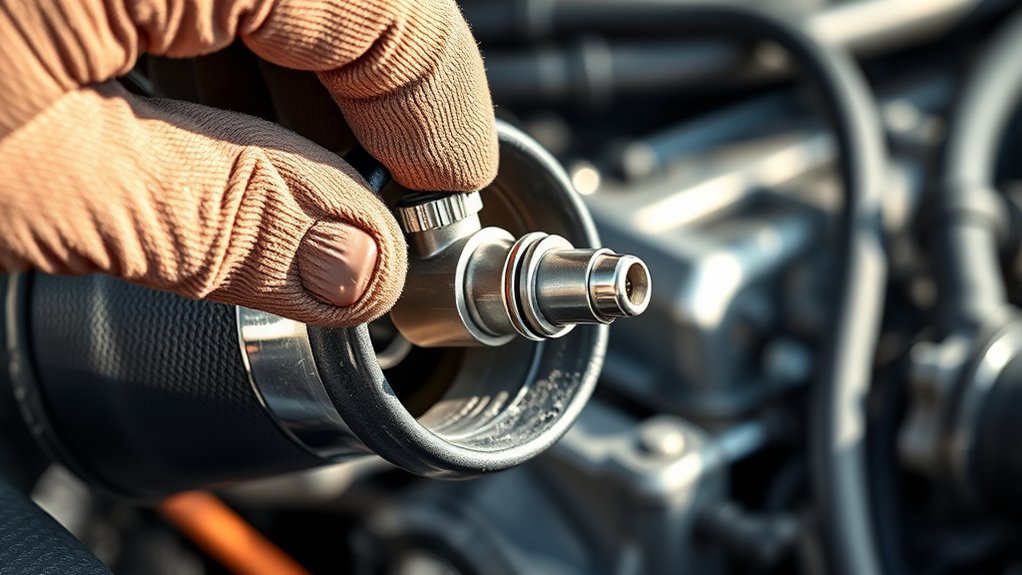
The process of replacing an oxygen sensor is straightforward but requires attention to detail. First, you need to identify which sensor needs replacing—upstream or downstream—since each plays a different role. Once located, you’ll disconnect the sensor’s wiring harness and use specialized tools to remove it from the exhaust pipe. Installing the new sensor involves threading it into place and tightening it to the manufacturer’s specifications. After installation, it’s important to clear any stored trouble codes with a diagnostic tool, so your vehicle’s computer can recalibrate and start fresh with the new sensor.
Proper sensor calibration during replacement is essential for the emission control system to function effectively. If the new sensor isn’t properly installed or calibrated, your vehicle may still exhibit issues like poor fuel economy or increased emissions. Many modern sensors include built-in calibration features, but some may require a professional who can perform a sensor reset or calibration procedure using specialized diagnostic equipment. Taking these steps ensures your vehicle runs smoothly, stays environmentally friendly, and prevents further damage to other engine components. Ultimately, investing in a quality replacement sensor and proper calibration preserves your vehicle’s efficiency and helps you stay compliant with emission standards.
Additionally, understanding the importance of oxygen sensor calibration can significantly impact your vehicle’s long-term health and performance.
Frequently Asked Questions
How Long Does It Take to Replace an Oxygen Sensor?
Replacing an oxygen sensor typically takes about 30 minutes to an hour, depending on your vehicle’s make and model. You’ll want to use diagnostic tools to identify the faulty sensor and guarantee proper sensor calibration afterward. The process involves disconnecting the old sensor and installing the new one, so a professional mechanic can usually complete it quickly, but DIYers should allow extra time to work carefully and double-check everything.
Can I Drive Safely With a Faulty Oxygen Sensor?
Driving with a faulty oxygen sensor isn’t ideal, as it can cloud your vehicle’s sensor accuracy, leading to potential issues. While you might feel confident behind the wheel, your safety and the environment could be at risk. Over time, this could affect fuel efficiency and emissions. For safe driving, it’s best to have the sensor checked and replaced promptly to guarantee peak performance and peace of mind on the road.
What Are the Signs of a Failing Oxygen Sensor?
You’ll notice signs of a failing oxygen sensor through decreased fuel efficiency, rough idling, and a check engine light. As your sensor’s lifespan nears its end, it may produce inaccurate readings, increasing emissions impact and causing your vehicle to run poorly. You might also experience sluggish acceleration or strange odors. Addressing these signs promptly helps maintain peak performance and ensures your vehicle stays within emissions standards.
How Much Does a Professional Oxygen Sensor Replacement Cost?
You’re probably wondering, how much will a professional oxygen sensor replacement cost? It varies, but typically, you’ll spend between $150 and $300. This includes the sensor calibration and the use of specialized replacement tools. Keep in mind, labor rates differ by location and vehicle model. Don’t wait—getting it done promptly guarantees your car runs efficiently, saving you money in the long run. Act now to keep your engine healthy!
Are Aftermarket Oxygen Sensors as Reliable as OEM Parts?
You’ll find that aftermarket oxygen sensors with good aftermarket quality often match OEM compatibility closely, making them a reliable choice. However, not all aftermarket parts are created equal, so it’s essential to select reputable brands. When installed properly, these sensors can perform nearly as well as OEM parts, helping your vehicle run efficiently. Just confirm you verify the sensor’s quality and compatibility before making your purchase for the best results.
Conclusion
Replacing your oxygen sensor is like tuning a fine instrument—you’ll restore harmony to your engine’s performance and breathe a new lease on life into your vehicle. With each step, you’re opening the door to smoother rides and better fuel efficiency, as if fine-tuning a symphony. Don’t let a faulty sensor cast a shadow over your driving experience; instead, embrace the renewal that comes with a simple replacement. Your car’s health depends on it—think of it as giving your engine a gust of fresh air.