
To replace your serpentine belt and tensioner, first locate the routing diagram and photograph it for reference. Use a tensioner tool or breaker bar to relieve tension, then carefully remove the belt. Inspect the tensioner for wear or damage, replacing it if necessary. Install the new belt following the exact routing, using the tensioner tool to set proper tension. Double-check alignment, start the engine, and observe belt operation to guarantee everything runs smoothly as you learn more about the process.
Key Takeaways
- Consult the belt routing diagram before removal to ensure correct reinstallation.
- Use appropriate tools to release tension from the tensioner and remove the old belt carefully.
- Inspect the tensioner for wear or damage; replace if wobbling, noisy, or cracked.
- Install the new belt following the routing diagram, ensuring proper groove seating and tensioner engagement.
- After installation, verify proper belt alignment, start the engine, and confirm accessories operate smoothly.
Replacing the serpentine belt and tensioner is a straightforward maintenance task that can prevent engine overheating, power steering issues, and accessory failures. The first step involves locating the belt routing diagram, which is usually found on a sticker under the hood or in your vehicle’s service manual. Understanding the belt routing is essential because it guides you on how the belt loops around various pulleys, including the crankshaft, alternator, power steering pump, and AC compressor. Properly noting or photographing the routing before removal helps guarantee you install the new belt correctly.
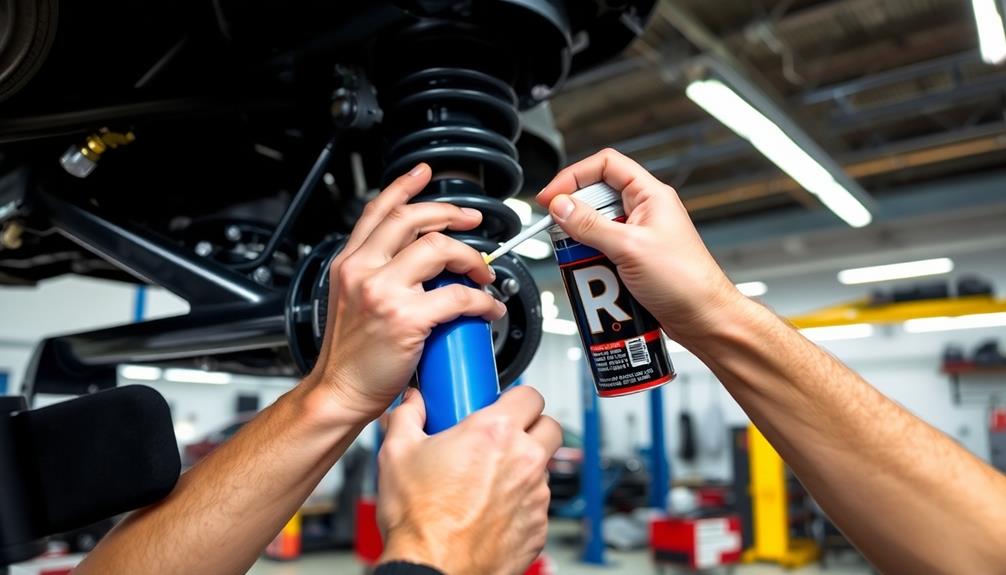
Next, you’ll need to relieve the tension on the belt to remove it. This is where tensioner tools come into play. Many modern vehicles have a spring-loaded tensioner that maintains belt tension automatically, but you’ll need a specific tensioner tool or a socket with a breaker bar to rotate the tensioner pulley. By applying pressure to the tensioner, you release the tension on the belt, allowing you to slip it off the pulleys. Be cautious during this step—spring-loaded tensioners can snap back suddenly, so keep your hands clear and use steady, controlled force.
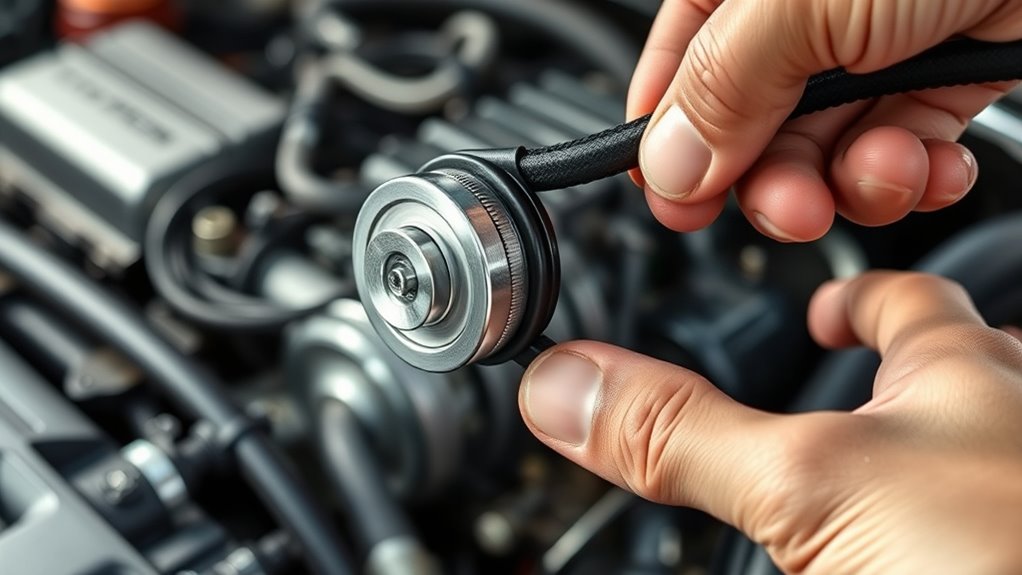
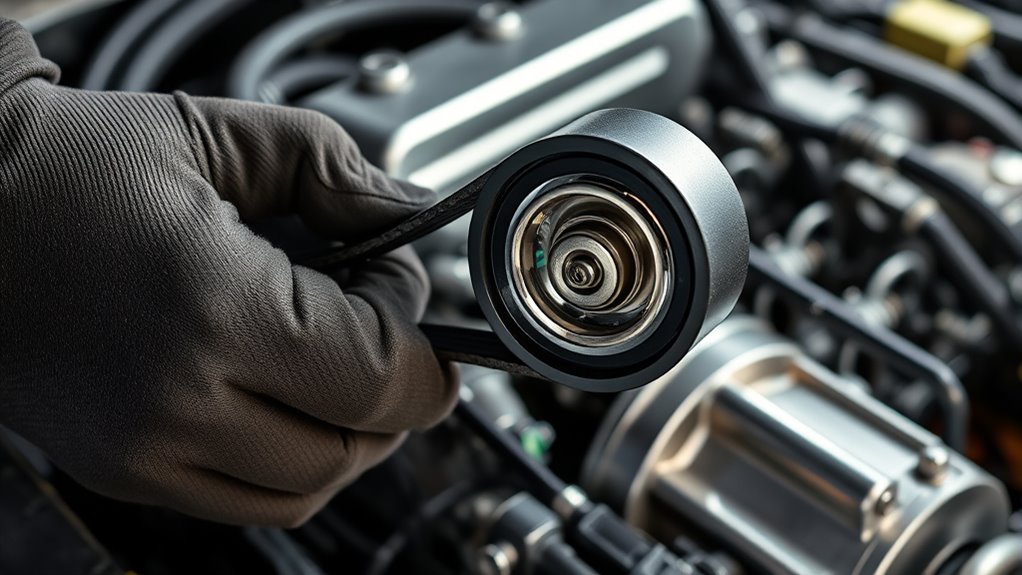
Once the belt is removed, inspect the tensioner for wear or damage. If it’s wobbling, making noise, or has visible cracks, it’s best to replace it along with the belt. When installing the new belt, follow the belt routing diagram meticulously. Loop the belt around the pulleys, ensuring it sits properly in the grooves. Use your tensioner tool again to rotate the tensioner pulley and slip the belt over it. Slowly release the tensioner, allowing it to apply the correct tension to the new belt. Proper tension is vital because too tight can cause premature bearing wear, and too loose can lead to slipping or squealing noises.
After installation, double-check that the belt sits correctly on all pulleys, with no twists or misalignments. Start the engine and observe the belt as it runs. Listen for unusual squeaks or noises and verify that all accessories are functioning correctly. If everything sounds and works fine, you’ve successfully replaced your serpentine belt and tensioner. Regularly inspecting and replacing these components when they show signs of wear can save you from costly repairs down the line and keep your vehicle running smoothly. Additionally, understanding the importance of proper tension can help extend the lifespan of your belt and accessories.
Frequently Asked Questions
How Long Does a Serpentine Belt Typically Last?
A serpentine belt typically lasts between 60,000 to 100,000 miles, depending on your vehicle and driving conditions. You should check your belt’s lifespan regularly and follow recommended replacement intervals to prevent breakdowns. Signs like cracks, fraying, or squealing indicate it’s time for a replacement. Staying on top of these intervals helps maintain your engine’s performance and avoids costly repairs down the line.
Can I Replace the Tensioner Myself Without Special Tools?
Replacing the tensioner yourself is like trying to tame a wild stallion—possible but tricky. You can DIY replace the tensioner without special tools if you have basic hand tools and some mechanical know-how. However, many tensioners require a serpentine belt tool or a socket wrench to loosen and tighten properly. If you’re not confident, it’s safer to consult a repair manual or consider professional help to avoid damaging your engine.
What Are Signs of a Failing Serpentine Belt or Tensioner?
You’ll notice signs of a failing serpentine belt or tensioner if you hear squealing noises or see belt cracking. Squealing often occurs when the tensioner isn’t maintaining proper pressure, while cracks or fraying on the belt indicate wear and impending failure. It’s important to inspect regularly and replace them soon if you spot these signs, as ignoring them can lead to engine overheating or accessory failure.
Are OEM Parts Necessary for Replacement?
Sure, you could go with cheap aftermarket parts, but why risk your engine’s fate? OEM quality parts are worth it—they’re designed to fit perfectly and last longer. While aftermarket options are tempting savings, they might cause more trouble down the road. Stick with OEM parts for peace of mind, or embrace the gamble of cheaper alternatives, knowing you might pay more later. Your engine’s health is worth the investment.
How Often Should I Inspect My Serpentine Belt and Tensioner?
You should inspect your serpentine belt and tensioner every 60,000 to 90,000 miles or once a year. During a visual inspection, look for cracks, fraying, or glazing on the belt, and check for belt noise or squealing that could indicate tensioner issues. Regular inspections help catch problems early, preventing unexpected breakdowns and costly repairs. Keep an eye on these components for smooth, reliable performance.
Conclusion
Replacing your serpentine belt and tensioner might seem tricky, but with the right tools and steps, you can do it yourself and save money. Don’t worry if it feels overwhelming at first—you’re capable of handling it! Just take your time, stay patient, and follow the instructions carefully. Once finished, you’ll enjoy a smoother-running engine and the confidence that comes with completing a DIY repair. You’ve got this!