
A DIY door lock actuator controls your vehicle’s locking system by using an electric motor to lock and unlock doors. To replace or troubleshoot it, you’ll need to disconnect the battery, carefully remove the door panel, test the actuator for power and function, then safely install the new part, ensuring all connections are secure. If you want a clear step-by-step guide and tips to avoid common issues, keep going for more detailed instructions.
Key Takeaways
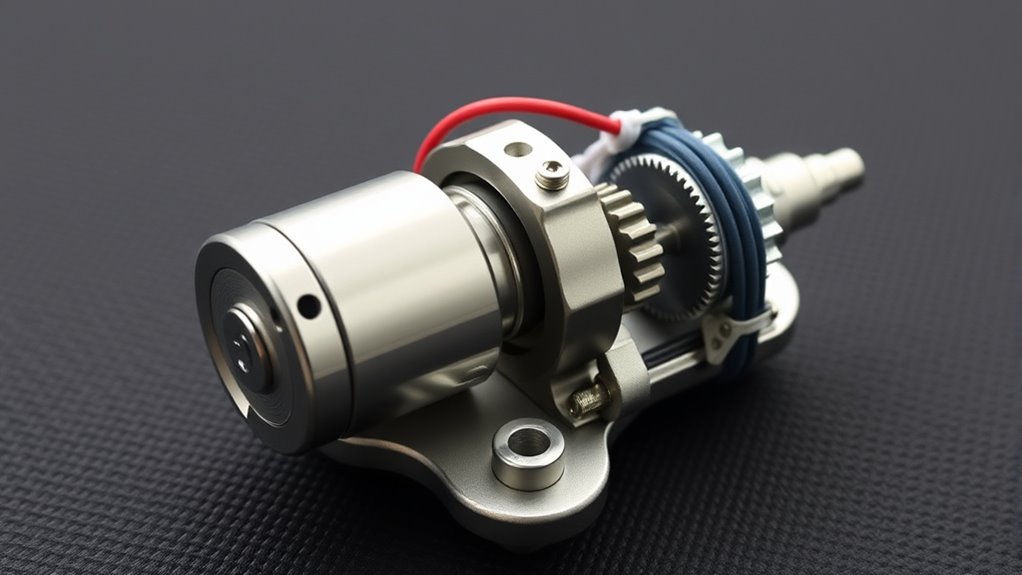
- The door lock actuator is an electronic component that controls locking and unlocking via signals from the remote or switch.
- Installing or replacing it requires safely removing the door panel and accessing internal components without damage.
- Troubleshooting involves checking power supply, wiring connections, fuses, and testing actuator movement before reassembly.
- Proper alignment and secure electrical connections are essential for the actuator to function correctly.
- Regular maintenance and careful handling during installation help ensure reliable operation and prevent future issues.
If your car’s door lock actuator stops working, fixing it yourself can save you time and money. Understanding the basics of replacing or repairing it empowers you to handle common issues efficiently. The door lock actuator is an electronic component responsible for locking and unlocking your vehicle’s doors, and when it malfunctions, you might notice that your door doesn’t respond to remote commands or keyless entry. Before diving into repairs, it’s important to familiarize yourself with installation tips and troubleshooting methods to guarantee a smooth process.
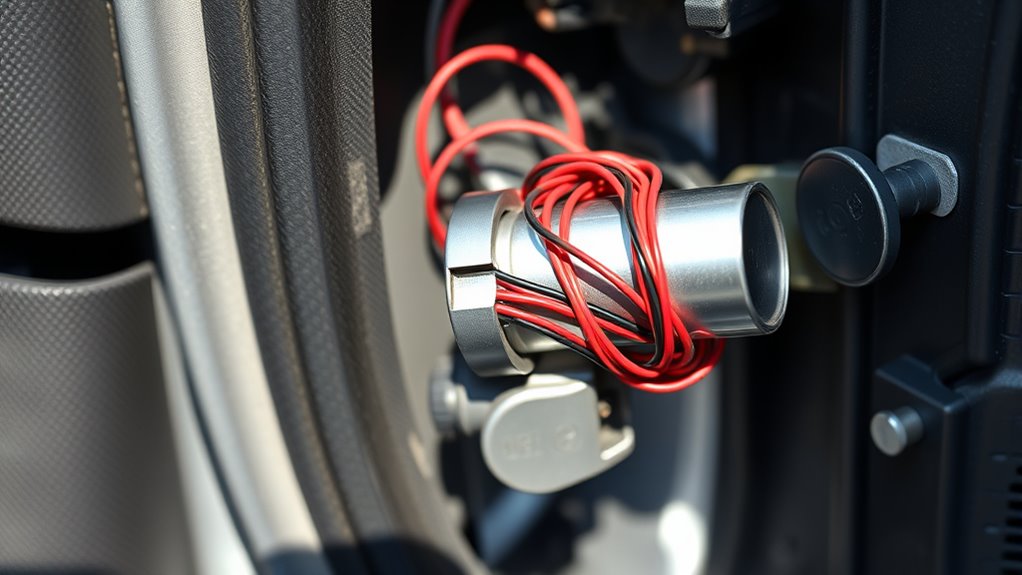
First, gather the necessary tools: screwdrivers, a panel removal tool, and possibly a multimeter. Before starting, disconnect the vehicle’s battery to prevent electrical shorts or accidental activation of the locking system. Once you’ve safely accessed the door panel, carefully remove the trim without damaging clips or fasteners. When installing a new actuator, follow the manufacturer’s instructions closely, ensuring all electrical connections are secure. Proper installation tips include aligning the actuator correctly within the door latch assembly and testing the lock mechanism before reassembling the panel completely. Double-check all connections and make sure the actuator moves smoothly when you operate the lock switch or remote. Additionally, understanding how hackathons foster collaboration and innovation can be useful if you’re seeking community support or guidance during complex repairs.
Troubleshooting methods are your best friends when diagnosing issues with your door lock actuator. If the lock isn’t responding, start by checking the fuse related to your vehicle’s central locking system. Sometimes, a blown fuse can mimic actuator failure. If the fuse is intact, test the actuator with a multimeter to see if it’s receiving power. If power is present but the actuator doesn’t respond, the problem may be a faulty motor or a broken wiring connection. In some cases, debris or misalignment within the door latch mechanism can hinder the actuator’s movement, so inspect the internal components for obstructions or damage. If you find corrosion or broken parts, replacing the affected components is necessary.
Performing these troubleshooting methods before replacing the actuator can save you unnecessary work. If you determine the actuator itself is faulty, replacing it is straightforward if you follow proper installation tips. Make sure to handle the new part carefully and test it outside the door before final installation. Once everything is in place, reconnect the battery, and test the lock function thoroughly to confirm the repair. By following these simple steps, you’ll not only extend the life of your vehicle’s locking system but also gain confidence in maintaining your car on your own.
Frequently Asked Questions
How Do I Troubleshoot a Door Lock Actuator That Isn’t Responding?
To troubleshoot a non-responsive door lock actuator, start by checking the electrical connections with electrical testing tools. Confirm the fuse related to the lock system isn’t blown. If needed, remove the actuator to inspect for damage or corrosion. Test the actuator’s wiring and motor function. If everything checks out but it still doesn’t respond, consider replacing the actuator to restore proper locking and unlocking functions.
Can I Upgrade My Door Lock Actuator for Enhanced Security?
You can definitely upgrade your door lock actuator for better security and performance enhancement. As the saying goes, “A chain is only as strong as its weakest link,” so upgrading your actuator improves your overall security. Look for a high-quality, compatible security upgrade that offers advanced features like remote access or auto-lock. This not only boosts your safety but also guarantees your locking system performs reliably, giving you peace of mind.
What Tools Are Essential for Replacing a Door Lock Actuator?
You’ll need basic hand tools like screwdrivers, pliers, and a socket set to remove panels and access the actuator. Electrical testers are essential for checking connections and ensuring everything’s wired correctly before finalizing the installation. Make sure you have a flashlight to see into tight spaces and possibly a trim removal tool to avoid damaging interior panels. These tools help make the replacement smoother and safer.
How Long Does It Typically Take to Install a New Actuator?
Did you know that most DIYers can install a new door lock actuator in about 1 to 2 hours? The installation time largely depends on your experience and part availability. If you have all the tools and replacement parts ready, it’s a straightforward process. Expect to spend less time if you’re familiar with your vehicle’s interior, but always allow extra time for troubleshooting or delays in part delivery.
Are There Differences Between Universal and Vehicle-Specific Actuators?
Yes, there are differences between universal and vehicle-specific actuators. Universal compatibility means the actuator can fit multiple vehicle models, but it may require adjustments or extra parts for a perfect fit. Vehicle-specific actuators are designed for your exact make and model, ensuring a perfect fit and reliable performance. If you want a straightforward installation, a vehicle-specific part is usually better, but universal options offer flexibility if you’re comfortable with some modifications.
Conclusion
By understanding how to repair your door lock actuator yourself, you save money and gain confidence in your vehicle maintenance skills. Did you know that DIY car repairs can save you up to 50% compared to professional service? This shows how empowering yourself with the right knowledge not only cuts costs but also enhances your independence. So, take charge of your car’s security—your wallet and your skills will thank you!