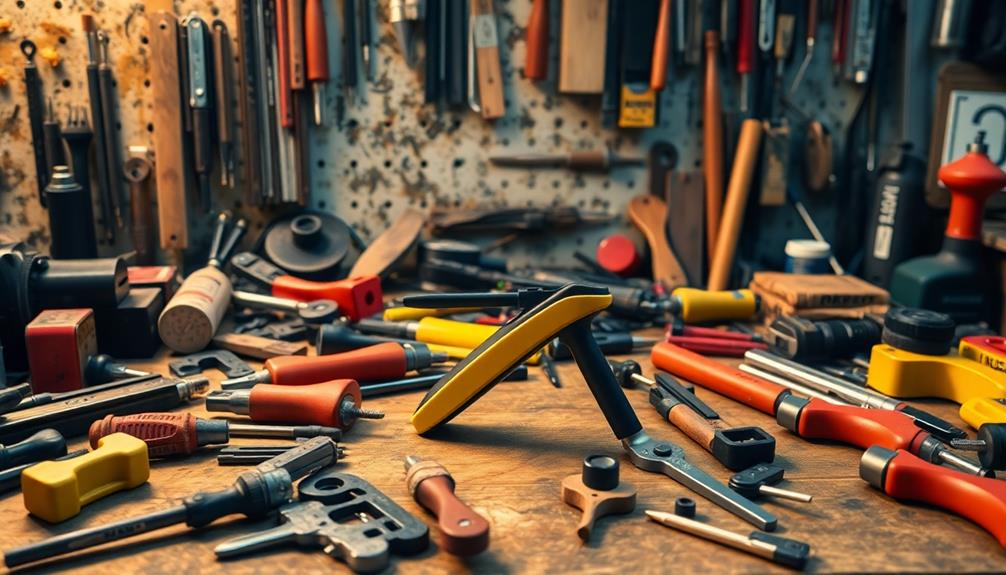

To replace your radiator hoses yourself, first make sure the engine is cool and the vehicle is supported securely. Drain the coolant, then loosen the hose clamps with pliers or a screwdriver. Carefully twist and remove the old hoses, inspecting fittings for damage. Fit new hoses snugly over fittings, secure with clamps, and avoid overtightening. Refill coolant, bleed air from the system, and check for leaks. If you continue, you’ll learn detailed steps to complete the job properly.
Key Takeaways
- Ensure the engine is cool and the vehicle is securely supported before starting work.
- Drain coolant and loosen hose clamps with pliers or a screwdriver, then gently remove old hoses.
- Inspect hoses and fittings for damage; replace with correct size and material hoses.
- Position new hoses, secure clamps properly without overtightening to prevent leaks.
- Refill coolant, bleed the system, and check for leaks and proper operation after installation.
Replacing a radiator hose yourself can save you money and prevent potential engine damage. When you work on your vehicle’s coolant system, you’re directly involved in maintaining its core functions, so it’s vital to approach the task with care. The coolant system is responsible for regulating your engine’s temperature, and a faulty or worn-out hose can lead to leaks, overheating, or even severe engine damage if left unchecked. Before you start, it’s essential to understand the safety precautions involved. Always let the engine cool completely before beginning, as hot coolant or a hot radiator can cause serious burns. Wear protective gloves and safety glasses to guard against splashes or accidental contact with hot fluids. Additionally, work in a well-ventilated area to avoid inhaling any fumes, and ensure the vehicle is securely supported on jack stands if you need to lift it for better access.
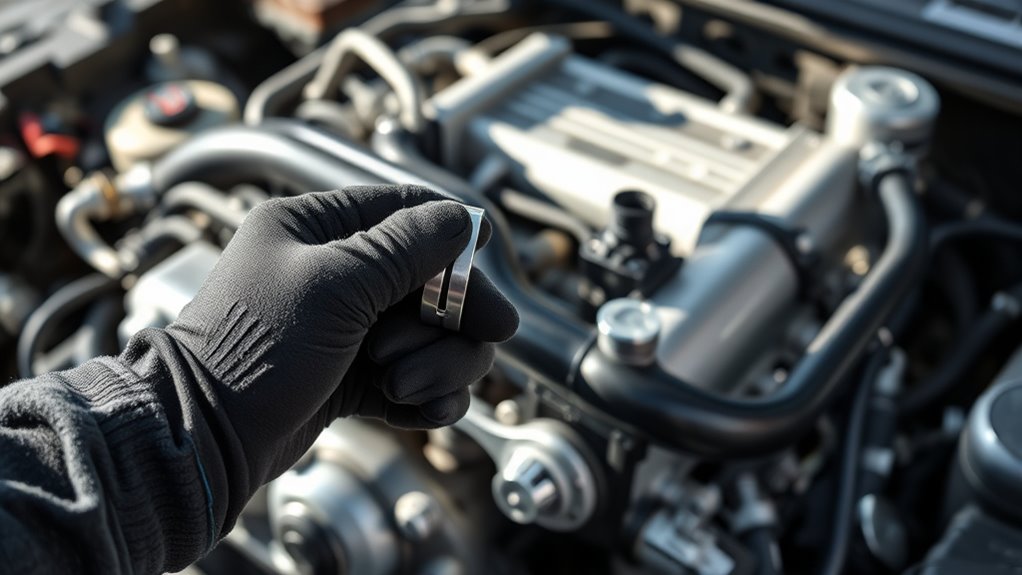
Once you’ve taken safety precautions, locate the radiator hoses connecting to your engine. Typically, there’s a large upper hose and a smaller lower hose, both made of durable rubber. Before disconnecting anything, drain the coolant from the system into a suitable container so you don’t spill fluid everywhere. Be aware that some residual coolant may still be in the system, so proceed carefully. Use pliers or a screwdriver to loosen the clamps securing the hose, and gently twist the hose free from the radiator and engine fittings. If the hose is stubborn, a little penetrating oil can help loosen any corrosion or build-up. Keep in mind that old hoses might be brittle or cracked, so inspecting the connections beforehand will help you identify any additional damage that needs attention.
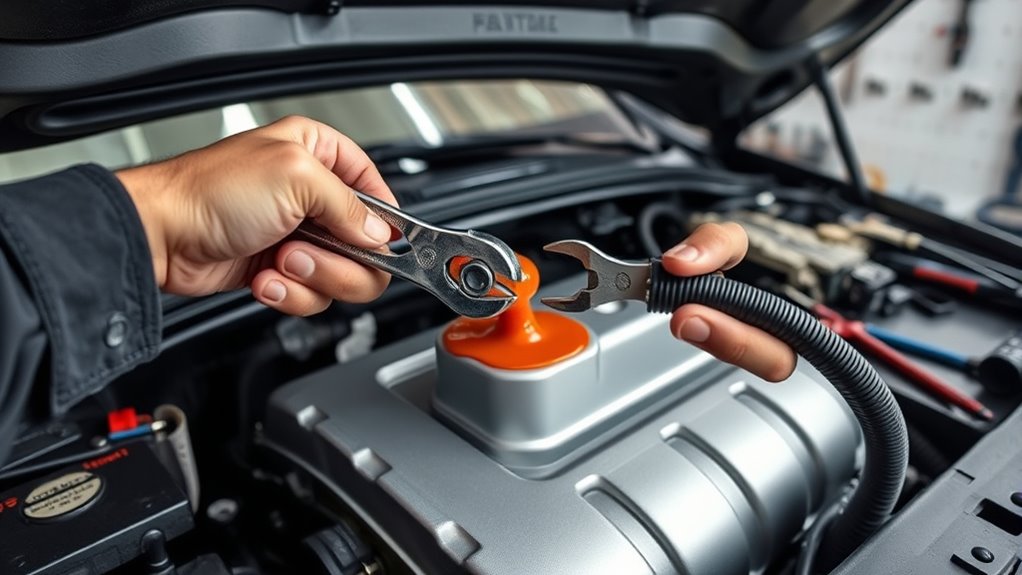
Additionally, understanding the material choice of the replacement hose can influence its durability and performance over time. When installing the new hose, make sure it fits snugly and that the clamps are positioned correctly over the ends for a secure seal. Don’t overtighten the clamps, as this can damage the hose or cause leaks. Once everything’s connected, refill the coolant system with the appropriate type and amount of coolant, following your vehicle manufacturer’s specifications. Bleed the system if necessary to remove trapped air, which can cause air pockets and lead to overheating. Double-check all connections for tightness and leaks before starting the engine. Keep a close eye on the temperature gauge during the first few drives, and keep an eye out for any signs of leaks or overheating. By following these steps and prioritizing safety, you’ll guarantee your radiator hose replacement is both effective and safe, extending the life of your vehicle’s coolant system and avoiding costly repairs down the road.
Frequently Asked Questions
Can I Use Universal Hoses Instead of OEM Replacements?
Yes, you can use universal hoses instead of OEM replacements, but you should verify for universal hose compatibility first. Universal hoses often work well with aftermarket parts, but OEM vs aftermarket can differ in fit and quality. Make sure the universal hose matches your vehicle’s specifications, including diameter and length, to prevent leaks or damage. If you’re unsure, consulting your vehicle’s manual or a professional mechanic helps ensure a proper fit.
How Long Does a Radiator Hose Typically Last?
Your radiator hose typically lasts about 5 to 7 years, depending on the hose material and driving conditions. Rubber hoses tend to degrade faster, especially if exposed to heat and coolant leaks. To avoid breakdowns, check your hoses regularly for cracks, bulges, or leaks, and follow recommended replacement intervals. Replacing your hoses proactively helps prevent engine overheating and costly repairs down the line.
What Signs Indicate a Radiator Hose Needs Replacing?
You’ll know it’s time to replace your radiator hose if you notice cracks, bulges, or leaks, which are signs of wear on the hose material. Also, if the hose feels soft or brittle, it’s a good indicator that it’s nearing the end of its replacement frequency. Regular inspections help catch these issues early, ensuring your cooling system stays efficient and preventing costly repairs down the line.
Is Special Tools Required for Removing Stubborn Hoses?
You don’t need special tools to tackle stubborn hoses, but having the right removal tools makes the task easier. Hose clamps secure hoses tightly, so loosen or remove them first. For stubborn hoses, use pliers or a flat-head screwdriver to gently pry and slide them free. While basic tools often suffice, if hoses resist, specialized removal tools can help loosen and detach hoses without damaging them or surrounding parts.
Can Replacing Radiator Hoses Improve Vehicle Performance?
Replacing radiator hoses can indeed improve your vehicle’s performance. When you install new hoses, you guarantee better coolant flow, which helps regulate engine temperature more effectively. This prevents overheating and maintains ideal engine efficiency. As a result, your engine runs smoothly, and you reduce the risk of costly repairs caused by coolant leaks or blockages. So, fresh hoses contribute to a healthier, more reliable vehicle overall.
Conclusion
So, next time you’re under the hood, remember that replacing your radiator hoses isn’t just about saving money; it’s also about catching tiny issues before they turn into big problems. Funny how a small task like this can unexpectedly save you from a roadside surprise, isn’t it? With a little confidence and the right tools, you’ve got everything you need to keep your engine running smoothly. Who knew DIY could be such a lucky break?