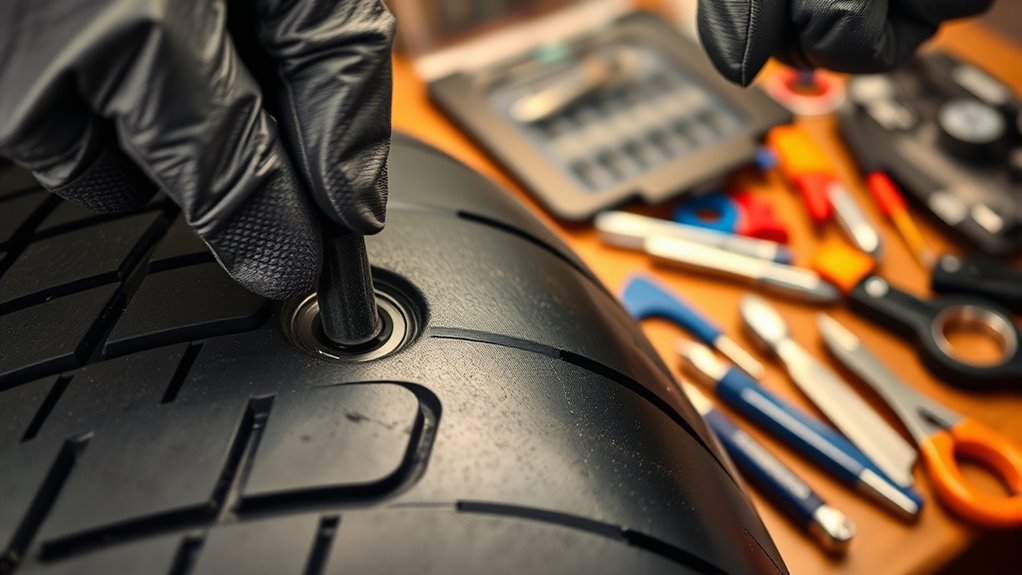
To fix small punctures yourself, start by inspecting your tire for damage and using a tire plug kit to insert a rubber plug into the hole, ensuring it’s deep and secure. For larger damage, clean the area, roughen the surface, and apply a patch with vulcanizing cement following the kit instructions. Checking the pressure afterward is essential. Keep practicing safe repair techniques—stick around to learn detailed steps and tips for a successful fix.
Key Takeaways
- Use a tire plug kit for small punctures, ensuring the plug is securely embedded for a proper seal.
- For larger damage, clean the area, roughen the surface, and apply a patch with vulcanizing cement.
- Follow the repair kit instructions carefully to ensure proper application and durability of the fix.
- After repairing, always check tire pressure with a gauge to prevent unsafe over- or under-inflation.
- Consider professional inspection if repairs are uncertain or damage exceeds repairable limits for safety.
Fixing a flat tire yourself can save time and money, but it requires the right tools and techniques. Before you begin, understanding basic tire safety is vital. Confirming your vehicle is on a flat, stable surface and using wheel chocks or blocks can prevent accidents. Always inspect the tire thoroughly for damage or embedded objects, and remember that not all punctures are repairable. When tackling a flat, safety should be your top priority, and that starts with the proper use of repair tools to avoid further damage or unsafe driving conditions.
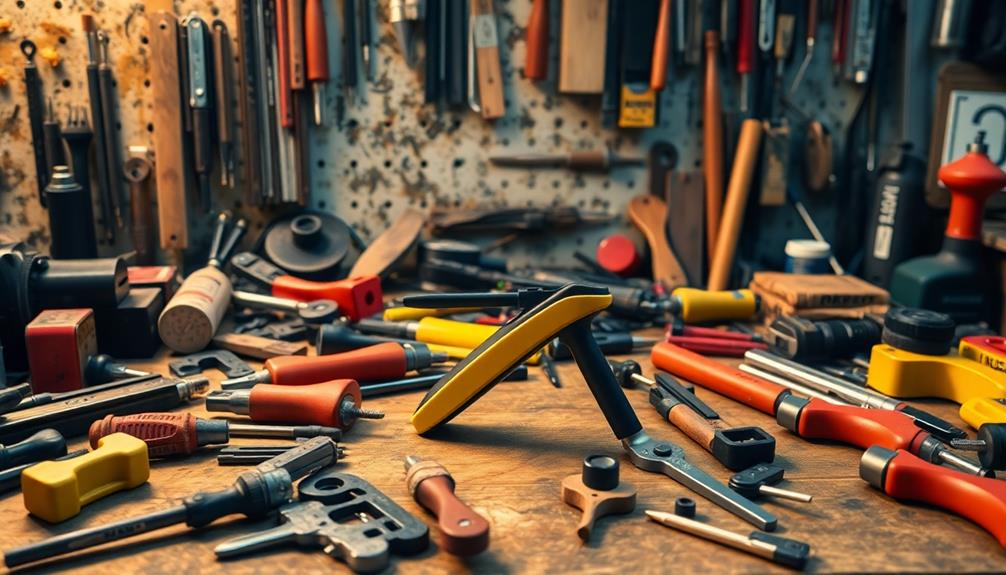
Your repair toolkit should include essential items like a tire plug kit, a patch kit, a valve core remover, and a air pressure gauge. Using these tools correctly is key to performing an effective repair. For small punctures, a tire plug can be a quick fix. The process involves inserting a rubber plug into the puncture, sealing the hole to prevent air loss. This method is simple but requires precision to ensure the plug is deeply embedded and secure. For larger or more complex damage, a patch offers a more durable solution. Applying a patch involves cleaning the area around the puncture, roughening the surface for adhesion, and then affixing the patch with vulcanizing cement. Proper application of patches often results in a longer-lasting repair compared to plugs alone.
Essential tire repair tools include plugs, patches, a valve core remover, and a pressure gauge for safe, effective fixes.
When repairing tires with these methods, always prioritize tire safety. After completing the repair, it’s essential to check the tire pressure with a reliable gauge. Over- or under-inflation can compromise handling, speed, and safety. If you’re unsure about the integrity of your repair, consider taking the tire to a professional for a thorough inspection. In some cases, a repair might be temporary, and replacing the tire could be the safest choice. Remember that while DIY repairs can save you money, they should never compromise safety or tire performance.
Practicing proper techniques with your repair tools ensures a more reliable fix. Always follow the instructions that come with your repair kits, and take your time to do the job right. Properly repaired tires can last for many miles if done correctly, but improper repairs can lead to dangerous blowouts or further damage. If you’re new to tire repairs, watching instructional videos or consulting your vehicle’s manual can help clarify the process. Additionally, understanding vacuum maintenance can help ensure your tools and equipment stay in good condition for optimal performance. Ultimately, understanding tire safety and using your repair tools correctly allows you to handle flat tires confidently, saving you time and money while keeping you safe on the road.
Frequently Asked Questions
Can I Repair a Sidewall Puncture Myself?
You shouldn’t repair a tire sidewall puncture yourself because of repair limitations. The sidewall flexes constantly, making it prone to further damage if patched incorrectly. Attempting a DIY repair can compromise your safety and tire integrity. Instead, take your vehicle to a professional, who can assess whether the sidewall damage is repairable or if a replacement is necessary. Safety always comes first with tire repairs.
How Long Does a DIY Tire Repair Last?
A DIY tire repair can last anywhere from a few months to several years, depending on factors like tire quality and driving conditions. If you follow proper repair techniques, the repair durability can be quite good, but it’s essential to regularly check the patched area for signs of wear or damage. Keep in mind that some repairs might not offer the same tire longevity as professional fixes, so monitor your tire’s condition over time.
Are DIY Repairs Safe for High-Speed Driving?
Back in the day, folks thought DIY repairs were just for everyday errands, but now, with high-speed driving, it’s a different ball game. DIY repairs might seem quick, but they often don’t guarantee ideal tire longevity or repair safety for fast speeds. For high-speed driving, professional repairs are safer, providing stronger, more reliable fixes that keep you secure on the road. Your safety should always come first, even if it means leaving the toolbox behind.
What Tools Are Essential for Tire Patching?
You need essential tools for patching tires, including a tire plug kit or patch kit, a tire rasp or reamer to clean the puncture, and a rubber cement or adhesive to secure the patch. Choose the right tire patch types for your repair, such as patches or plugs, depending on the damage. These tools for patching guarantee a proper seal, helping you fix your tire safely and effectively for continued high-speed driving.
When Should I Replace a Repaired Tire?
You should replace a repaired tire if you notice uneven tire wear or the tire tread depth falls below the recommended level, usually 2/32 of an inch. Even if a patch or plug seems successful initially, these signs indicate internal damage or weakening that could lead to failure. Regularly inspect your tires for these issues, and replace them promptly to guarantee safe driving and peak performance.
Conclusion
Now that you know how to plug and patch your tire, you can confidently address small punctures, save money, and keep your wheels rolling. You’ll inspect carefully, prepare thoroughly, and apply precisely. You’ll clean and dry, insert and seal, and test and recheck—all with your own hands. With these skills, you’ll maintain safety, extend tire life, and avoid roadside emergencies. Empowered and prepared, you’ll turn a potential problem into a simple, manageable fix.