If your blower motor isn’t working, start by checking the fuse box for a blown fuse related to the HVAC system, replacing it if needed. Next, test the blower relay by swapping it with a similar one to see if the motor responds. Also, inspect wiring connections for looseness, corrosion, or damage, ensuring all links are secure. Addressing these electrical issues can often restore functionality, and exploring these steps further can help you diagnose the problem more effectively.
Key Takeaways
- Check the HVAC fuse for burns or breaks and replace if blown.
- Test the blower motor relay by swapping it with a similar relay to see if it resolves the issue.
- Inspect wiring harness connections for corrosion, fraying, or looseness, and secure or clean as needed.
- Use a multimeter to verify continuity of the blower motor resistor; replace if faulty.
- Perform routine maintenance and consider professional help if electrical diagnostics are beyond your scope.
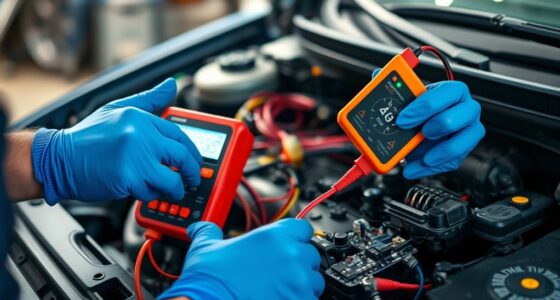
If your vehicle’s blower motor isn’t working, it can be frustrating, especially when you need to defrost your windshield or stay comfortable inside. Before jumping to conclusions, it’s crucial to perform some electrical troubleshooting to identify the root cause. Start by checking the fuse related to the HVAC system, as a blown fuse is a common reason for blower motor failure. Locate the fuse box, which is usually under the dashboard or in the engine compartment, and examine the fuse diagram to find the correct fuse. Remove the fuse and inspect it; if it appears burnt or broken, replace it with a new one of the same amperage. This quick step can often resolve the issue without extensive repairs.
Check the fuse for your HVAC system; a blown fuse is a common cause of blower motor issues.
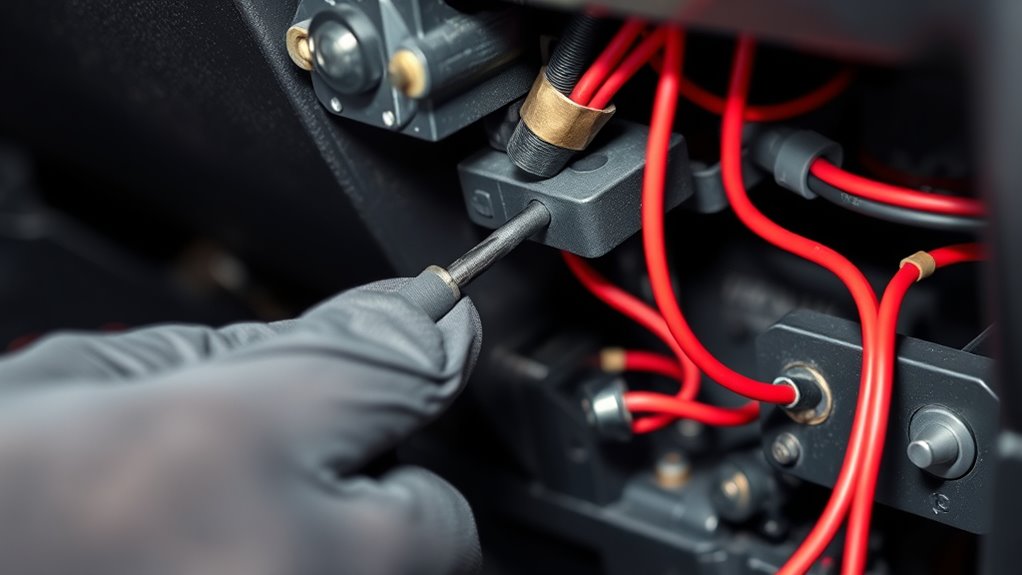
Next, test the blower motor relay, which controls power flow to the motor. The relay is typically located in the fuse box or a relay panel. You can swap it with a similar relay in the panel to see if that restores function. If the blower starts working with the swapped relay, then you’ve identified the faulty component. If not, move on to checking the electrical connections. Loose or corroded wires can interrupt power supply and cause the blower to stop functioning. Carefully inspect the wiring harness connected to the blower motor, looking for corrosion, fraying, or loose connectors. Tighten any loose connections and clean corrosion with electrical contact cleaner.
Another step in electrical troubleshooting involves testing the blower motor resistor, which regulates fan speed. A faulty resistor can prevent the blower from running at any speed or cause it to run intermittently. You may need a multimeter to test for continuity across the resistor terminals; no continuity indicates a failure. Replacing the resistor is often a straightforward, cost-effective repair. Additionally, understanding the cybersecurity vulnerabilities associated with vehicle electronic systems underscores the importance of protecting your vehicle’s electrical components from hacking threats.
While performing these electrical checks, remember that proper HVAC maintenance can prevent many issues. Regular inspections and cleaning of the blower motor and related components ensure smooth operation. If you’re not comfortable working with electrical parts, it’s wise to consult a professional mechanic. They can perform a more thorough diagnosis, including testing the blower motor itself and other electrical components in the circuit. Addressing electrical issues promptly not only restores comfort but also prevents further damage to your vehicle’s HVAC system. By methodically troubleshooting these electrical elements, you’ll save time and money, ensuring your blower motor functions when you need it most.
Frequently Asked Questions
How Do I Test the Blower Motor Resistor for Faults?
You test the blower motor resistor for faults by first disconnecting its wiring. Use a testing multimeter set to ohms to check for continuity across the resistor. A good resistor should show a low resistance reading, indicating continuity. If you see no reading or an infinite resistance, the resistor is faulty. Make sure to inspect the resistor wiring for any damage or corrosion, which could also cause issues.
Can a Faulty Relay Cause Blower Motor Failure?
Yes, a faulty relay can cause your blower motor to fail. When the relay malfunctions, it prevents power from reaching the motor. Check the fuse and replace it if it’s blown, as this can also cause the issue. Inspect the wiring harness connected to the relay for any damage or loose connections. Replacing a blown fuse or repairing the wiring harness often restores proper blower motor operation.
What Are Signs of a Bad Blower Motor Switch?
You might notice your blower fan suddenly stops working or only works on certain settings, which signals a bad blower motor switch. Sometimes, flickering or inconsistent speeds happen due to faulty electrical wiring or a worn switch. You may also hear clicking sounds when changing settings. These signs point to an issue that needs checking, especially since electrical problems can cause the switch to fail unexpectedly.
How to Identify Electrical Shorts in the Blower Circuit?
To identify electrical shorts in the blower circuit, start with fuse inspection; look for blown fuses or signs of burning. Check wiring for corrosion, frayed insulation, or loose connections that could cause shorts. Use a multimeter to test continuity and voltage across the circuit. If you find a fuse blown repeatedly or corrosion on wiring, these are clues pointing to a short that needs repair before the blower motor functions properly.
Is It Necessary to Disconnect the Battery Before Inspecting Wiring?
Yes, you should disconnect the battery before inspecting wiring to guarantee battery safety. This prevents accidental short circuits or electrical shocks while you check the wiring around the blower motor. Always turn off the vehicle and disconnect the negative terminal first, then the positive. This simple step protects you and avoids damaging your vehicle’s electrical system during wiring inspection. Staying safe is essential when working with vehicle electronics.
Conclusion
Now that you’ve checked the electrical connections and tested the fuse, the mystery deepens. Could a hidden wiring fault still be lurking, or is the motor itself the culprit? Don’t forget, sometimes the simplest fix isn’t enough. Keep your eyes open for subtle signs that might reveal the real problem. The solution might be closer than you think, but uncovering it could change everything. Are you ready to find out what’s really wrong?