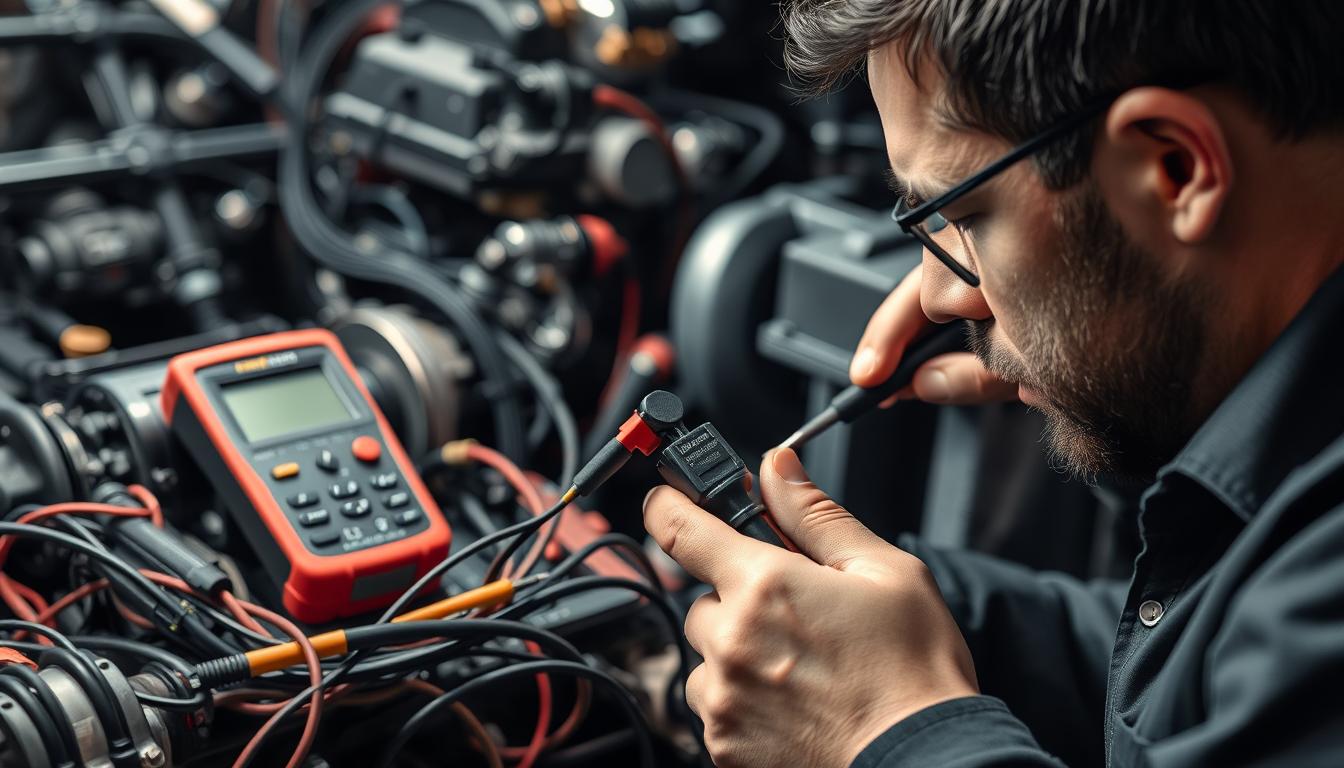
Imagine you’re in your garage, surrounded by tools. You feel excited yet a bit overwhelmed as you dive into the world of car diagnostics. You’re on a mission to understand the heart of your car—the sensors. Learning to back-probe a sensor can seem tough at first. Yet, it’s a key skill that lets you solve car problems and keep your vehicle running great. With patience and the right tools, you’ll move from feeling unsure to being confident. You’ll learn how to work with sensor wiring and get better at using your multimeter. This journey isn’t just about fixing problems. It’s about becoming a real car enthusiast, whether you’re checking a fuel rail sensor or analyzing the MAP sensor’s data.
Key Takeaways
- Understanding how to correctly back-probe a sensor allows for effective automotive diagnostics.
- Using a multimeter, you’ll measure precise voltage readings crucial for sensor troubleshooting.
- Different sensors have specific voltage readings, like the fuel rail sensor that ranges from 0.5V to 4.5V.
- Safety precautions are essential to protect both you and your vehicle when working with electrical systems.
- Common multimeter settings vary between AC/DC voltage, resistance, and continuity checks.
- Replacement of faulty sensors may be needed if testing indicates persistent issues after diagnostics.
Introduction to Back-Probing Sensors
Back-probing sensors are key in automotive diagnostics. This method lets you test the functionality of automotive sensors without removing them. It saves time and reduces labor costs.
By checking the voltage and signal outputs at the sensor connector, you can spot issues with less effort.
Knowing how to use back-probing sensors well boosts your diagnostic skills. This is crucial when you lack advanced tools or must work in tight spots. A basic grasp of how sensors work makes troubleshooting smoother.
Think about the different sensors and what they do. Take oxygen sensors, for example. They track exhaust emissions and help the engine run better. Understanding their expected outputs, like those of zirconia and titania sensors, helps you find problems just by testing.
Mastering the skill of back-probing changes how you approach diagnostics. It allows you to effectively find problems, ensuring vehicles perform at their best. By accessing circuits without damaging wires or connectors, back-probing provides a non-invasive method to test voltage or signals. This technique not only speeds up the diagnosis process but also increases accuracy, making troubleshooting more efficient. With automotive repair explained in this manner, it’s clear that back-probing is an essential tool for modern mechanics.
Understanding Sensor Wiring and Functionality
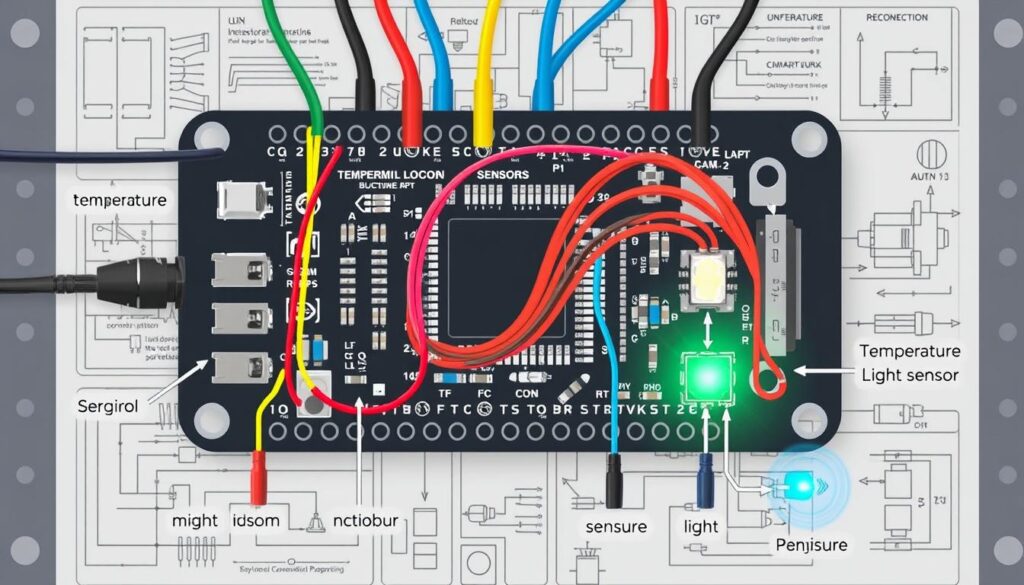
Automotive sensors are key for your vehicle’s performance. Knowing how they’re wired and work is crucial for fixing problems. They usually have a three-wire system. This includes a ground, a reference voltage, and a signal wire. Each connection has an important role for the sensor to work right.
The ground wire completes the sensor’s circuit, making it work as it should. The 5V reference voltage is important for accurate measurements. It gives a stable power source for the sensor. The signal wire sends the needed info to the Engine Control Unit (ECU). This lets the ECU make real-time adjustments.
It’s common to have issues with these wires, like shorts or opens. These problems can mess up the readings. They reduce the sensor functionality and affect your car’s performance. Knowing your way around automotive wiring diagrams helps fix these issues faster.
| Wire Type | Function | Potential Issues |
|---|---|---|
| Ground | Completes the electrical circuit | Short circuit leading to failure |
| Reference Voltage (5V) | Provides necessary power for measurements | Open circuit causing incorrect readings |
| Signal | Transmits data to the ECU | Noise interference or loss of signal |
Learning about sensor wiring and each wire’s role improves your fixing skills. This knowledge lets you quickly and accurately find problems. It makes your repairs more effective.
Essential Tools for Back-Probing
Having the right tools makes back-probing much better. A good multimeter and various tools help with car diagnostics. Knowing what each tool does helps you test and find problems efficiently.
What is a Multimeter?
A multimeter is key in your toolkit. It measures voltage, current, and resistance. It’s very important for checking cars, letting you see if everything works as it should. Learning to use a multimeter can tell you a lot about how your car’s systems are doing.
Other Necessary Tools
To test effectively, you need the right back-probing tools. You should have:
- Paperclips or pins: They make good probes for getting to connector spots.
- Jumper leads: These help make connections when needed.
- Basic hand tools: Useful for small fixes or adjustments during checks.
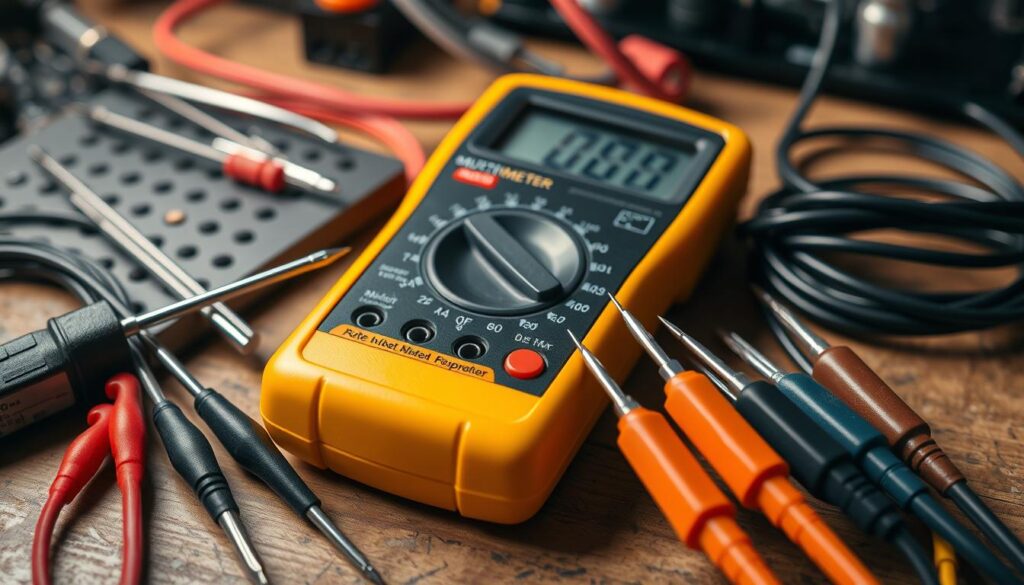
Good back-probing tools help you test without damage. For example, E-Z-Hook offers banana plug adapters that let you get to sensor wiring easily. They don’t need you to strip wires. Tools like the AESWave uMicroBackProbe work better than cheap ones. Investing in quality tools means better results.
Safety Precautions Before You Start
Before you start back-probing, it’s key to follow some safety steps. Getting ready properly keeps you and your diagnostic equipment safe. Make sure your multimeter is set to voltage before connecting anything. This is crucial for getting the right readings and protecting delicate electronics.
Always connect the black probe to the battery’s negative terminal. This acts as a ground and keeps your measurements accurate. It also protects the ECU from damage. Also, ensure the battery is fully charged. A charged battery gives correct measurements and helps avoid shorts.
Pay special attention to the following safety guidelines:
- Double-check your multimeter settings before starting.
- Ensure both the oscilloscope and circuit share the same ground level voltage for reliable results.
- Be aware of the specific input voltage ranges for your equipment.
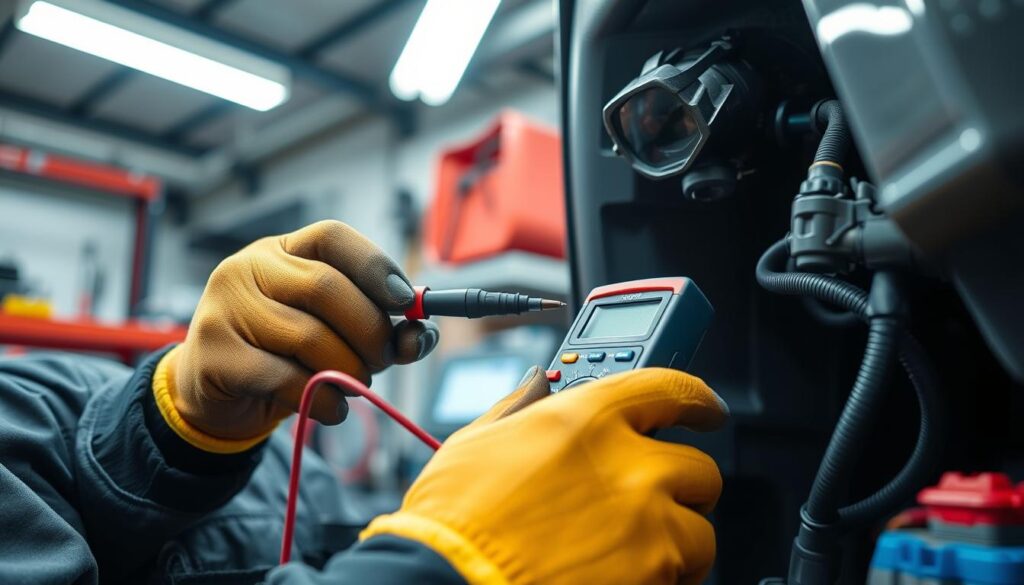
Following these back-probing safety steps can keep you from dangerous situations. They help prevent injuries or damage to your car’s electronics. Knowing these safety tips makes automotive diagnostics smoother and safer.
| Safety Precaution | Importance |
|---|---|
| Setting the multimeter to voltage | Ensures accurate readings and equipment safety |
| Keeping the black probe grounded | Protects the ECU and ensures reliable measurements |
| Using a charged battery | Enables precise diagnostics without short circuits |
| Equal ground voltage for oscilloscope | Prevents equipment damage and unreliable readings |
How to Back-Probe a Sensor
Learning how to back-probe a sensor boosts your diagnostic skills. This guide will show you important steps. It includes setting up your multimeter and finding the right sensor wires.
Setting Up Your Multimeter
Start by choosing the DC volts setting on your multimeter. Make sure it matches the vehicle’s voltage range. A digital voltmeter, or DVM, costs around $35 and ensures precise readings.
Next, connect your multimeter correctly to the car’s battery. This guarantees accurate results. Use a new set of probes, preferably with alligator clips, for better reliability. It costs about $15. This method is very useful for back-probing.
Identifying the Sensor Wires
Finding the right sensor wires is crucial. A throttle position sensor usually has three wires: ground, voltage reference, and signal. When setting up your multimeter, make sure to connect these wires properly to get accurate readings.
Knowing which wires to measure makes the job smoother. Some people use paper clips for back-probing. However, it’s a hit or miss. A specialized probe set, costing $11, can make a big difference.
| Item | Quantity | Price |
|---|---|---|
| Digital Voltmeter (DVM) | 1 | $35 |
| Probe Set with Alligator Clips | 1 | $15 |
| Red Probes | 3 (Straight, 45°, 90°) | Included |
| Green Probes | 3 (Straight, 45°, 90°) | Included |
| Yellow Probes | 3 (Straight, 45°, 90°) | Included |
| Black Alligator Clips | 2 | Included |

Step-by-Step Process for Back-Probing
Starting a back-probing process correctly is key for accurate diagnostics. It helps get the right readings and avoids damage to fragile electrical parts. Each step needs to be followed closely for the best outcomes.
Initial Setup and Connection
First, get your tools and workspace ready. A tidy space reduces mistakes and increases safety during tests. Make sure to:
- Pick up your multimeter and the right probes, ideally those for car sensor connections.
- Put a paperclip or pin in the sensor connector carefully to avoid short circuits or harming the ECU.
- Double-check your connections to make sure they’re secure and correctly aligned.
With terminals getting more complicated, using the wrong test probes can cause bad readings and damage. Having the right tools, like the J-38125-580 Terminal Release Tool Kit, helps access terminals safely without harming them.
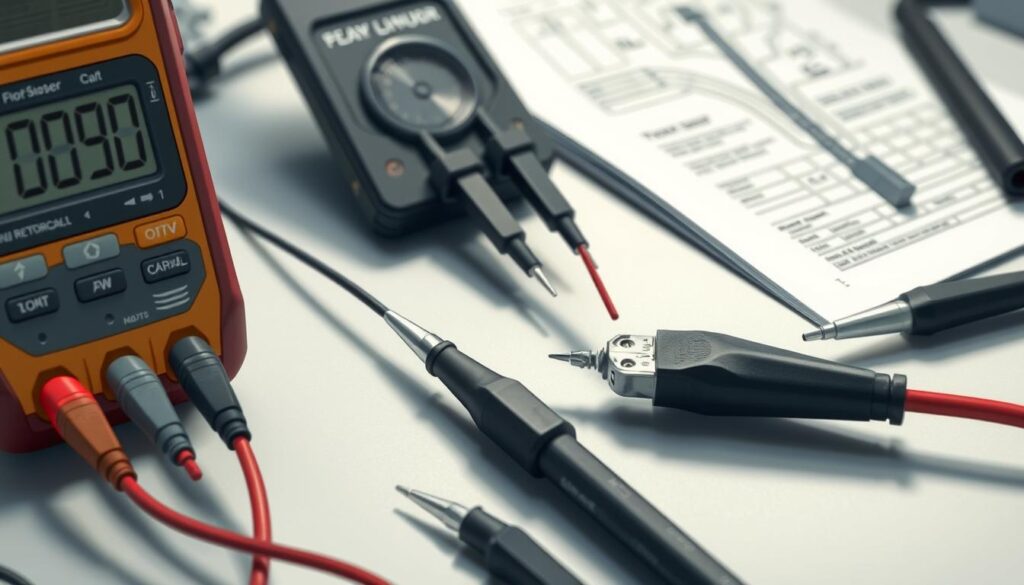
Testing Voltage and Ground Configuration
After securing the connections, it’s time to test the sensor voltage. Here are the steps to follow:
- Turn the ignition on without starting the car. This powers the sensor without the engine running.
- Adjust your multimeter to the right voltage setting.
- Start testing each wire connected to the sensor. Typically, a fuel rail sensor’s readings might show:
| Pressure (Bar) | Expected Voltage (V) |
|---|---|
| Minimum Pressure | 0.5 |
| Normal Pressure | 2.5 |
| Maximum Pressure | 4.5 |
Watch the sensor readings closely. If they don’t match what’s expected, you might need to check the sensor connections further. Look out for issues like fretting corrosion that can cause unreliable performance. Ensuring the terminals are well-connected, both on the component and any connectors, is vital for good diagnostics.
Interpreting Your Multimeter Readings
When you start back-probing a sensor, the next step is to understand your multimeter’s readings. It’s crucial to interpret these readings right to troubleshoot sensor problems well. Knowing the expected values for different sensors helps spot any errors in your measurements.
Expected Values on Different Sensors
Each sensor has its own normal voltage range. For instance, the fuel rail pressure sensor usually shows between 0.5V and 4.5V. Knowing these ranges helps you figure out if a sensor is working as it should or has a problem.
| Sensor Type | Expected Voltage Range (V) |
|---|---|
| Fuel Rail Pressure Sensor | 0.5 – 4.5 |
| Throttle Position Sensor | 0.5 – 4.5 |
| Coolant Temperature Sensor | 0.5 – 4.5 |
| Oxygen Sensor | 0.2 – 1.0 |
| Mass Air Flow Sensor | 0.5 – 4.5 |
Diagnosing Issues Based on Readings
After getting your readings, diagnosing sensor issues is next. Low voltage might mean a wiring or sensor problem, especially if it’s much lower than expected. For example, a reading below 0.5V in the fuel rail sensor could show an electrical fault or a bad sensor.
Always check for ground problems too. A reading close to zero volts can mean a poor ground connection. Sudden jumps or drops in the readings might indicate a wiring issue. These multimeter readings are key to finding and fixing problems.
Further Troubleshooting Techniques
After you complete the first back-probing step, think about using more troubleshooting methods. These methods go beyond simple voltage checks. They help you find deep issues. Testing wiring for continuity is a key step. It checks if electrical signals move correctly in cables. This ensures there are no breaks.
It’s important to use your multimeter to measure resistance. Issues often appear when resistance values are not right. This could mean there are corroded connectors or damaged wires. Methodically verifying connections one by one helps you catch every detail. This helps you make right decisions without missing important things.
Keep these ideas in mind when applying these techniques:
- Back-pin probes keep wire insulation safe. This helps keep vehicle circuits healthy.
- If pins in back-pin probes are damaged, replace them. It’s cost-effective and safe.
- Be careful with back-pinning. If probes touch, you might short the circuit.
- Using these probes might void warranties on manufacturer’s wiring looms.
Before you start any back-probing repairs, know the risks. Damaged weather seals can let in moisture. This causes corrosion and connection issues later. Be extra careful when working in tight spots. Forcing a back-pin can cause mistakes.
To reliably diagnose issues, use vehicle connector breakout leads. They mimic real electrical conditions for better readings. Though more costly than back-pin probes, breakout leads improve fault finding. They save time and money.

| Tool Type | Purpose | Cost Range | Durability |
|---|---|---|---|
| Back-pin Probes | Quick voltage diagnostics | $10 – $60 | Moderate |
| Breakout Leads | Inline circuit access | $60 – $200 | High |
| Wire-Piercing Tools | Direct wire diagnostics | $10 – $60 | Variable |
By using these advanced troubleshooting methods, you boost the accuracy of your diagnostics. This leads to better assessments and successful repairs.
Common Mistakes to Avoid During Back-Probing
Back-probing can uncover important clues about your car’s electrical problems. But, it’s crucial to do it right to avoid errors in automotive diagnostics. Watch out for these common mistakes when back-probing.
- Incorrect Multimeter Positioning: Putting the multimeter in the wrong spot can give wrong readings. Make sure you set the multimeter correctly for the reading you need.
- Confusing Sensor Wires: Mixing up sensor wires can lead to checking the wrong circuit. It’s important to look at the wiring diagram first.
- Neglecting Battery Condition: Always check for clean and corrosion-free battery terminals. Loose connections may lead to unpredictable electrical issues that make diagnostics hard.
- Overlooking Ground Quality: Keep in mind that sensor grounds and chassis grounds are different. Bad ground connections can seriously mess up sensor readings and affect how your car runs.
- Ignoring Open Circuits: Open circuits are a common electrical problem. They usually happen because of corroded or loose connectors, causing weird results during tests.
It’s essential to use a high-quality Digital Multi Meter with high-impedance inputs for accurate electrical troubleshooting. Also, using back probing with piercing probes makes it easier. This way, you can reach the circuit without harming the insulation.

| Mistake | Consequence | Prevention |
|---|---|---|
| Incorrect Multimeter Positioning | Inaccurate readings | Proper setup and use according to the manual |
| Confusing Sensor Wires | Testing wrong circuits | Referencing vehicle wiring diagrams |
| Neglecting Battery Condition | Intermittent electrical issues | Regular inspection and cleaning of battery terminals |
| Overlooking Ground Quality | Significant sensor output errors | Checking all ground connections thoroughly |
| Ignoring Open Circuits | Erratic vehicle behavior | Identifying and addressing poor connections |
By being careful with these common back-probing errors, diagnosing your car’s electrical issues will go more smoothly. This ensures more accurate results for your vehicle’s electrical systems.
Conclusion
Learning how to back-probe is key for anyone in auto diagnostics. This guide shows that good sensor tests can boost your troubleshooting skills. You now know how to check sensors without harming the wires.
Remember, safety and knowing how sensor wires work are crucial for back-probing. Using the right tools, like connector breakout leads, makes for safer and more accurate tests. These tools cost more but are worth it in the long run.
Having these skills will enhance your work in auto diagnostics. It leads to less damage and fewer wrong diagnoses. This way, you’ll become a better technician.
