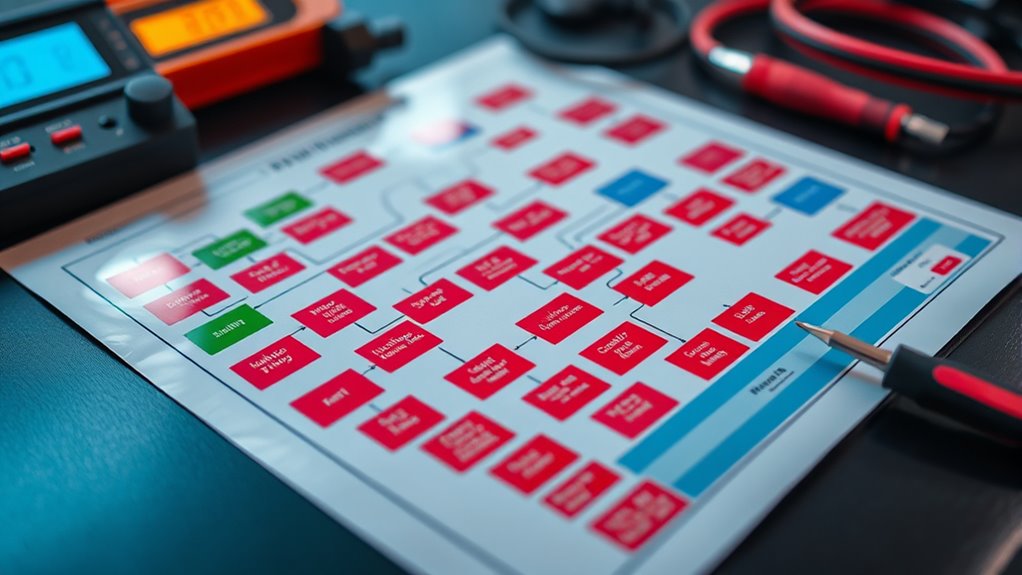
When your vehicle won’t start, follow a simple flowchart to troubleshoot effectively. Begin by checking the battery’s health—look for corrosion, tight connections, or low voltage with a multimeter. If the battery’s good, listen for clicking sounds or consider jump-starting or replacing it. Next, inspect the starter motor and wiring for damage or loose connections. If these steps don’t fix the issue, explore further details to pinpoint the exact cause and get back on the road.
Key Takeaways
- Begin with a thorough battery check, including voltage measurement and terminal inspection for corrosion or loose connections.
- Test the starter motor by listening for a clicking sound and gently tapping it during startup attempts.
- Confirm the integrity of wiring and electrical connections related to the starter and battery.
- Jump-start the vehicle if the battery is suspected to be dead, then reassess starting ability.
- If the battery and wiring are good, evaluate the starter motor and solenoid before considering replacement.
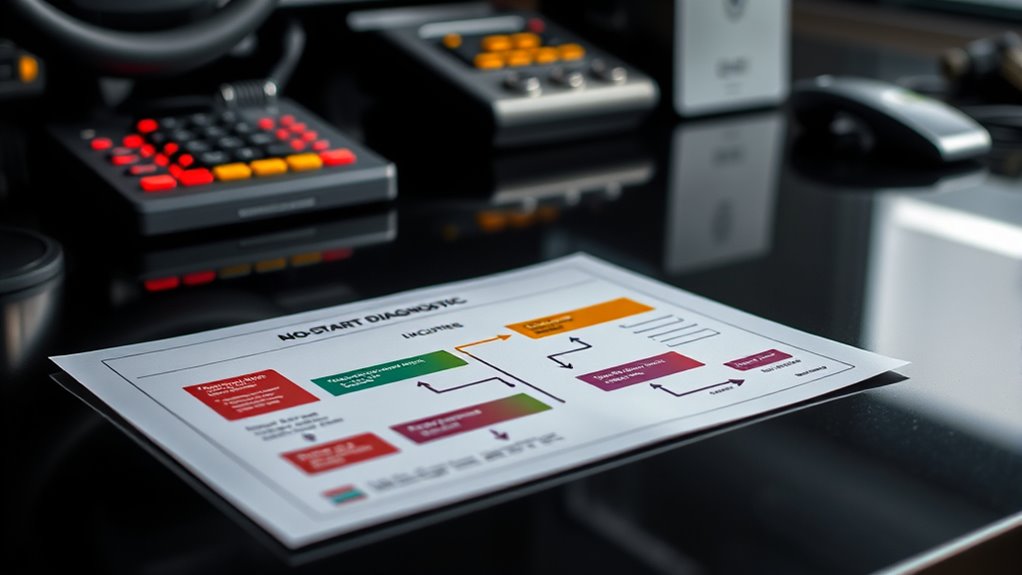
When your vehicle refuses to start, it can be frustrating and confusing. You might wonder where to begin troubleshooting or which component is causing the problem. The first step is to perform a thorough battery inspection. A weak or dead battery is one of the most common reasons a car won’t start, so ensure your battery has enough charge. Check for corrosion on the terminals, tight connections, and signs of damage. If the battery is old or if the voltage is low, consider jump-starting the vehicle or replacing it altogether. Sometimes, a simple battery test with a multimeter can reveal if it’s holding a sufficient charge. If the battery appears fine, then move on to inspecting the starter motor, another critical component in the starting system.
The starter motor’s role is to turn the engine over when you turn the key or press the start button. If your vehicle makes a clicking sound but doesn’t start, or if you hear nothing at all, the starter motor could be at fault. To evaluate this, first ensure that the battery inspection was successful and that the battery isn’t the source of the issue. Next, listen carefully when you turn the key; a single click often indicates a problem with the starter solenoid or the motor itself. You can perform a quick test by tapping gently on the starter motor while someone else turns the key. If the engine starts, it suggests the starter motor is sticking or failing. To be certain, you might need to remove and bench-test the starter motor or have it tested at an auto parts store.
Additionally, check the wiring and connections related to the starter motor. Loose or corroded wires can prevent proper engagement, mimicking a faulty starter. Ensure all cables are secure and free of corrosion. If these connections are sound and the battery checks out, then the problem likely resides within the starter motor or its solenoid. In some cases, replacing the starter motor is necessary, but always confirm the diagnosis first. Troubleshooting these components systematically helps you avoid unnecessary replacements and pinpoints the true cause of the no-start condition. By starting with a battery inspection and then moving to the starter motor, you can efficiently identify whether the issue is electrical, mechanical, or a combination of both. This methodical approach saves time and reduces frustration, guiding you toward the correct repair with confidence. Additionally, understanding vehicle electrical systems can help you diagnose starting issues more effectively.
Frequently Asked Questions
How Do I Interpret Engine Warning Lights During Diagnosis?
When you see an engine warning light, it indicates a possible issue with your electrical system or engine management. Pay attention to the color and symbol—yellow warns of a problem, red signals urgency. Check your vehicle’s manual for specific meanings. Use an OBD-II scanner to read the trouble codes, which helps identify the electrical system components or sensors causing the warning. Addressing it promptly prevents further damage.
What Are Common Causes of No-Start Conditions in Different Vehicle Models?
Imagine turning the key and hearing nothing; it’s often due to battery issues or fuel system problems. In some models, a weak battery can’t power the starter, while in others, clogged fuel filters or a failing fuel pump prevent the engine from starting. You should check the battery’s charge and inspect the fuel system components first, as these are common causes across various vehicle makes and models.
Can I Perform This Diagnostic Flowchart on Hybrid or Electric Vehicles?
You can perform a no-start diagnostic flowchart on hybrid or electric vehicles, but you need to adapt it for their unique systems. For electric vehicles, focus on the high-voltage battery, electric motor, and power inverter. For hybrids, check both the hybrid system components and the conventional engine. Always follow specific safety procedures, as high-voltage systems pose serious risks, and consult manufacturer guidelines for accurate diagnostics.
What Safety Precautions Should I Take When Diagnosing No-Start Issues?
When diagnosing no-start issues, you should wear safety gear like gloves and eye protection to guard against electrical shocks or sparks. Always practice hazard awareness by disconnecting the battery before working on electrical components and being cautious around high-voltage systems in hybrid or electric vehicles. Stay alert to potential risks, follow proper procedures, and make certain the vehicle is securely supported to prevent accidents during the diagnostic process.
How Do Environmental Factors Affect the No-Start Diagnostic Process?
Environmental factors like air quality and ambient temperature can notably impact your no-start diagnostic process. Poor air quality may clog fuel injectors or sensors, causing starting issues. Extreme temperatures can affect battery performance and fuel vaporization, making engines harder to start. You should consider these factors when diagnosing, ensuring your vehicle’s components are operating under ideal conditions or adjusting your approach based on environmental influences.
Conclusion
So, you’ve followed the flowchart, checked every step, and still face the mystery. What’s the next move? Sometimes, the smallest detail can uncover the problem or hide the solution just out of reach. Keep your focus sharp, stay patient, and don’t rush. The answer might be closer than you think, waiting in the shadows. Are you ready to uncover it? The journey isn’t over yet—there’s more to discover before your engine roars back to life.
