Smoke testing for vacuum leaks involves introducing special smoke into the system to visually identify leaks. As the smoke escapes through tiny or hidden cracks, you can easily spot the leak points, especially in complex or confined areas. This method is highly sensitive and complements visual inspection and pressure decay testing. Want to learn more about how smoke testing can pinpoint even the smallest leaks? Keep going to discover more effective techniques.
Key Takeaways
- Smoke testing visually reveals tiny or hidden vacuum leaks that may be missed by other methods.
- It involves introducing special smoke into the vacuum system to identify leak locations.
- Combining visual inspection and pressure decay testing enhances leak detection accuracy before smoke testing.
- Smoke escaping through leaks provides clear, immediate visual confirmation of leak points.
- Smoke testing is especially effective in complex or confined systems where traditional methods are limited.
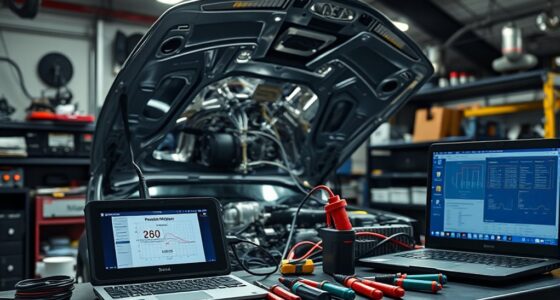
Have you ever wondered how technicians detect tiny vacuum leaks that can affect a system’s performance? One of the most effective methods involves smoke testing, which helps identify even the smallest leaks that might otherwise go unnoticed. Before diving into smoke testing itself, technicians often begin with a visual inspection. During this step, you carefully examine all accessible connections, hoses, seals, and joints for signs of damage, cracks, or deterioration. Visual inspection gives you a quick way to catch obvious issues, but it isn’t always enough because tiny leaks can be hidden or too subtle to see. That’s where the next step—pressure decay—comes into play.
Pressure decay testing involves pressurizing the system and monitoring its pressure over time. You seal the system and introduce a controlled amount of pressure, then watch how it holds up. If the pressure drops unexpectedly, it indicates a leak somewhere in the system. This method is highly sensitive and can detect very small leaks that visual inspection might miss. By combining visual inspection with pressure decay testing, you get a thorough view of the system’s integrity before applying smoke. The pressure decay test acts as a diagnostic baseline, confirming whether a leak exists and guiding you toward the next step.
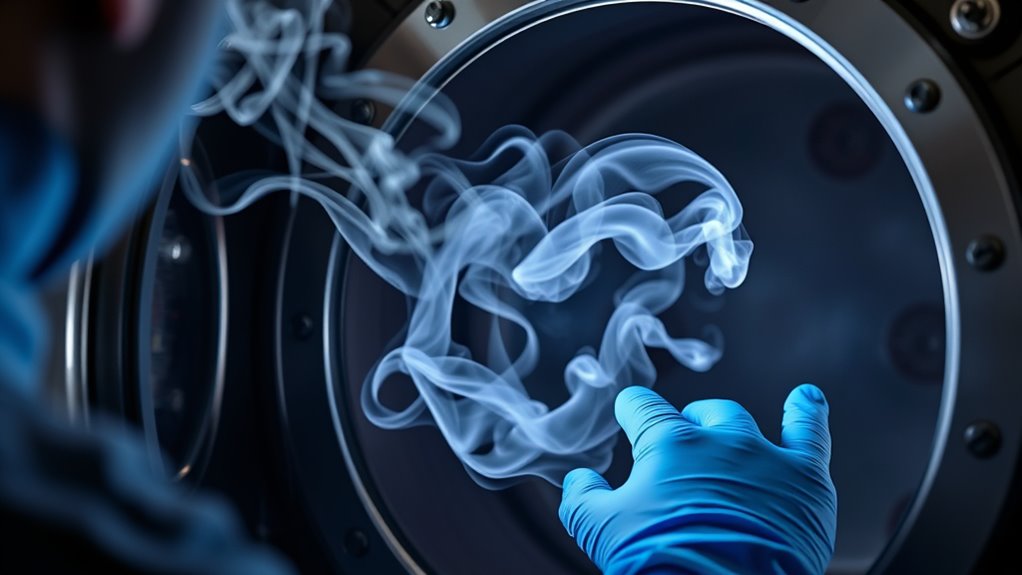
Once you’ve identified the likelihood of a leak through pressure decay, you proceed with smoke testing. In this process, you introduce a special smoke into the system, which will escape through any leaks, making them visible. Smoke testing is especially useful because it provides a visual indication of leaks that are otherwise hidden in complex assemblies or confined spaces. As you observe the system, the smoke will seep out from tiny openings, revealing their exact location. This visual confirmation is essential for pinpointing leaks accurately and efficiently. It’s particularly advantageous in systems where traditional methods might be too cumbersome or inconclusive.
[By combining these techniques, you ensure a comprehensive assessment of the system’s integrity, which is fundamental to the effectiveness of digital literacy in troubleshooting and maintenance.]Frequently Asked Questions
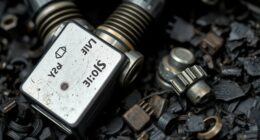
What Are the Common Causes of Vacuum Leaks?
You often experience vacuum leaks caused by cracked or damaged hoses, loose fittings, or worn-out seals in your vacuum system. Improper installation or degraded components also contribute to leaks. To identify these issues, use leak detection methods like smoke testing, which highlight leaks quickly. Regularly inspecting your vacuum system helps catch problems early, ensuring efficient operation and preventing costly repairs.
How Often Should Smoke Testing Be Performed?
You should perform smoke testing for vacuum leaks regularly, balancing safety and efficiency. Typically, you’ll want to set testing intervals based on your equipment’s usage and history, often every three to six months. While frequent testing helps catch leaks early, infrequent checks could lead to costly repairs. Planning your frequency carefully ensures peak performance and minimizes downtime, making it a crucial part of your maintenance schedule.
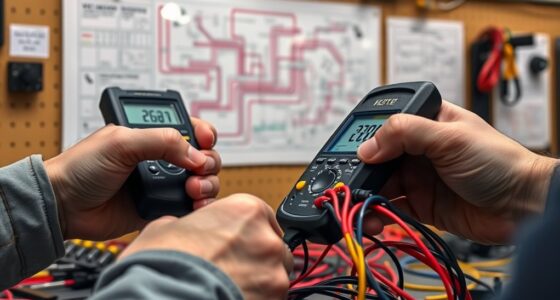
What Equipment Is Best for Detecting Small Leaks?
For detecting small leaks during leak detection, you should use a smoke generator with fine, penetrating smoke, like an electronic leak detector or ultrasonic leak detector. An equipment comparison shows that electronic detectors are highly sensitive and ideal for pinpointing tiny leaks, while ultrasonic detectors excel in noisy environments. Both tools help you identify small leaks quickly, ensuring your vacuum system remains efficient and leak-free.
Are There Safety Precautions for Smoke Testing?
You should prioritize safety during smoke testing by wearing appropriate safety gear, like gloves and goggles, to protect yourself from potential hazards. Confirm proper ventilation requirements are met, as smoke can accumulate and pose inhalation risks. Always follow manufacturer guidelines and local safety regulations to prevent accidents. Taking these precautions not only keeps you safe but also ensures accurate testing results, giving you confidence in your vacuum leak detection process.
How Does Ambient Temperature Affect Testing Accuracy?
Ambient temperature markedly impacts testing accuracy during smoke testing for vacuum leaks. If the temperature is too high or low, it can cause the smoke to behave unpredictably, making leaks harder to detect accurately. You should perform tests in a controlled environment, ensuring consistent ambient temperature. Sudden changes or extreme temperatures can lead to false positives or negatives, so maintaining stable conditions is essential for reliable results.
Conclusion
Now that you know how to perform smoke testing for vacuum leaks, you’re better equipped to catch issues early. Remember, a little preventive maintenance can save you a lot of trouble down the road. When you stay vigilant and tackle problems head-on, you prevent small leaks from turning into big headaches. Don’t wait for the warning signs to multiply—nip them in the bud before they cause more damage. Stay proactive, and you’ll keep your system running smoothly.