
To make gingerbread houses, start with a sturdy, spiced dough that holds its shape during baking. Prepare smooth royal icing with powdered sugar and egg whites or meringue powder to act as glue and decoration. Carefully assemble the pieces, using the icing to secure walls, roof, and details, holding them until they set firmly. Patience and precise techniques make a beautiful house, and exploring further tips will help you craft a stunning final result.
Key Takeaways
- Use a sturdy gingerbread dough recipe that holds its shape during baking for reliable house construction.
- Prepare royal icing with powdered sugar and egg whites or meringue powder to create a strong, piping-consistency glue.
- Outline and flood gingerbread pieces with royal icing for smooth surfaces and secure attachment points.
- Assemble the house by piping icing along edges, holding pieces until the icing hardens for stability.
- Decorate with candies and details once the structure is fully set to achieve a polished, festive look.

Gingerbread houses are a festive tradition that sparks creativity and holiday cheer. When you start building your own, it’s fascinating to explore the historical origins behind this beloved craft. The tradition dates back centuries, with roots in European folklore and medieval baking practices. Originally, gingerbread was used not only as a treat but also as a way to ward off evil spirits or bring good luck during the winter months. Over time, the idea of creating elaborate gingerbread structures evolved into the charming houses we enjoy today. This history adds a layer of cultural significance to your holiday project, inspiring you to carry on a centuries-old tradition.
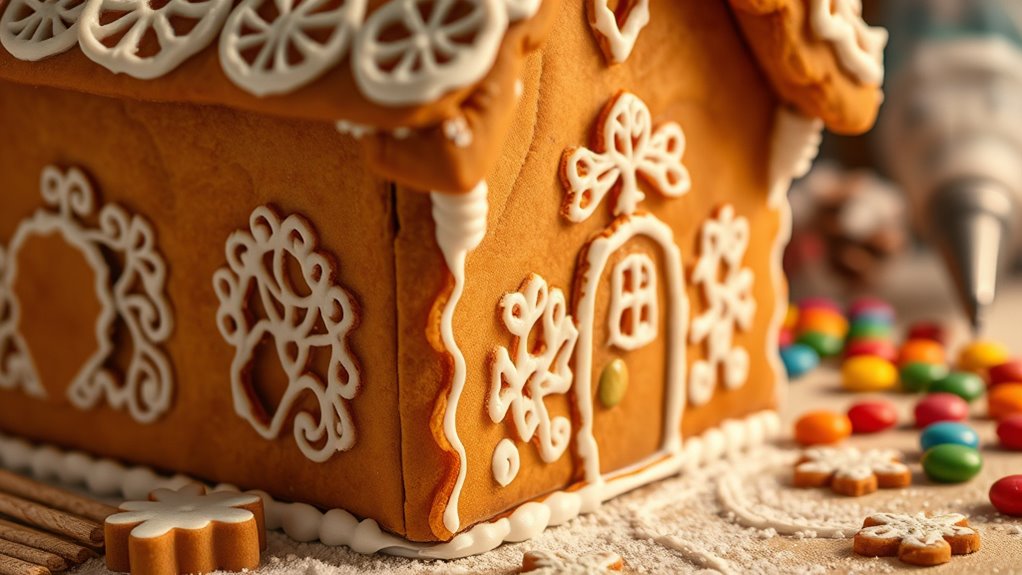
As you begin decorating your gingerbread house, you’ll find that mastering decorating techniques is key to achieving a stunning final result. First, you need to prepare your royal icing, which acts as the glue and decorative element. Using powdered sugar, egg whites, or meringue powder, you can create a smooth, piping consistency that dries hard. When decorating, you’ll want to start by outlining the edges of your house components—walls, roof, windows—using a piping bag fitted with a fine tip. This technique helps define shapes clearly and prevents the icing from spreading too much. Once the outlines set, you can flood larger areas with a slightly thinner icing to create a smooth surface, ideal for adding details like shingles, bricks, or snow effects.
Decorating techniques also include layering different textures and colors to add visual interest. For example, use crushed candies or sprinkles to mimic shingles or brickwork, and pipe delicate icicle drips along the roof edges. You might even incorporate edible glitter or colored sugars for extra sparkle. When applying decorations, patience is essential—you want each layer of icing to set before adding more embellishments to prevent smudging or shifting. You’ll find that practicing these techniques not only improves the appearance but also enhances your confidence in your craftsmanship. Additionally, experimenting with decorating techniques can help you discover new creative effects and elevate your gingerbread house to a professional level.
Building your gingerbread house involves more than just decorating; it’s about assembling the pieces securely. You’ll use your royal icing as an adhesive, carefully applying it along edges where walls meet or to attach windows and doors. Ensuring the structure is stable may require holding pieces in place briefly until the icing hardens. As you assemble, pay attention to symmetry and overall balance—small adjustments early on save you from trouble later. Once assembled, you can go back and add finishing touches, like candy accents or miniature figurines, to bring your creation to life. With patience and creativity, you’ll craft a gingerbread house that’s not only beautiful but also a delightful centerpiece for your holiday celebrations.
Frequently Asked Questions
How Long Does Gingerbread House Construction Typically Take?
Construction of a gingerbread house usually takes around 4 to 6 hours, including baking time and decoration duration. You’ll spend about 30 to 45 minutes baking the dough, then permit it to cool before assembling. Once assembled, decorating can take another 1 to 3 hours, depending on detail. Rushing may compromise stability, so giving yourself ample time guarantees a sturdy, beautifully decorated gingerbread house.
What Are Common Mistakes When Assembling Gingerbread Houses?
You often make common structural flaws when assembling gingerbread houses by rushing or not letting the icing set properly. Be sure your icing has the right consistency—too thin, and it won’t hold; too thick, and it’s hard to work with. Avoid applying too much pressure, which can cause walls to collapse. Take your time, let each section dry fully, and use ample icing for strong, stable joints.
How Can I Make Gingerbread Dough More Flexible?
To make your gingerbread dough more flexible, let it rest at room temperature for about 15-20 minutes before rolling. This improves gingerbread dough elasticity, making it easier to handle and cut. You can also lightly dust your surface with flour or powdered sugar to prevent sticking, which helps maintain flexibility. Avoid overworking the dough, as it can become tough and less pliable, making assembly much easier.
Are There Gluten-Free Options for Gingerbread House Ingredients?
Yes, you can make gluten-free gingerbread dough using gluten-free flours like almond, rice, or oat flour, which work well as substitutes. To improve texture and flavor, add alternative sweeteners such as honey or maple syrup instead of traditional sugar. Just remember, gluten-free flours may require more binding agents like xanthan gum or guar gum to help the dough hold together during rolling and shaping.
How Do I Prevent Royal Icing From Cracking During Assembly?
To prevent royal icing from cracking during assembly, make sure your icing has the right consistency—stiff enough to hold shapes but still workable. Use a thicker icing for structural support, especially for walls and roofs. Apply gentle, even pressure when attaching pieces, and let the icing dry thoroughly between steps. Patience is key; giving the icing enough time to set will help keep your gingerbread house stable and crack-free.
Conclusion
Now that you’ve mastered the art of gingerbread houses, remember, each one is like a tiny, edible dream you build with patience and creativity. I once watched a friend spend hours decorating her house, only for her dog to happily demolish it in seconds—proving even the sweetest creations can be fleeting. But that’s part of the fun! With your new skills, your next gingerbread masterpiece will stand tall and sweet, ready to delight everyone who sees it.