To DIY bleed your brake fluid, start by safely lifting your vehicle and removing the wheel to access the brake bleeder screw. Attach tubing to the screw and have a helper press the brake pedal gently while you open the screw to let out air bubbles and old fluid. Keep the master cylinder topped off and repeat until the fluid runs clear without bubbles. If you’re curious about detailed steps or tips, more useful info is just ahead.
Key Takeaways
- Always use the correct brake fluid type specified in your vehicle manual to prevent damage.
- Begin bleeding from the wheel farthest from the master cylinder for effective air removal.
- Attach a clear tubing to the bleeder screw, submerge in a catch container, and have a helper press the brake pedal.
- Loosen the bleeder screw to let fluid and trapped air escape, then tighten before releasing the pedal.
- Wear gloves and eye protection, work in a ventilated area, and ensure the vehicle is securely supported for safety.
Have you ever wondered how to maintain your vehicle’s braking system without taking it to the shop? One essential task is bleeding the brake fluid, which helps remove air bubbles and ensures your brakes respond promptly. Knowing how to do this yourself not only saves money but also gives you peace of mind about your vehicle’s safety. Before diving in, it’s important to understand the different brake fluid types, as using the wrong one can compromise your braking performance. DOT 3, DOT 4, and DOT 5.1 are common, with each having specific boiling points and compatibility. Always check your vehicle’s manual to confirm which type to use, and stick to that recommendation. Mixing different brake fluids can lead to corrosion or brake failure, so precision matters.
Safety precautions are critical when working with brake fluid, as it’s a corrosive substance that can damage paint and skin. Always wear gloves and eye protection, and work in a well-ventilated area. Keep a container of water nearby to rinse any spills immediately, and avoid inhaling fumes. Before starting, make sure your vehicle is on a flat surface and securely lifted with jack stands if necessary. Never work underneath a vehicle supported only by a jack; safety stands are essential. Disconnect the battery if you’ll be working around sensitive components, and ensure the engine is off and cool. Handling brake fluid carefully prevents accidents and guarantees your safety throughout the process.
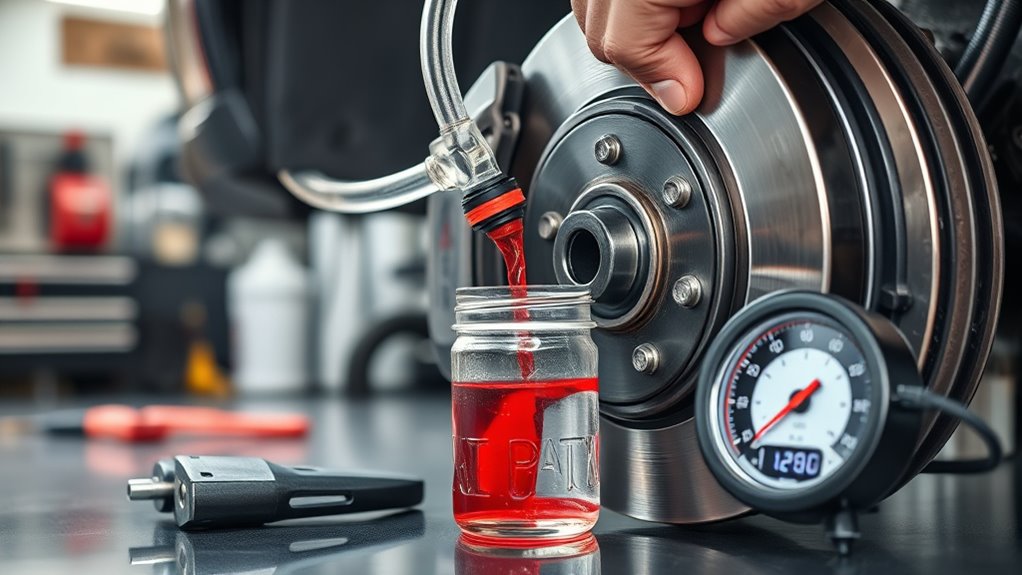
When you’re ready to bleed the brakes, gather your tools: a wrench, clear tubing, a catch container, and fresh brake fluid. Start with the wheel farthest from the master cylinder, typically the passenger rear, then move to the driver rear, passenger front, and finally the driver front. Remove the wheel to access the brake bleeder screw, attach the tubing to it, and submerge the other end in the catch container. Have a helper press the brake pedal gently multiple times to build pressure, then have them hold it down. Loosen the bleeder screw slightly to let out any trapped air and old fluid, then tighten it before they release the pedal. Repeat this process until you see clear, bubble-free brake fluid flowing through the tubing. Be sure to top off the master cylinder with fresh brake fluid as needed, avoiding letting it run dry.
Frequently Asked Questions
Can I Use Any Type of Brake Fluid for Bleeding?
You can’t just use any brake fluid for bleeding; you need to verify brake fluid compatibility with your vehicle. Always check your owner’s manual for the correct fluid type standards, such as DOT 3, DOT 4, or DOT 5. Using incompatible fluid can damage seals or reduce braking efficiency. Stick to the recommended fluid type to guarantee safety and peak performance during the bleeding process.
How Often Should I Bleed My Brakes?
Oh, sure, you should just bleed your brakes whenever you feel like it—because who needs a schedule? In reality, you should follow the bleeding frequency schedule recommended by your vehicle’s manufacturer, usually every 2-3 years. Remember, using compatible brake fluid is essential. Regularly bleeding your brakes keeps them responsive and safe, preventing costly repairs down the line. Don’t skip it—your brakes will thank you!
Is It Necessary to Replace Brake Fluid During Bleeding?
Yes, it’s necessary to replace brake fluid during bleeding. Brake fluid has a limited lifespan because it absorbs moisture over time, which can reduce braking effectiveness. Regular bleeding, based on your vehicle’s recommended bleeding frequency, helps remove old fluid and contaminants. This process guarantees your brake system remains responsive and safe. So, during bleeding, always replace the old fluid to maintain ideal braking performance and prevent potential brake failure.
What Are Common Signs of Air in Brake Lines?
Imagine pressing a sponge and feeling no resistance—that’s how your brake pedal feels when air bubbles enter your brake lines. Common signs of air in the lines include a spongy brake pedal, delayed response, and inconsistent braking power. If you notice these symptoms, it’s a clear sign that air has infiltrated your system, and bleeding the brakes becomes necessary to restore firm, reliable braking performance.
Can I Bleed Brakes Without Professional Tools?
Yes, you can bleed brakes without professional tools, but you must prioritize DIY safety and understand your brake system components. Use a clear hose and a container to catch old fluid, and make certain the car is securely supported. Follow proper procedures, like opening the bleed valve slowly, to avoid air pockets. Be cautious, as working on brake systems involves safety risks; if unsure, consult a professional.
Conclusion
Think of bleeding your brakes like tending a garden; if you ignore the weeds, everything suffers. By taking the time to carefully remove air bubbles, you’re nurturing a safe, responsive brake system that keeps you grounded. With patience and attention to detail, you become the gardener of your vehicle’s safety, ensuring each pedal press is as steady as a well-tended flowerbed. Your effort creates a smooth ride, free from the chaos of air pockets—your car’s version of a blooming garden.