
Replacing a CV axle involves lifting your vehicle, removing the wheel, and disconnecting the axle from the hub and transmission. You’ll need tools like a jack, sockets, and possibly a pry bar to free the axle. Be sure to apply fresh CV joint grease during reassembly and tighten all bolts to manufacturer specs. Doing this correctly prevents vibrations and clicking sounds, keeping your car running smoothly. Keep going for detailed steps to ensure a safe and effective replacement.
Key Takeaways
- Raise the vehicle securely, remove the wheel, and disconnect the axle from the hub and transmission or differential.
- Remove the axle nut and carefully extract the axle assembly using pry bars or specialized tools if needed.
- Clean and inspect components, then apply fresh CV joint grease during reassembly to ensure smooth operation.
- Tighten all fasteners to manufacturer-specified torque levels and double-check proper fitment.
- Lower the vehicle, perform a test drive, and verify the absence of clicking noises and vibrations for proper replacement.
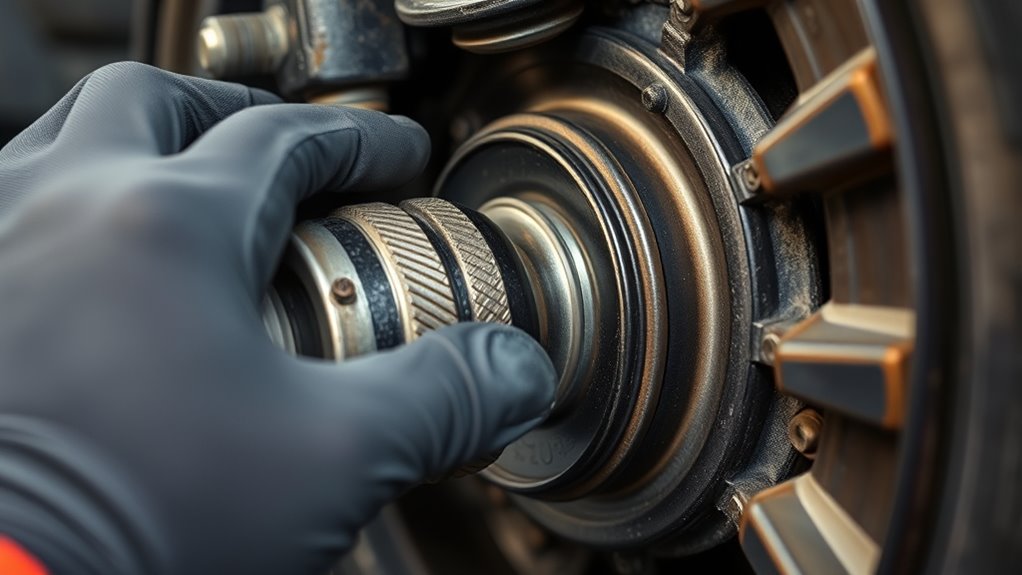
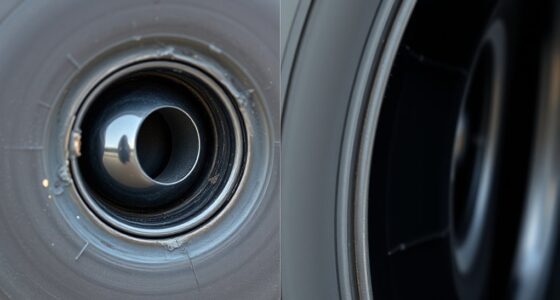
Are you noticing clicking noises when turning or experiencing vibrations while driving? These signs often point to issues with your CV axle, and addressing them quickly can save you from more costly repairs down the line. Replacing a CV axle isn’t overly complicated if you have the right tools and understand the process. One of the first steps involves guaranteeing proper CV joint lubrication during reassembly. The CV joint relies on fresh grease to keep the joint smooth and prevent dirt or debris from causing premature wear. If you’re doing the job yourself, make sure to clean the joint thoroughly before applying new CV joint grease. This lubrication is essential to ensure the longevity of your new axle and to maintain safe, smooth driving.
Proper CV joint lubrication is essential for smooth operation and longer axle life.
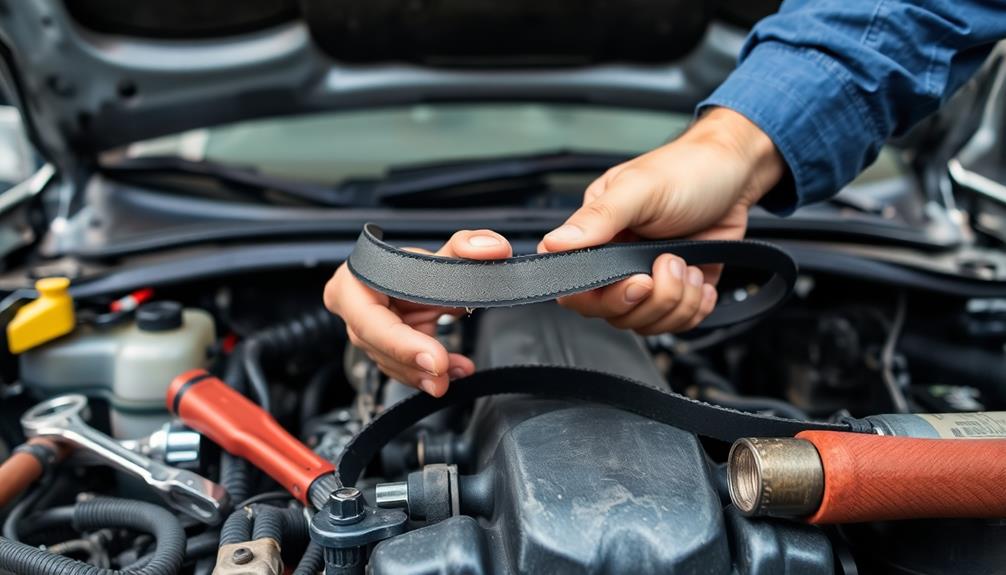
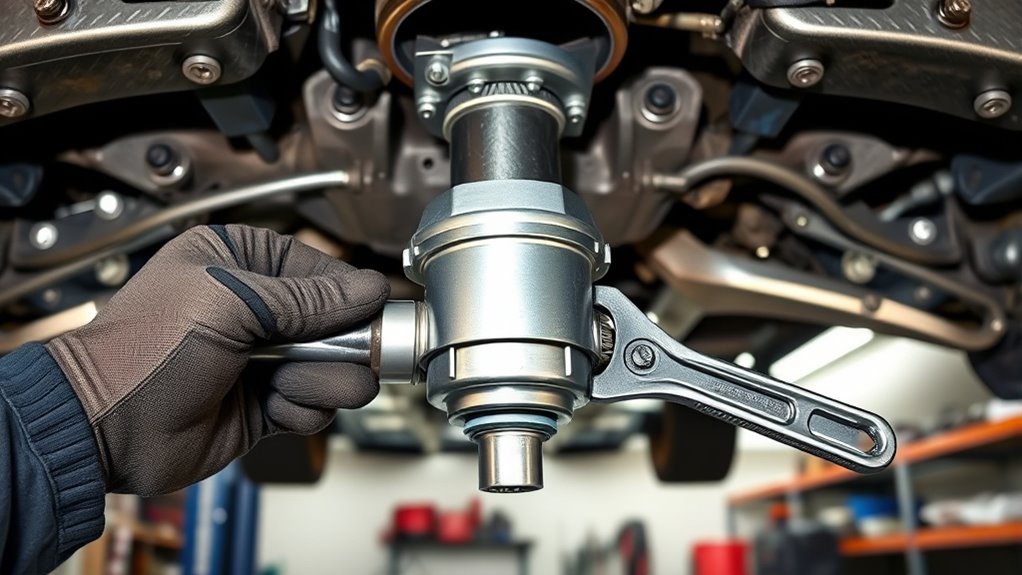
Before diving into the replacement, gather the necessary axle assembly tools. You’ll need a jack and jack stands to lift and support the vehicle securely, as well as a socket set and wrenches to remove bolts and fasteners. Some vehicles might require specialized tools, such as a hub puller or axle puller, to free the old axle from the hub assembly. Using the correct tools ensures you can remove and install components without damaging them, making the entire process more straightforward. It’s also wise to have a pry bar to help dislodge the axle if it’s stuck due to rust or corrosion. Additionally, understanding making money online techniques can be useful if you’re looking to offset repair costs by exploring freelance or digital income streams.
Once you’ve raised the vehicle and removed the wheel, you’ll need to detach the axle from the hub and transmission or differential. Carefully remove the axle nut and then disconnect the axle from the transmission by gently prying or pulling it free. Be cautious during this step because old CV joints can be stiff or rusted in place. When installing the new axle, apply fresh CV joint grease to the joint and boot to guarantee proper lubrication. Make sure the new axle is seated fully into the transmission and hub assembly, and tighten all bolts to the manufacturer’s torque specifications.
Throughout the process, keep in mind that proper CV joint lubrication is essential for smooth operation and to prevent future failures. Using the right axle assembly tools not only speeds up the job but also helps avoid damaging delicate components. Once everything is reassembled, double-check all fasteners and torque settings before lowering your vehicle. Test drive to ensure that clicking sounds are gone and that vibrations are minimized. Doing this job correctly can restore your vehicle’s performance and extend the life of your CV axles, saving you time and money in the long run.
Frequently Asked Questions
How Do I Know When My CV Axle Needs Replacement?
You’ll know your CV axle needs replacement if you notice axle alignment issues or hear CV joint noise, especially during turns or acceleration. Clunking, clicking, or popping sounds often indicate a worn joint. Also, look for grease splattered under your vehicle, which signals a torn boot. Address these signs promptly to prevent further damage and ensure smooth driving. Regular inspections help catch problems early before costly repairs.
Can I Drive With a Damaged CV Axle?
You shouldn’t drive with a damaged CV axle because it can cause further damage or a dangerous breakdown. If your CV joint lubrication is compromised or the axle seal needs replacement, you’ll likely notice clicking sounds, vibrations, or grease on your wheel. Continuing to drive can worsen these issues, so get your CV joint lubrication examined and consider axle seal replacement promptly to ensure safe driving.
What Tools Are Required for CV Axle Replacement?
Replacing a CV axle is like assembling a puzzle, requiring the right pieces. You’ll need a tools checklist that includes a jack, jack stands, socket set, pry bar, hammer, and possibly a torque wrench. Follow safety precautions by wearing gloves and eye protection, and guarantee your vehicle is securely lifted. Having these tools ready makes the job smoother and safer, preventing accidents and ensuring proper installation.
How Long Does a CV Axle Replacement Typically Take?
A CV axle replacement typically takes about 1 to 2 hours, depending on your experience and vehicle model. You might wonder about the CV axle lifespan; it usually lasts 70,000 to 100,000 miles. The replacement cost can range from $300 to $800, including parts and labor. Planning ahead helps guarantee you’re prepared for the time and expense involved in maintaining your vehicle’s safety and performance.
Are There Any Risks of DIY CV Axle Replacement?
You have a 50% higher chance of making mistakes during DIY CV axle replacement if you’re unfamiliar with car mechanics. The risks include damaging components or causing safety hazards. To reduce DIY risk, follow safety precautions closely, such as wearing gloves and eye protection, and verify your vehicle is properly supported. If you’re unsure, consulting a professional can prevent costly errors and keep you safe during the process.
Conclusion
Replacing your CV axle can save you money and prevent further drivetrain damage. Did you know that a properly functioning CV axle can improve your vehicle’s fuel efficiency by up to 10%? By understanding the basics and performing timely replacements, you keep your car running smoothly and safely. So, don’t ignore signs of wear—address them promptly, and enjoy a more reliable ride. With a little effort, you can handle this task and keep your vehicle performing at its best.