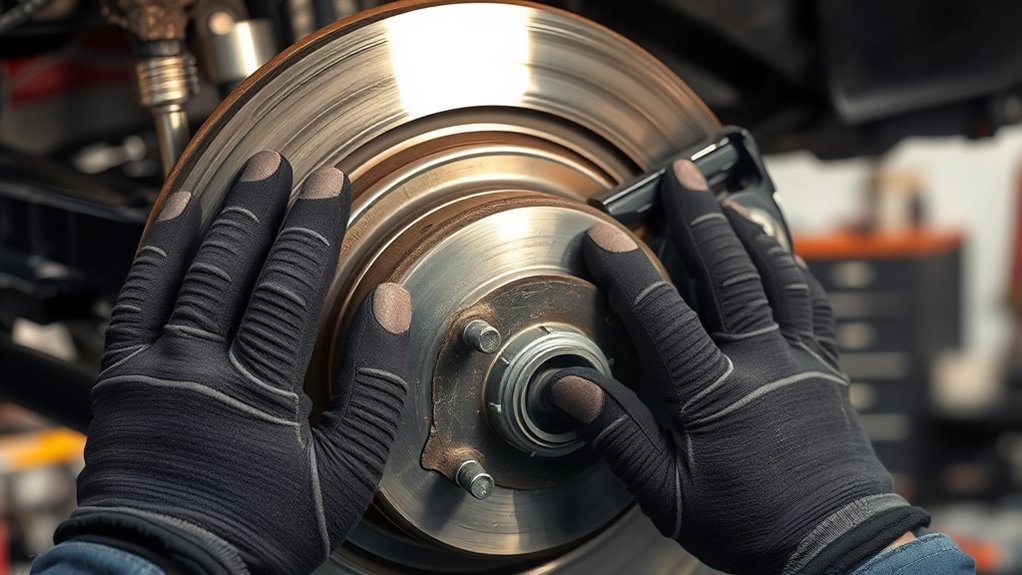

To replace your brake pads yourself, gather the right tools like a jack, jack stands, and a brake piston tool. Work on a flat surface, secure the vehicle properly, and always prioritize safety with gloves and glasses. Remove the wheel, compress the caliper piston carefully, and install new pads aligned correctly. Tighten bolts to specs, then test your brakes thoroughly. Want to make sure everything’s done right? Keep going to learn more about a safe, effective brake pad change.

Get business pricing on garage and car supplies
- Business-only prices and quantity discounts
- Tax-exempt purchasing
- Multiple users, one account, clear invoices
Key Takeaways
- Gather and inspect the right tools and replacement parts before starting the brake pad replacement.
- Secure the vehicle on a flat surface with wheel chocks and jack stands for safety.
- Carefully compress the caliper piston using a C-clamp or brake piston tool to fit new pads.
- Tighten all bolts to manufacturer specifications, avoiding over-tightening to prevent damage.
- Test drive the vehicle afterward to ensure proper brake function and safety.
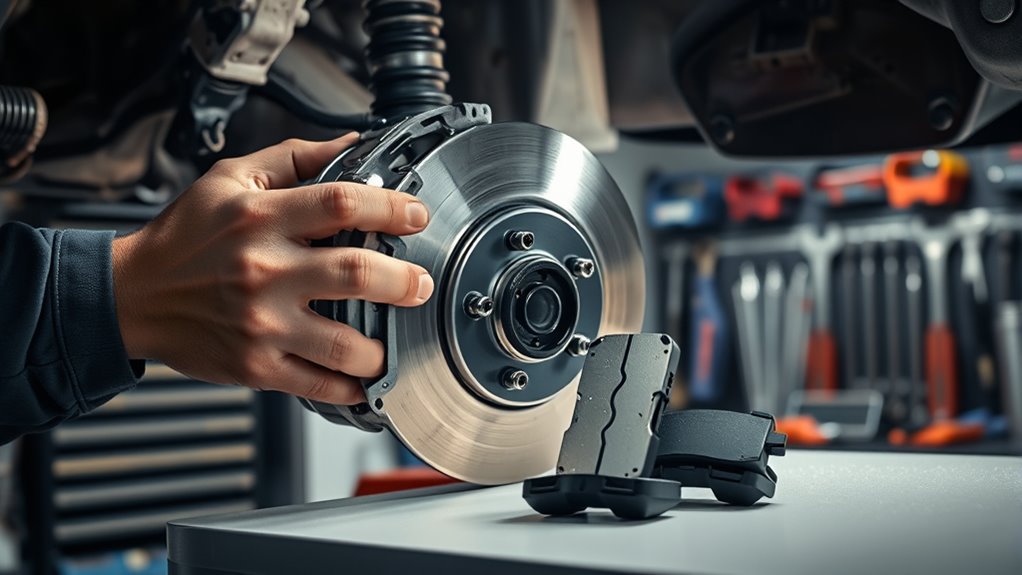
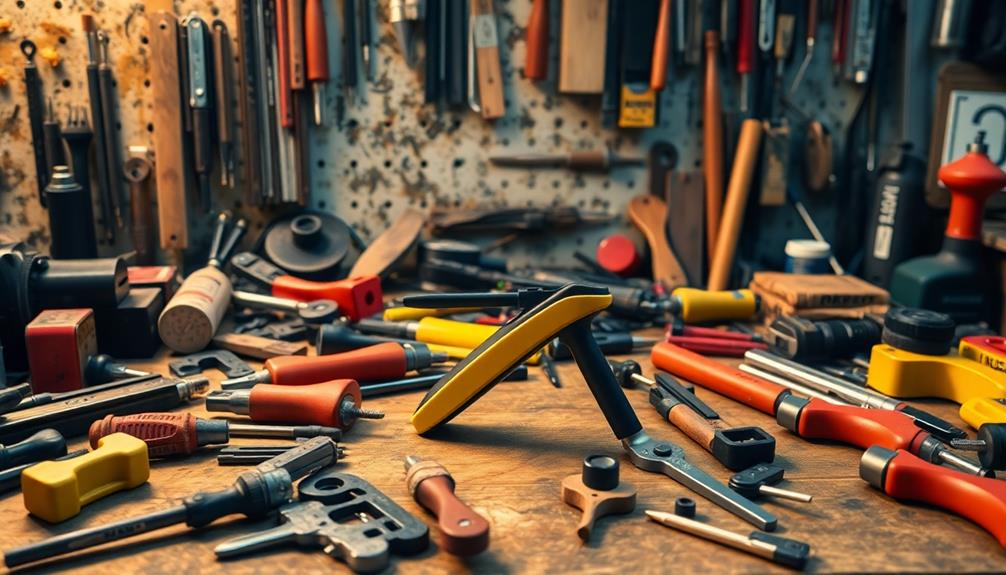
Replacing your brake pads yourself can save you money and give you a better understanding of your vehicle’s maintenance. Before diving in, it’s essential to prepare properly, starting with the right tool selection. You’ll need a jack, jack stands, lug wrench, socket set, C-clamp or brake piston tool, and possibly a brake caliper piston retractor. Make sure your tools are in good condition and suited for your specific vehicle model. Using the correct tools ensures a smoother process and reduces the risk of damaging components. For example, a quality socket set makes removing and installing bolts easier, while a proper C-clamp helps compress the caliper piston safely without damaging it.
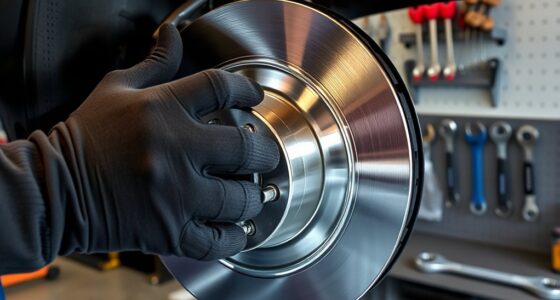
Safety precautions are critical when working on your brakes. Always work on a flat, stable surface and secure your vehicle with wheel chocks to prevent rolling. Use jack stands rated for your car’s weight to support the vehicle securely—never rely solely on a hydraulic jack. Wear safety glasses to protect your eyes from dust, debris, or brake fluid, and gloves to keep your hands clean and protected from chemicals. When removing the wheel, loosen lug nuts slightly before jacking up the vehicle, and then fully tighten them once you’ve completed the brake work. Keep your workspace organized, and avoid rushing; brake components are heavy and can cause injury if mishandled.
Always work on a flat surface, secure your vehicle, and wear safety gear for brake repairs.
Before removing the brake caliper, inspect the area and note how everything is assembled. When compressing the caliper piston, use a proper brake piston tool or C-clamp, ensuring you do so slowly and evenly. This prevents damage to the piston or caliper. If your brake system has been sitting for a while, brake fluid might leak or overflow, so having rags or a container nearby helps contain any mess. When installing new brake pads, double-check that they are oriented correctly and fit snugly into the caliper bracket. Tighten all bolts to the manufacturer’s specifications, as over-tightening can warp components or cause failure. Additionally, selecting appropriate replacement parts ensures compatibility and optimal performance.
Throughout the process, remember that safety precautions are non-negotiable. Working on your brakes involves moving parts under tension and exposure to brake dust and fluid. Taking the time to select the right tools and follow safety steps not only protects you but also ensures your repair is effective and long-lasting. Once you’ve finished, test drive carefully, listening for any unusual sounds and confirming that your brakes perform properly. Proper tool selection and safety awareness turn a DIY brake pad replacement into a rewarding, safe, and affordable project.
As an affiliate, we earn on qualifying purchases.
Frequently Asked Questions
How Do I Know When Brake Pads Need Replacing?
You’ll know your brake pads need replacing when you notice brake pad wear signs like thinning pads or a metal-on-metal grinding noise indicating brake issues. Also, listen for squealing or squeaking sounds during braking, which often signal worn-out brake pads. If your brake pedal feels softer or you notice reduced braking power, it’s time to verify your pads. Regular inspections help prevent further damage and ensure your vehicle’s safety.
Can I Replace Brake Pads Without Professional Tools?
You can try DIY replacement without professional tools, but beware—it’s risky. Basic brake pad tools like a C-clamp or a brake piston tool make the job easier and safer. Without them, you might struggle to compress the piston or fit new pads properly. If you’re inexperienced, skipping these tools can lead to poor installation or brake failure. For your safety, investing in the right DIY replacement tools is highly recommended.
Are There Differences Between Front and Rear Brake Pads?
Yes, there are differences between front and rear brake pads. Front brake pads handle most of the braking force, often made from durable brake pad materials like semi-metallic or ceramic. Rear pads typically experience less wear and may have wear indicators to signal when they need replacing. When replacing, make certain you select the correct pads for each position, as they’re designed differently to optimize safety and performance.
How Long Does a DIY Brake Pad Replacement Take?
Replacing brake pads yourself is like tuning a finely worn instrument; it takes about 1 to 3 hours depending on your experience. As you work, keep in mind the brake pad lifespan and replacement cost—skipping timely replacement can cause more damage. With patience and the right tools, you can save money and extend your brake system’s life, turning a DIY project into a satisfying tune-up.
What Safety Precautions Should I Follow During Replacement?
You should always wear personal protective equipment like gloves and safety glasses to protect yourself during brake pad replacement. Make certain your work area is well-ventilated, clean, and free of clutter to prevent accidents. Use jack stands properly and avoid working under the car without support. Keep tools organized, and follow manufacturer instructions carefully. Staying alert and cautious helps prevent injuries and ensures a safe, successful brake pad replacement process.
Conclusion
Replacing your brake pads yourself can save you money and give you a sense of accomplishment. Just remember to follow safety steps carefully. Did you know that about 60% of drivers admit to doing simple repairs themselves? With the right tools and a little patience, you can keep your brakes in top shape without a trip to the mechanic. So go ahead—trust your skills and get those brake pads replaced confidently!
Fall Picks
fall essentials
As an affiliate, we earn on qualifying purchases.