Your car's paint chipping isn't a lost cause, and you can fix it using kitchen supplies. Start by cleaning the chipped area with soap and water, then use denatured alcohol to remove any grime. For small chips, apply a primer with a fine brush, letting it dry for at least 30 minutes. Next, carefully add touch-up paint, ensuring color matches, and allow each coat to dry completely. Finish with a polish using an old microfiber cloth to blend the repair. By following these steps, you'll restore your car's look and protect its finish; there's even more to explore for ideal outcomes!
Key Takeaways
- Clean the chipped area thoroughly with soap and water, followed by denatured alcohol to ensure proper adhesion of paint.
- Use a fine artist's brush to apply primer, letting it dry for at least 30 minutes before painting.
- Test touch-up paint for color matching and apply in thin layers, allowing an hour between coats for drying.
- Create a baking soda paste to smooth rough edges around the chip before final paint application.
- Finish the repair by polishing the area with an old microfiber cloth and automotive polishing compound for a seamless look.

White Car Paint Touch Up Pen, Color Accurate Touch Up Paint for Cars, Professional Automotive Scratch Repair, Lasting Auto Scratch Remover, Fast Dry, Easy to Use, Safe and Washable, Versatile Use
Effective Car Scratch Remover – Our white car paint touch up pen, made with premium materials and advanced…
As an affiliate, we earn on qualifying purchases.
As an affiliate, we earn on qualifying purchases.
Understanding Paint Chips
When you notice paint chips on your car, it's important to understand what they're and how they happen. Paint chips are small areas where the car paint has been removed, often due to flying debris, rock impacts, or harsh environmental conditions.
If you leave them unrepaired, you risk exposing metal beneath the paint, which can lead to rust formation and considerably higher repair costs later on.
Quick action is vital when addressing paint chips. Immediate repairs can prevent further deterioration and help maintain your vehicle's finish. For DIY repair, focus on chips that are 1/8 to 1/4 inch in size, as larger chips may require more extensive techniques.
Using color-matched touch-up paints is fundamental for effective repairs, as it guarantees a cohesive look with your existing paint color and minimizes the visibility of the chip.
After applying touch-up paint, allow it to cure properly to achieve the best results. Remember, taking care of paint chips promptly can save you time, money, and hassle down the road, keeping your car looking sharp for longer.

Meguiar's Ultimate Compound – Pro-Grade Car Scratch Remover, Paint Correction Compound that Removes Defects While Adding Gloss and Shine, Single Stage and Clear Coat Scratch Remove, 15.2 Oz
BUFF OUT IMPERFECTIONS: Meguiar's Ultimate Compound removes scratches, swirls & oxidation for a clear, perfect finish
As an affiliate, we earn on qualifying purchases.
As an affiliate, we earn on qualifying purchases.
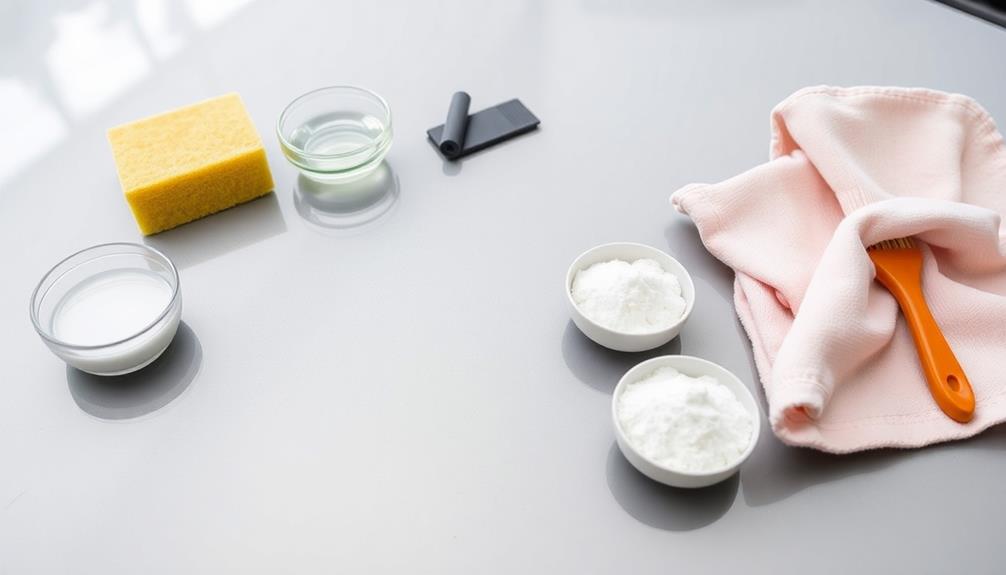
Essential Kitchen Supplies
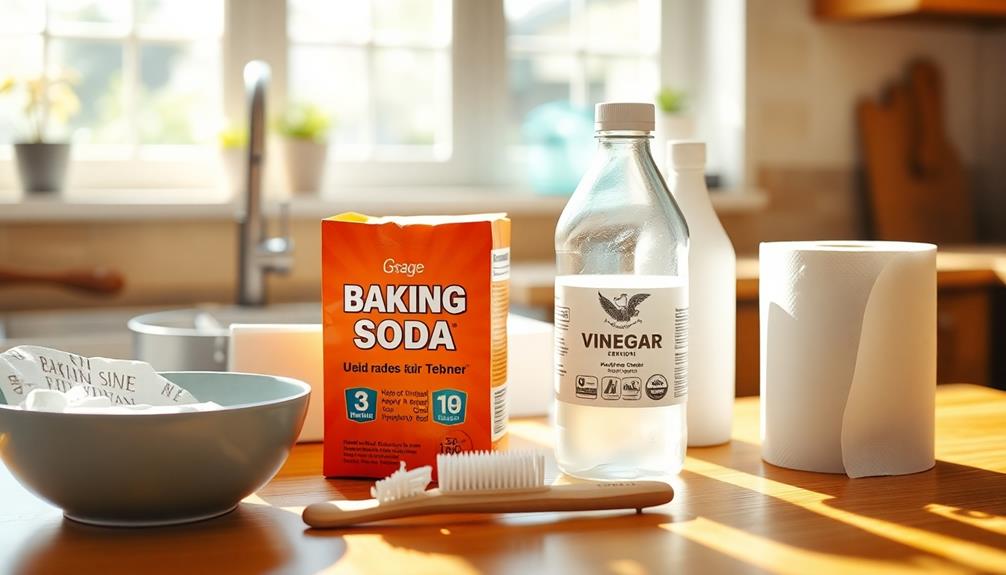
A well-equipped kitchen can make all the difference in your cooking experience. It can also help you tackle those annoying paint chips on your car.
Start with denatured alcohol, which you'll use to clean the area, removing any wax or grime. This step's essential for ensuring the primer and paint adhere properly.
For small chips or scratches, grab a cotton swab or toothpick. These tools make applying touch-up paint precise and easy.
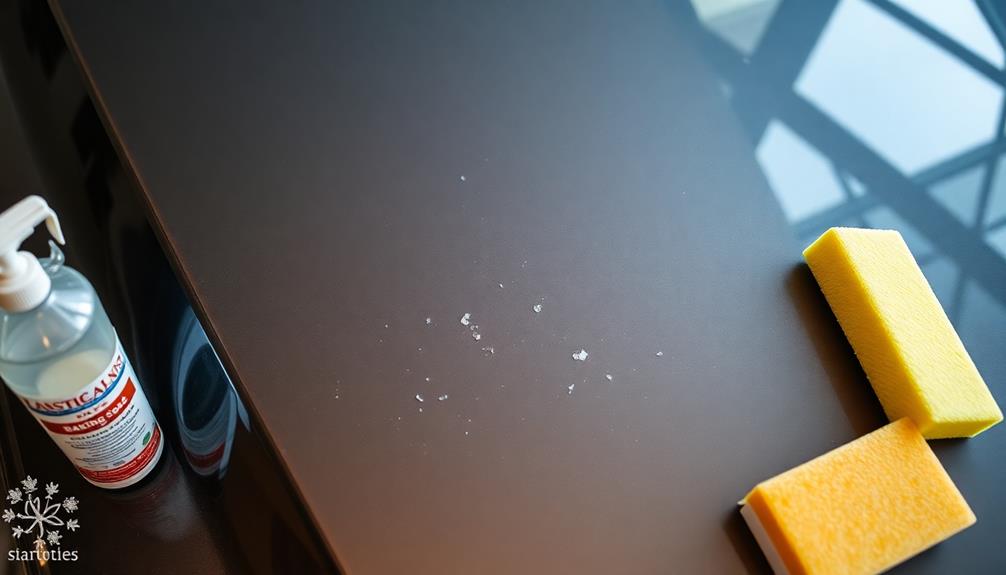
If you notice any rough edges around the chip, mix baking soda with water to create a paste. This will help smooth those edges before you apply the primer.
After you've applied the primer and paint, cover the area with plastic wrap to protect it from dust and contaminants while it dries.
Once everything is set, use an old microfiber cloth to gently clean and polish the repaired area, avoiding any further scratches.

USANOOKS Microfiber Cleaning Cloth Grey – 12 Pcs (12.5"x12.5") – High Performance – 1200 Washes, Ultra Absorbent Microfiber Towel Weave Grime & Liquid for Streak-Free Mirror Shine – Car Washing Cloth
10x GRIP-ROOT WEAVE – TRAP MORE, WORK LESS: Ultra-absorbent microfiber towels for car Grip Root weave works like…
As an affiliate, we earn on qualifying purchases.
As an affiliate, we earn on qualifying purchases.
Step-by-Step Repair Process

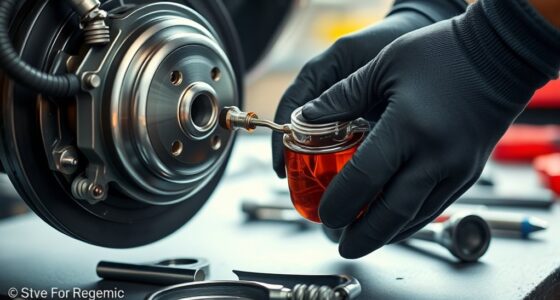
To start the repair process, thoroughly clean the chipped area with soap and water, making sure you remove any dirt and debris.
Use a microfiber towel to dry it completely. Next, apply denatured alcohol or a wax remover to degrease the chip, prepping the surface for the primer and paint. This step is vital to eliminate any oils that could hinder adhesion.
Once the area is clean, use a fine artist's brush or the end of a paper match to apply a small amount of primer to the chip. Allow it to dry for at least 30 minutes.
Afterward, test your touch-up paint on a piece of paper to verify color matching. Once you're satisfied, apply the paint over the dried primer, waiting an hour between coats for the best results.
After the touch-up paint has cured for several days, finish the repair by using a polishing compound.
This will smooth the edges and help blend the repaired area with the surrounding paint, giving your car a polished, flawless finish.
With these steps, you'll restore your car's appearance and protect it from further damage.

Wheel Scratch Fix® Gloss Black Touch Up Paint for Cars – DIY Alloy Wheel Repair Kit, Curb Rash Remover with Fast-Drying Pen – Long-Lasting OEM Finish Car Rim Paint for Scuffs and Chips at Home (Gloss Black)
FIX WHEEL SCRATCHES & CURB RASH: A complete rim repair kit designed to restore alloy wheels and steel…
As an affiliate, we earn on qualifying purchases.
As an affiliate, we earn on qualifying purchases.
Tips for Effective Application
After completing the initial repair steps, applying the paint effectively is key to achieving a seamless finish. Start by confirming the surface is thoroughly clean. Use soap and water, then dry it with a microfiber towel to eliminate any contaminants. This step is essential before applying primer or paint.
For the application, consider using a fine artist's brush for better control. This helps you apply the primer and touch-up paint precisely, minimizing excess paint on surrounding areas. If you're using kitchen supplies like a paper match for applying primer, make certain it's clean and dry to avoid introducing debris.
Allow each layer of primer and paint to dry completely, following the manufacturer's instructions—typically around 30 minutes for primer and one hour for paint. Proper drying guarantees good adhesion and a smoother finish.
Once you've finished applying the paint, gently polish the area with a soft cloth and automotive polishing compound. This final step smooths out any rough edges and helps blend the repair with the surrounding paint, giving your car a refreshed look.
Maintaining Your Car's Finish
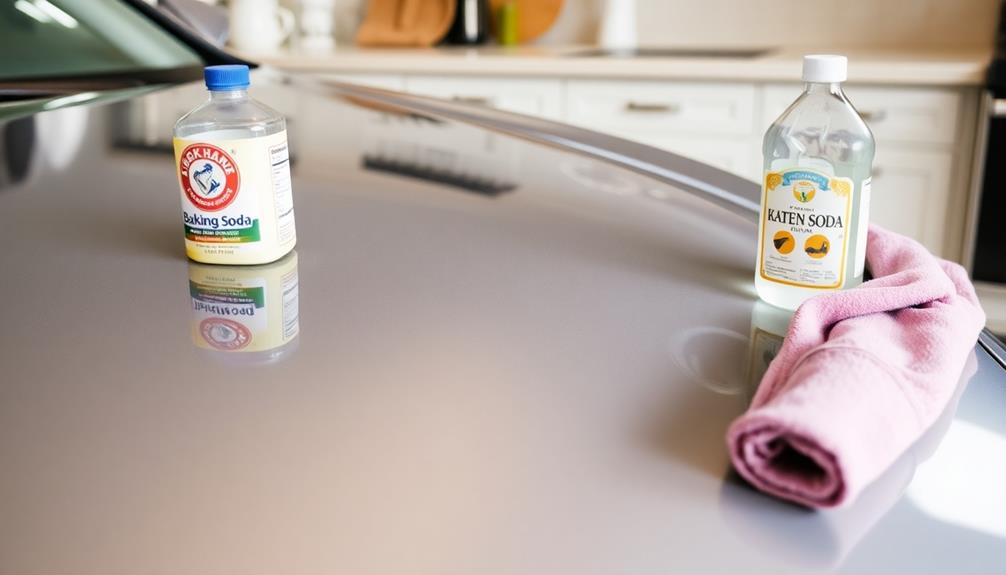
Keeping your car's finish in top condition requires consistent care and attention. Regular washing with pH-balanced soap is essential to remove contaminants that can degrade your paint and lead to chips. Make it a habit to wash your car frequently to prevent any paint damage caused by environmental pollutants.
Every three to six months, apply a high-quality wax. This creates a protective barrier against UV rays, moisture, and other harmful elements, considerably reducing the risk of paint damage and clear coat peeling.
When drying your car, always use microfiber towels to prevent scratches and swirl marks that could compromise your paint's integrity. Additionally, try parking in shaded areas or using car covers to shield your vehicle from direct sunlight, which can cause fading over time.
Frequent inspections are also vital; look for any chips or scratches that could lead to rust formation. Address these issues promptly with repairs to maintain your car's overall appearance.
Frequently Asked Questions
What Is the Best Way to Fix Chipped Paint on a Car?
To fix chipped paint on your car, clean the area, apply primer, then use color-matched touch-up paint in thin layers. Finally, polish the repair once it's cured to restore shine and protect against rust.
How to Fix Paint Flaking on Car?
To fix paint flaking on your car, clean the area, apply primer, let it dry, then use touch-up paint in thin layers. Finish with a polishing compound and consider sealing for protection against future damage.
What Helps Paint From Chipping?
To prevent your car's paint from chipping, regularly wash it with a pH-balanced solution, apply high-quality wax, and park in shaded areas. Inspect for damage and use microfiber towels to minimize scratches while drying.
How to Repair Car Paint Damage at Home?
Think of your car's paint as a protective shield. To repair damage at home, clean the area, apply primer, match your touch-up paint, and polish for a seamless finish. You'll restore its brilliance in no time!
Conclusion
Now that you know how to fix those pesky paint chips using items right from your kitchen, why not give it a try? With just a little effort, you can restore your car's look and protect it from further damage. Remember, keeping your car in top shape not only enhances its appearance but also maintains its value. So, roll up your sleeves and tackle those chips—you'll be amazed at the difference you can make!