To troubleshoot your starter circuit, start by checking the battery voltage—ensure it’s around 12.6V when off. Next, listen for a click when turning the key; if you don’t hear it, test the solenoid with jumper wires to see if it engages. Inspect all wiring and connections for corrosion, looseness, or damage, especially at the ground and power points. Confirm the ignition switch works correctly. If issues persist, continue exploring these steps to pinpoint the problem area.
Key Takeaways
- Verify the battery voltage; a healthy battery should read around 12.6V when off.
- Check the solenoid click when turning the ignition; no click indicates a faulty solenoid or weak power.
- Inspect all wiring and connections for corrosion, looseness, or damage; ensure grounds are solid.
- Test the solenoid directly by applying jumper wires to confirm proper engagement.
- Confirm the ignition switch and circuit wiring are functioning correctly to ensure proper power flow.
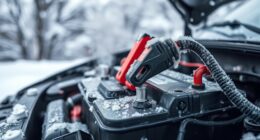
When your vehicle’s engine won’t start, the starter circuit is often the first place to check. If you turn the key or press the start button and nothing happens, it’s essential to verify whether the problem lies within the circuit or elsewhere. One of the simplest yet most important checks involves testing the battery voltage. A healthy battery should read around 12.6 volts when the vehicle is off. If the voltage is *considerably* lower, it indicates a dead or weak battery, which can prevent the starter from operating correctly. Low battery voltage can also hinder the solenoid operation, as the solenoid relies on sufficient electrical power to engage and transmit current to the starter motor.
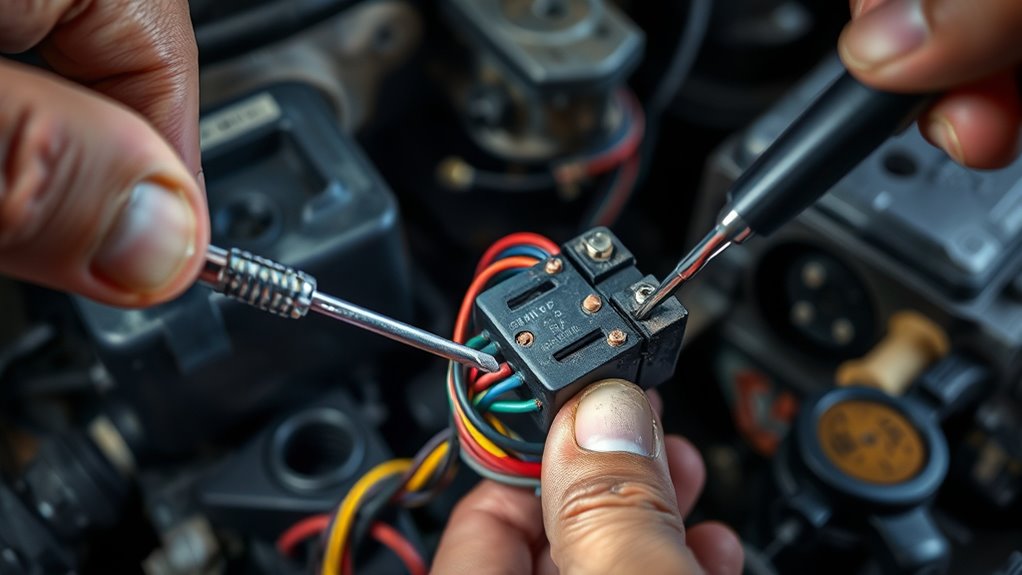
Next, you should examine the solenoid itself, which acts as the switch between the battery and the starter motor. When you turn the key, the ignition switch sends a small current to the solenoid, causing it to activate. If the solenoid doesn’t click or engage, it’s likely faulty or receiving insufficient power. A quick way to test this is to listen for a clicking sound when starting; if you don’t hear it, the solenoid might not be functioning properly. Sometimes, the solenoid can click but still fail to transfer power to the motor, indicating internal issues or a bad connection. You can also test the solenoid by applying direct voltage from the battery with jumper wires to see if it engages. If it does, the problem may be with the wiring or ignition switch rather than the solenoid itself.
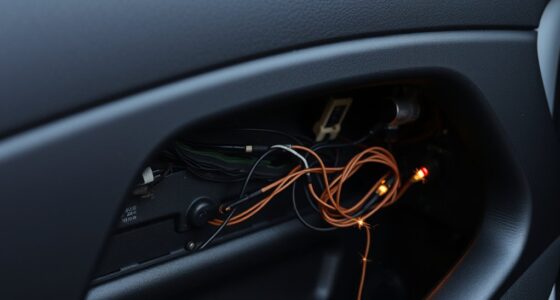
Another common cause for starter circuit failure is corroded or loose wiring. Inspect all connections from the battery to the solenoid and from the solenoid to the starter motor. Corrosion or loose terminals can prevent the proper flow of current, even if the battery voltage is *substantially* adequate. Tighten any loose connections and clean off corrosion with a wire brush or terminal cleaner. Make sure the ground connections are solid, as a poor ground can also prevent the solenoid from operating correctly.
Frequently Asked Questions
What Are Common Signs of a Failing Starter Circuit?
You’ll notice signs of a failing starter circuit if your engine struggles to start or makes a clicking noise. Battery corrosion around the terminals and wiring damage can hinder electrical flow, causing slow or no engine response. Additionally, dim lights and inconsistent starting are common indicators. Regularly inspect your battery terminals for corrosion and check wiring connections to catch issues early before they lead to complete starter failure.
How Can I Test the Starter Relay Effectively?
To test the starter relay effectively, start with relay testing by removing it from the circuit. Use a multimeter to check for circuit continuity between the relay’s terminals; a good relay should show continuity when activated. Then, apply power to the relay coil and verify that it clicks, indicating it’s functioning properly. If there’s no click or continuity issues, replace the relay to guarantee reliable starter circuit operation.
What Tools Are Essential for Starter Circuit Troubleshooting?
You need a multimeter to test voltage and continuity in the starter circuit. Use it to check the relay, wiring, and connections. A wiring diagram is essential to identify correct wiring routes and component locations. With these tools, you can easily pinpoint issues, verify power flow, and guarantee your starter circuit functions properly. Always follow safety precautions when working with electrical components to avoid shocks or damage.
How Long Does It Typically Take to Diagnose Starter Issues?
Pinpoint pinpointing starter problems typically takes about 30 minutes to an hour, depending on your proficiency and the problem’s complexity. Using precise diagnostic techniques like voltage testing and circuit inspection helps speed the process. You follow straightforward repair procedures, checking connections, relays, and the starter itself. Stay patient and methodical, and you’ll get your vehicle back on the road swiftly, saving time and trouble.
Can a Starter Circuit Problem Cause Engine Stalling?
Yes, a starter circuit problem can cause engine stalling. If the circuit has issues like a faulty ignition switch or causes a battery drain, the engine might start but then suddenly stall. A malfunctioning ignition switch can interrupt the power flow, leading to engine shutdown. Keep an eye on your battery’s health and verify the ignition switch functions properly to prevent stalling caused by starter circuit problems.
Conclusion
Now that you’ve checked the wiring, tested the solenoid, and examined the switch, you’re closer than ever to resolving the issue. But remember, sometimes the problem isn’t so obvious—it might be a hidden fault you haven’t yet uncovered. Keep your focus sharp and don’t give up. The key to a successful fix could be just around the corner. Are you ready to take that final step and uncover the mystery behind your starter circuit?