
To repair damaged threads, you typically drill out the old ones, then tap the hole to create new, clean threads. You can insert a helicoil or threaded insert to restore strength, especially in softer materials like aluminum or magnesium. Proper tapping with cutting oil and the right tools guarantees a secure fit. Mastering these methods helps you prolong equipment life and avoid costly replacements—if you continue, you’ll discover detailed steps for each repair technique.
Key Takeaways
- Proper tapping techniques and cutting oil ensure clean, secure threads for effective repair.
- Helicoil inserts restore damaged threads in softer materials like aluminum or magnesium.
- Fully drill out damaged threads before tapping and installing helicoils for optimal results.
- Selecting the correct tap size and avoiding over-tightening are essential for durable repairs.
- Thread repair methods extend equipment lifespan and are cost-effective alternatives to component replacement.
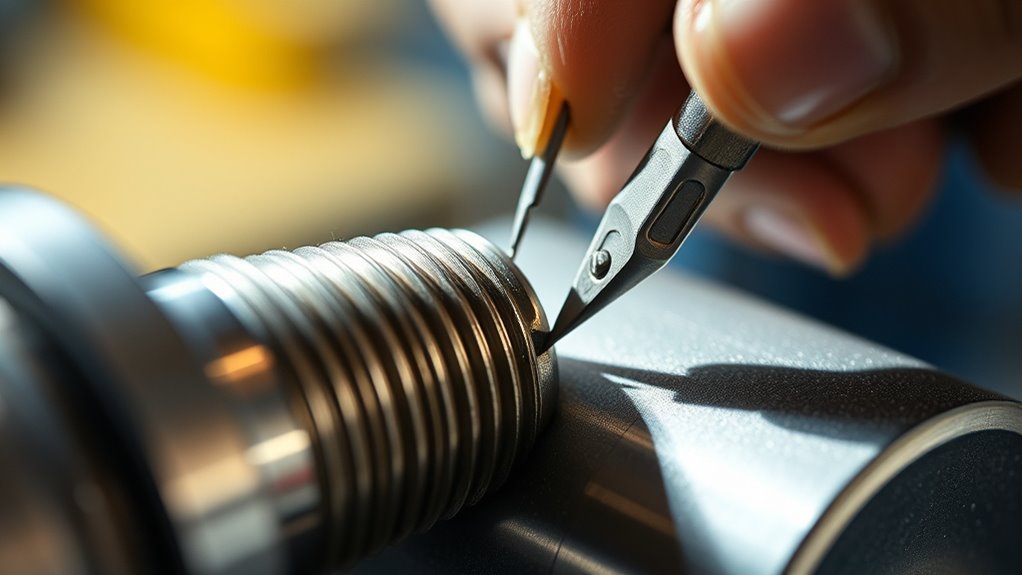
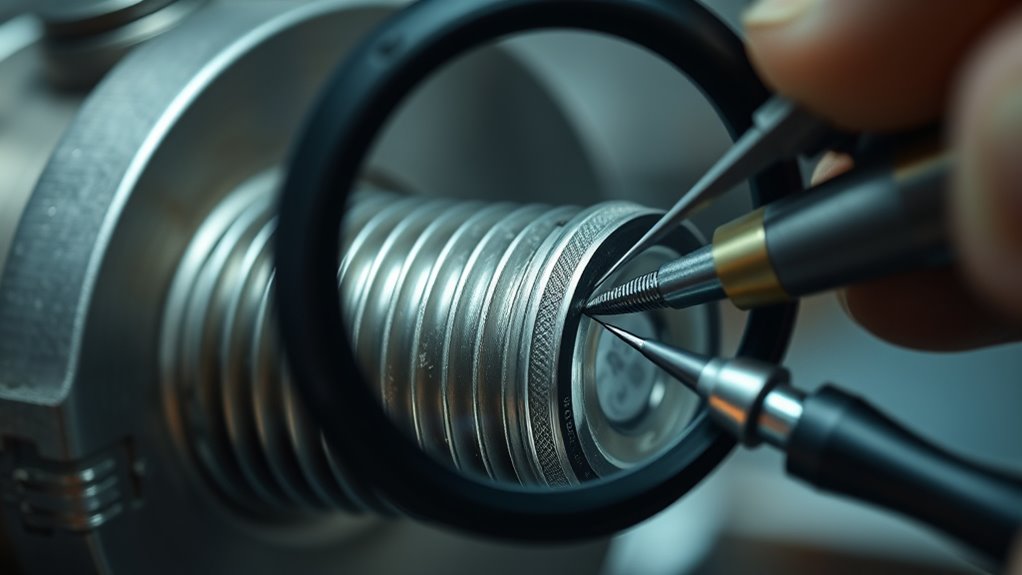
Have you ever faced a stripped or damaged thread that’s preventing you from completing a repair or assembly? It can be frustrating, especially when you’re on a tight schedule. Fortunately, there are effective thread repair methods to restore the integrity of the threaded hole and get your project back on track. One of the most common techniques involves tapping techniques, which are essential for preparing the damaged thread for repair inserts like helicoils. Proper tapping ensures that the existing thread is cleaned and reformed to accept the new insert, providing a secure fit. When performing tapping, you’ll want to choose the right tap size and type, apply cutting oil to minimize friction, and turn the tap slowly and steadily into the hole. This controlled approach prevents further damage and creates a clean, uniform thread pattern.
Once you’ve prepared the hole with tapping techniques, helicoil installation becomes straightforward. Helicoils are threaded inserts designed to repair stripped or damaged threads, especially in softer materials like aluminum or magnesium. To install a helicoil, first, you need to drill out the damaged thread entirely, using a drill bit specified by the helicoil kit. After that, you’ll tap the new thread into the drilled hole, following the instructions provided with your kit. The tapped hole will now be ready to accept the helicoil. Carefully thread the helicoil into the hole using the installation tool provided, ensuring it seats evenly and fully. It’s vital to follow the torque specifications and avoid over-tightening, as this could compromise the repair or damage the insert.
In some cases, understanding the thread repair methods used in different materials can help you choose the most durable and effective solution. The process of helicoil installation is highly effective because it restores the original thread size and strength, often better than the damaged one. It’s a reliable solution for repairing stripped threads in various materials and is widely used in automotive, aerospace, and machinery applications. After installing the helicoil, you can screw in your bolt or fastener with confidence, knowing the thread is restored securely. These repair methods are durable and often more cost-effective than drilling out and replacing entire components. With proper tapping techniques and careful helicoil installation, you can efficiently restore damaged threads and extend the lifespan of your equipment. Whether you’re a professional mechanic or a DIY enthusiast, mastering these techniques will save you time, money, and frustration when dealing with damaged threads.
Frequently Asked Questions
Can Thread Repair Methods Be Used on Plastic Components?
Yes, you can use thread repair methods on plastic components. These methods are designed to enhance repair compatibility with plastic threads, guaranteeing a secure fit. You’ll want to choose the right repair technique, such as plastic inserts or specialized repair kits, that work specifically with plastic material. Always follow the manufacturer’s instructions to avoid damaging the plastic and to ensure a durable, long-lasting repair.
What Is the Average Lifespan of Repaired Threads?
Sure, your repaired threads might last forever—if you’re lucky. Usually, their durability depends on the repair method and material used. Most repairs offer a decent lifespan, but don’t expect them to be as tough as the originals. On average, you can count on repair longevity from a few months to a year or two, depending on usage and stress. So, don’t get too comfortable; it’s a temporary fix, after all!
Are There Specific Tools Required for Each Repair Method?
Yes, each repair method requires specific tools. For example, you’ll need specialized tools like tap and die sets for cutting or restoring threads, and repair kits often include taps, inserts, and inserts installation tools. Using the right tools guarantees a proper fix and prevents further damage. Always follow the instructions provided with the repair kits and tools to achieve the best results and maintain the integrity of the thread.
How Do I Choose the Best Repair Method for My Project?
Did you know that choosing the right repair method can extend the life of your project by up to 30%? To select the best, focus on thread selection and material compatibility. Assess the type of material you’re working with, whether metal or plastic, and match it with a repair method designed for that material. This guarantees durability and a secure fit, ultimately saving you time and money.
Is Professional Repair Necessary for Critical or Load-Bearing Threads?
Yes, professional repair is necessary for critical or load-bearing threads because it guarantees maximum thread strength and repair durability. You want to avoid risking failure that could lead to safety issues or costly damage. Skilled technicians use specialized tools and quality materials to restore the threads properly, maintaining their integrity under stress. Trusting experts guarantees your repairs meet safety standards and keep your project secure and reliable.
Conclusion
When it comes to thread repair, you’ve got plenty of options to get the job done right. Whether you choose tap and die sets, thread inserts, or rethreading, each method has its place. Remember, the key is to pick the right approach for your specific needs. Don’t bite off more than you can chew—know when to call in a pro. With the right tools and knowledge, you’ll have your threads back in shape in no time.