
To test your vehicle’s charging system, start by inspecting the battery for corrosion, swelling, and leaks, then test its voltage; a healthy one should read around 12.6 volts when off. Next, start the engine and measure the alternator’s output voltage, which should be between 13.8 and 14.8 volts. Check drive belt tension and wiring for damage. Continuing further can reveal detailed steps to guarantee all components work correctly and safely.
Key Takeaways
- Inspect the battery for corrosion, leaks, and secure connections; test voltage to ensure around 12.6V when off.
- Measure battery voltage with a multimeter after vehicle has sat, confirming it’s close to 12.6V.
- Start the engine and check alternator output; proper range is 13.8 to 14.8 volts.
- Perform load testing on the alternator to evaluate its ability to maintain correct voltage under electrical load.
- Examine drive belt condition, wiring, and voltage regulation to ensure proper system operation and identify potential issues.
A properly functioning charging system is vital for keeping your vehicle’s battery charged and ensuring reliable operation. When your charging system isn’t working correctly, you might notice dimming lights, slow cranking, or even a dead battery. To prevent these issues, it’s important to regularly check the health of your battery and perform alternator testing. These steps help you identify potential problems before they leave you stranded.
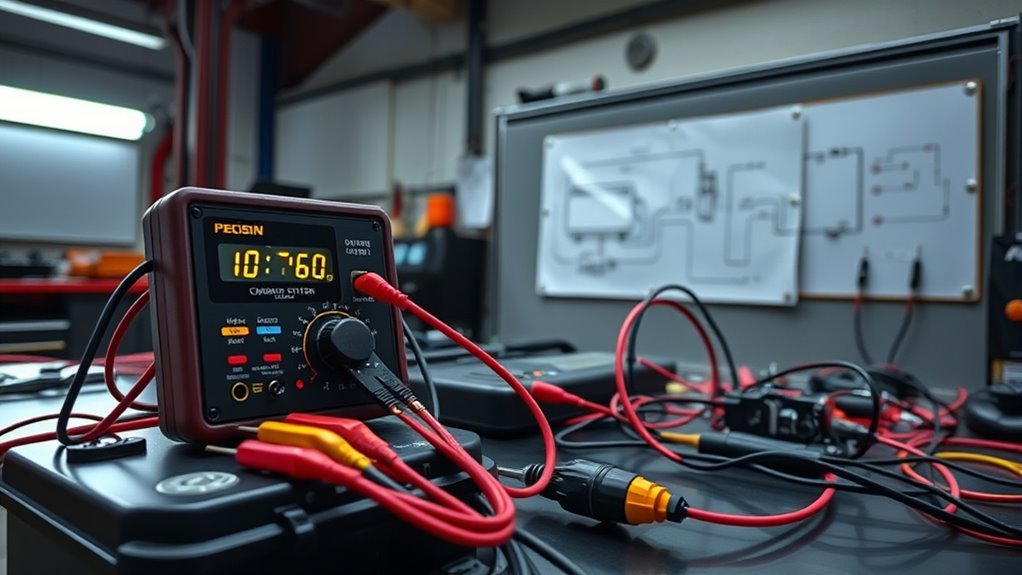
Start by inspecting your battery’s health. Look for signs of corrosion on the terminals, loose connections, or any swelling or leaks. A weak or failing battery can cause charging issues, so it’s essential to test its capacity with a multimeter or a dedicated battery tester. When measuring voltage, confirm your engine is off and the vehicle has been sitting for a few hours. A healthy, fully charged battery should read around 12.6 volts. If it reads considerably lower, the battery may be failing and require replacement. Keep in mind, poor battery health can sometimes mimic charging system problems, so don’t skip this step.
Inspect battery terminals for corrosion, swelling, leaks, and test voltage with a multimeter—around 12.6 volts indicates a healthy battery.
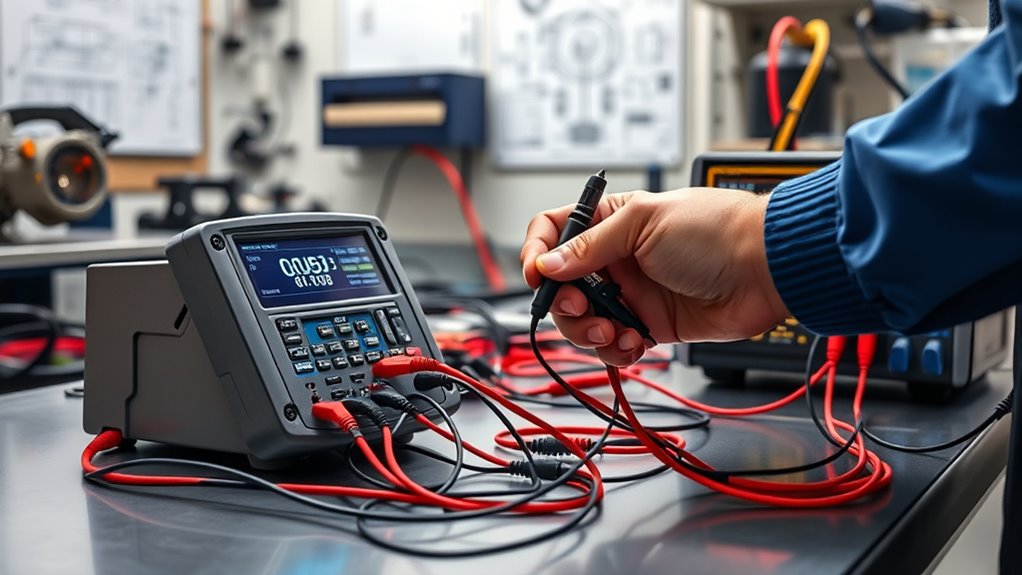
Next, perform alternator testing to verify the charging system’s output. With the engine running, set your multimeter to measure voltage and connect the probes to the battery terminals. A properly functioning alternator should produce between 13.8 and 14.8 volts. If the reading is below this range, it indicates your alternator may not be charging the battery adequately. Conversely, a voltage greatly above 14.8 volts could mean the voltage regulator is faulty, risking overcharging and damaging your battery. For a more thorough assessment, you might also perform an alternator load test using specialized equipment, which simulates electrical loads during operation to confirm the alternator can sustain proper voltage under real-world conditions.
If your alternator test results are unsatisfactory, it’s time to dig deeper. Checking the drive belt tension and condition is vital because a loose or worn belt can impair alternator performance. Also, examine wiring and connections for signs of damage or corrosion, as these can interrupt the flow of electrical current and lead to charging issues. Additionally, understanding battery maintenance and how it influences overall system health is crucial for preventing future problems. If everything looks good but the alternator still isn’t performing correctly, consider replacing the alternator or having a professional service it, especially if internal components are failing.

ANCEL BA101 Car Battery Tester, 12V Digital Automotive Alternator Meter Diagnostic Tool,100-2000 CCA Load Capacity, Charging & Cranking Analyzer for Truck, Boat, RV, Marine Vehicle, and More
Catch Battery Problems Early: Featured in two videos by Project Farm, a popular YouTube channel with millions of…
As an affiliate, we earn on qualifying purchases.
As an affiliate, we earn on qualifying purchases.
Frequently Asked Questions
How Often Should I Perform a Charging System Test?
You should perform a charging system test at least once a year to make certain your battery maintenance is up to par and to monitor your alternator’s lifespan. Regular testing helps catch issues early, preventing unexpected breakdowns. If you notice dimming lights, slow engine cranking, or a warning light, test immediately. Consistent checks help keep your vehicle running smoothly and extend the life of your charging components.
Can I Test the Charging System Without Removing the Battery?
Think of testing your charging system as checking a river’s flow without draining it. You can do this by measuring battery voltage while the engine runs, ensuring it’s above 13.8 volts, and evaluating alternator output with a multimeter. This way, you don’t need to remove the battery. Keep your eyes on those numbers, and you’ll spot any trouble brewing before it becomes a flood.
What Are Common Signs of a Failing Alternator?
You’ll notice an alternator warning or a battery indicator light on your dashboard when your alternator starts failing. Other signs include dim headlights, slow electrical accessories, or a dead battery despite recent charging. If these symptoms appear, it’s a clear sign your alternator isn’t charging properly. Addressing these issues early can prevent your vehicle from breaking down unexpectedly, so get it checked out as soon as you see these warning signs.
Is It Necessary to Disconnect the Battery Before Testing?
You should disconnect the battery before testing to guarantee battery safety and protect your testing equipment. Disconnecting the negative terminal prevents accidental short circuits and electrical shocks. Always follow safety precautions to avoid damage or injury. While some testing procedures can be performed with the battery connected, disconnecting it provides a safer environment and more accurate results, especially when using sensitive testing equipment.
How Do Temperature Changes Affect Charging System Testing Accuracy?
Temperature changes impact your charging system tests by causing thermal expansion, which can alter electrical connections, and creating voltage fluctuations, leading to inaccurate results. When it’s hot, components expand, affecting contact points, while cold causes contraction, possibly increasing resistance. To guarantee accuracy, you should perform tests in stable temperature conditions or account for these variations, recognizing that temperature fluctuations can mislead your diagnosis and affect the reliability of your testing outcomes.
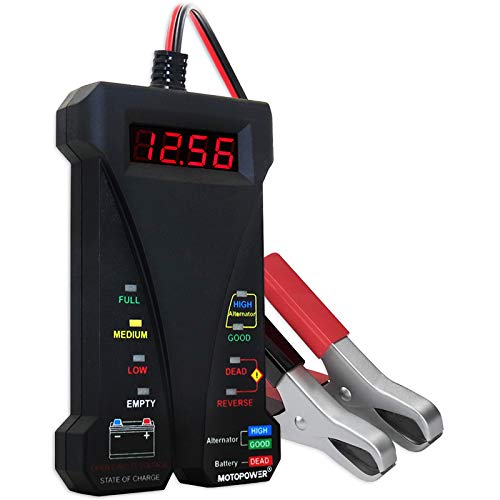
MOTOPOWER MP0514A 12V Digital Car Battery Tester Voltmeter and Charging System Analyzer with LCD Display and LED Indication – Black Rubber Paint
Effortless Operation – Boasting a “plug-and-test” design, there's no need for complex set-up procedures. Just connect it to…
As an affiliate, we earn on qualifying purchases.
As an affiliate, we earn on qualifying purchases.
Conclusion
By thoroughly testing your charging system, you guarantee your vehicle’s heart keeps beating strong. Imagine the spark of a well-functioning alternator, fueling every mile with confidence. When you follow these procedures, you’re not just checking parts; you’re safeguarding your journey’s reliability. Think of it as a essential pulse that keeps your engine alive and your adventures uninterrupted. Trust the process, and keep your charging system in prime condition for every mile ahead.
ANCEL BA101 Car Battery Tester, 12V Digital Automotive Alternator Meter Diagnostic Tool,100-2000 CCA Load Capacity, Charging & Cranking Analyzer for Truck, Boat, RV, Marine Vehicle, and More
Catch Battery Problems Early: Featured in two videos by Project Farm, a popular YouTube channel with millions of…
As an affiliate, we earn on qualifying purchases.
As an affiliate, we earn on qualifying purchases.

Belt Tension In Gauge, Belt Gauge Tool, Adjustable 10 Pounds, with L Shaped Pad, Motorcycle Belt Tension Tool
【Fast And Accurate Hitting Measurements】: Our belt tension gauges are clearly marked with easy to read markings to…
As an affiliate, we earn on qualifying purchases.
As an affiliate, we earn on qualifying purchases.