To replace your battery cables, start by disconnecting the negative (black) cable first, then the positive (red). Wear gloves and eye protection, and work in a ventilated area for safety. Check for corrosion on the terminals, clean them with baking soda, water, and a wire brush, then dry thoroughly. Attach the new cables in the correct order—positive first, then negative—and tighten securely without overtightening. If you continue, you’ll find how to guarantee a safe, reliable installation.
Key Takeaways
- Disconnect the negative cable first, then the positive, to ensure safety during removal.
- Inspect and clean corrosion on terminals using baking soda, water, and a wire brush before installation.
- Attach the new positive cable first, followed by the negative, and tighten clamps securely.
- Route cables away from hot engine parts and moving components to prevent damage.
- Reconnect the battery starting with positive, then negative, and verify proper electrical function afterward.

Ever wondered how to replace your car’s battery cables yourself? It’s a handy skill that can save you money and help you understand your vehicle better. Before diving in, it’s vital to prioritize battery safety. Your car’s battery contains sulfuric acid, which is corrosive and can cause burns or damage if mishandled. Always wear gloves and eye protection, and work in a well-ventilated area. Disconnecting the battery properly is the first step to prevent electrical shocks or short circuits. Make sure your engine is off, and remove the negative (black) cable first, followed by the positive (red). This order reduces the risk of sparks or accidental contact with grounded metal parts.
Prioritize battery safety: wear gloves, eye protection, and work in a well-ventilated area when handling car batteries.
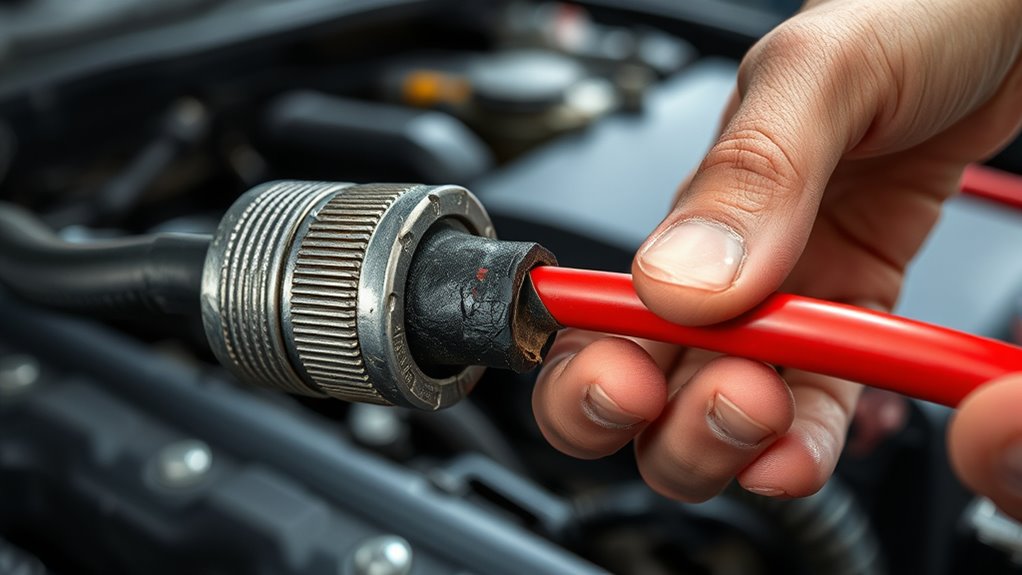
When inspecting the cables, look for signs of cable corrosion. Corrosion typically appears as white, green, or blueish deposits on the metal connectors or terminals. Cable corrosion is a common issue that impairs electrical flow and can cause starting problems or battery draining. If you notice significant corrosion, cleaning is essential. Use a mixture of baking soda and water to neutralize the corrosion. Carefully scrub the terminals with a wire brush or an old toothbrush, ensuring all corrosion is removed. Rinse with clean water and dry thoroughly before proceeding. Cleaning your cables and terminals improves the connection, ensuring a more reliable power supply. Additionally, understanding the importance of high-quality cables can help prevent future issues and ensure optimal performance.
Once you’ve cleaned the terminals, you can begin replacing the cables. Remove the old cables by loosening the terminal clamps with a wrench or pliers. Keep track of which cable attaches where—positive to the positive terminal, negative to the negative—to avoid wiring mistakes. When installing the new cables, attach the positive cable first, then the negative. Tighten the clamps securely, but don’t overtighten, which could damage the terminals. Double-check that all connections are firm and free of corrosion or debris. Properly routing the cables away from moving parts or hot surfaces prevents future damage.
After installation, reconnect the battery by attaching the positive cable first, then the negative. Start your vehicle to verify everything functions correctly. Regularly inspect your battery cables for signs of corrosion or wear, and clean them periodically to maintain a safe and reliable electrical system. Replacing your battery cables might seem formidable at first, but with attention to battery safety and a careful approach to cable corrosion, you can do it yourself confidently. Proper maintenance ensures your vehicle runs smoothly and reduces the chance of unexpected breakdowns.

CASISPRO 7 PCS Golf Cart Heavy Duty Battery Cables for Club Car DS 1994-UP, 36&48 Volt 4 Gauge AWG Club Car Battery Cable Set, Golf Cart Pure Copper Wiring Kit
- Compatible Models: For 36 & 48V Club Car DS and Precedent
- Pure Copper Core: Ensures excellent conductivity and durability
- Tinned Copper Terminals: Resistant to heat, corrosion, and abrasion
As an affiliate, we earn on qualifying purchases.
As an affiliate, we earn on qualifying purchases.
Frequently Asked Questions
How Do I Identify the Correct Replacement Cable Gauge?
You identify the correct replacement cable gauge by checking your vehicle’s wire sizing standards, usually found in the owner’s manual or on the existing cable. The cable gauge importance lies in ensuring it can handle the current load without overheating. Match the gauge to the original or recommended size, typically indicated in American Wire Gauge (AWG). Using the right wire sizing standards guarantees safe, efficient performance and prevents electrical issues.
Can I Replace Battery Cables Without Disconnecting the Battery?
Can you replace battery cables without disconnecting the battery? Technically, yes, but it’s risky. You risk sparks and short circuits if you disturb battery terminal corrosion or compromise cable insulation integrity while the battery remains live. To avoid accidents, it’s safest to disconnect the battery before replacing cables. This prevents dangerous sparks, protects your vehicle’s electrical system, and ensures a secure, successful swap without unnecessary mishaps.
What Tools Are Essential for DIY Cable Replacement?
You’ll need essential tools like a wrench or socket set to loosen the battery terminals, especially to address corrosion. A wire brush helps clean corrosion from battery terminals, improving connection quality. For cable insulation repair, keep wire cutters and electrical tape handy to trim damaged insulation and secure repairs. These tools guarantee you can replace cables safely, tackle corrosion, and maintain a solid connection without needing professional help.
How Long Does a Typical Battery Cable Replacement Take?
A typical battery cable replacement takes about 30 to 60 minutes, depending on your experience. You should spend extra time inspecting for corrosion on the battery terminals, as corrosion can cause poor connections. Proper cable routing is essential to prevent future issues. If you’re careful and organized, you’ll find the process manageable, and you’ll have your vehicle running smoothly again without much hassle.
Are There Safety Precautions Specific to High-Performance Vehicles?
When working on high-performance vehicles, you need to prioritize high voltage safety by disconnecting the battery and wearing insulated gloves. Handle specialized connectors carefully to avoid damage or short circuits. Always use the correct tools and follow manufacturer instructions. Remember, high-voltage systems can be dangerous if mishandled, so if you’re unsure, consult a professional. Safety comes first to prevent injury and ensure a successful cable replacement.
Conclusion
Replacing your battery cables yourself is like giving your car a fresh set of veins—renewing its lifeblood for reliable performance. With the right tools, patience, and a little know-how, you can tackle this task confidently. Remember, attention to detail is key; a secure connection guarantees your vehicle runs smoothly. So, roll up your sleeves and take control—your car will thank you, humming along like a well-orchestrated symphony of power.